Glass Stabbed Cupcakes

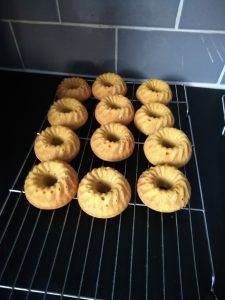
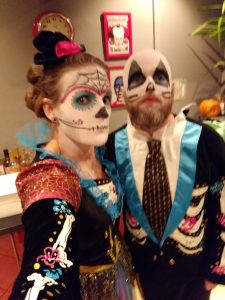
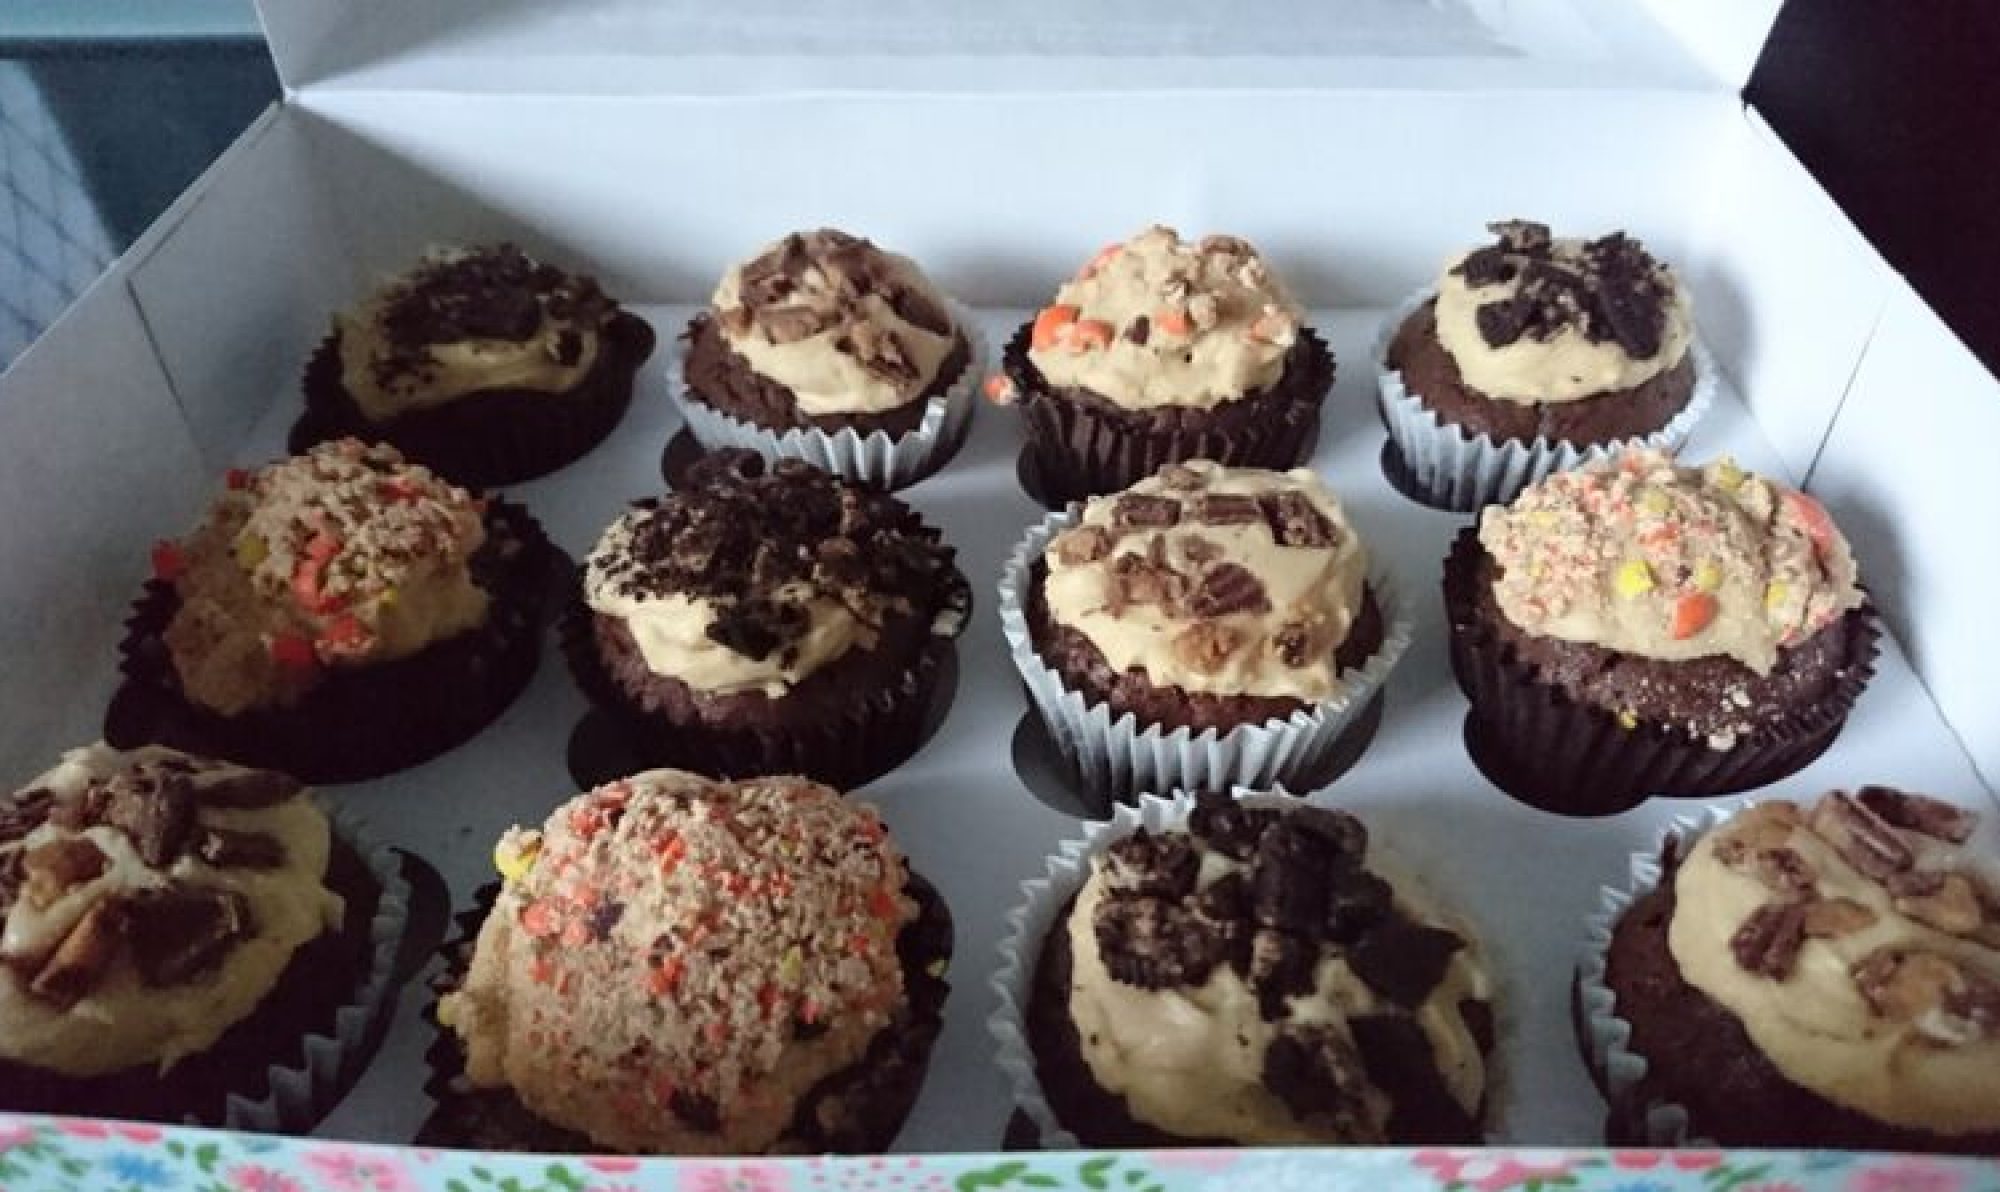
Another idea I had when making cakes for Halloween was to try making some “stabbed” cupcakes. I’d seen the idea on Instagram and thought it would be a good one to try. I had obviously made cupcakes before, but never tried anything with sugar work.

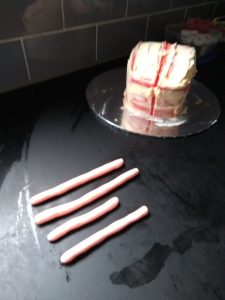
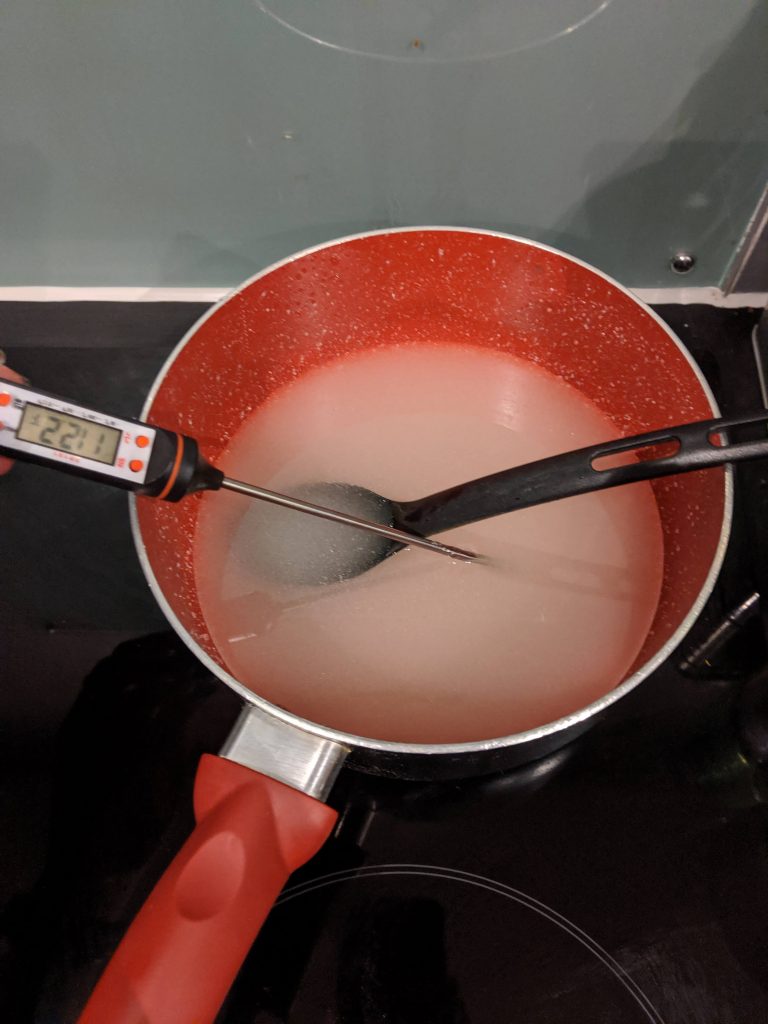
I had to begin by making the sugar mixture for my “Glass” – 2 cups of granulated sugar, some water, and a tube of liquid glucose. I had to heat this to 300 degrees F, whilst constantly stirring. It took nearly an hour!

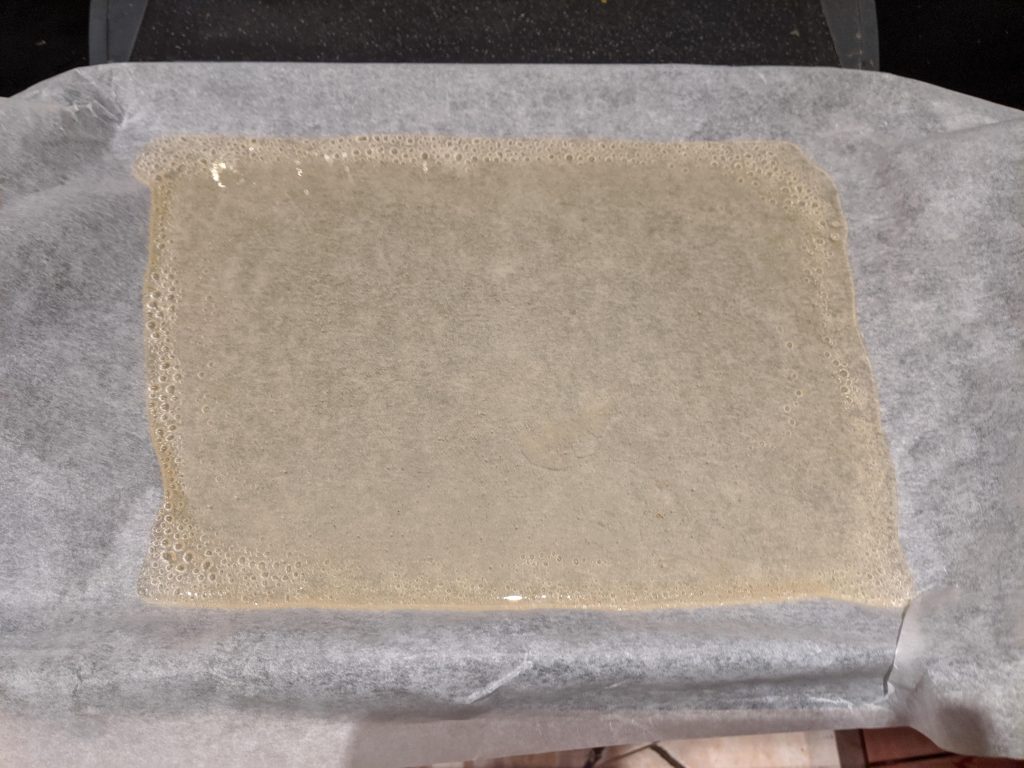
Once the mixture was heated to the necessary temperature, I poured it out onto baking parchment and allowed it to cool down and set for a few hours

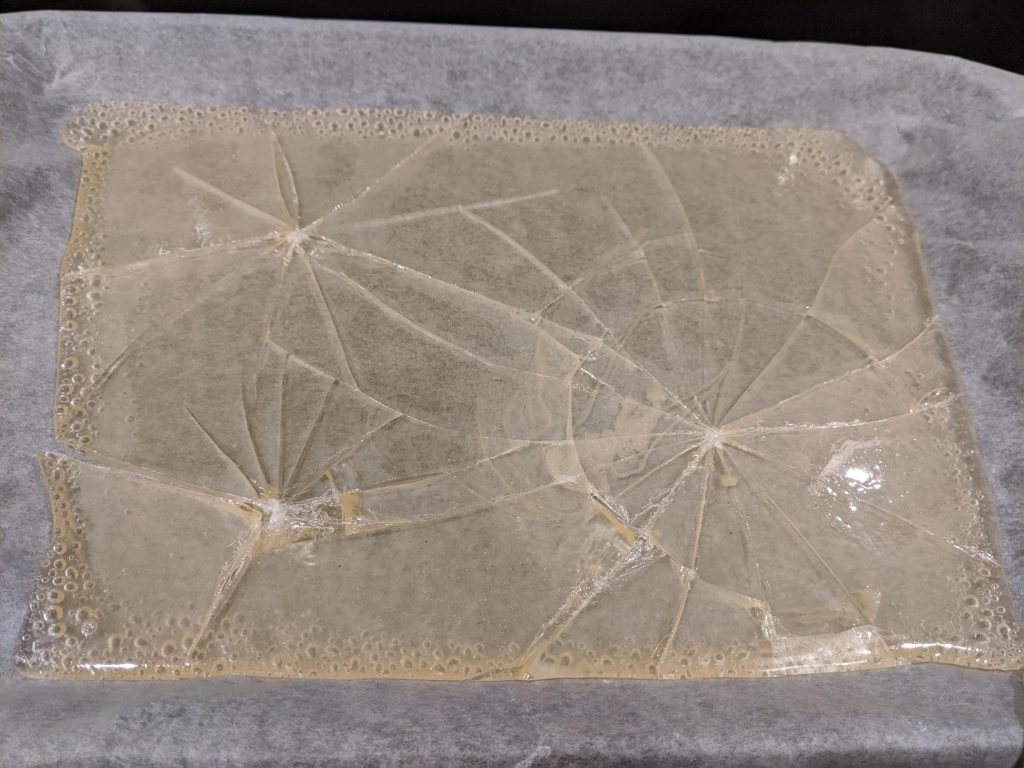
After setting, I hit it with a knife to get it to break up into the “shards”

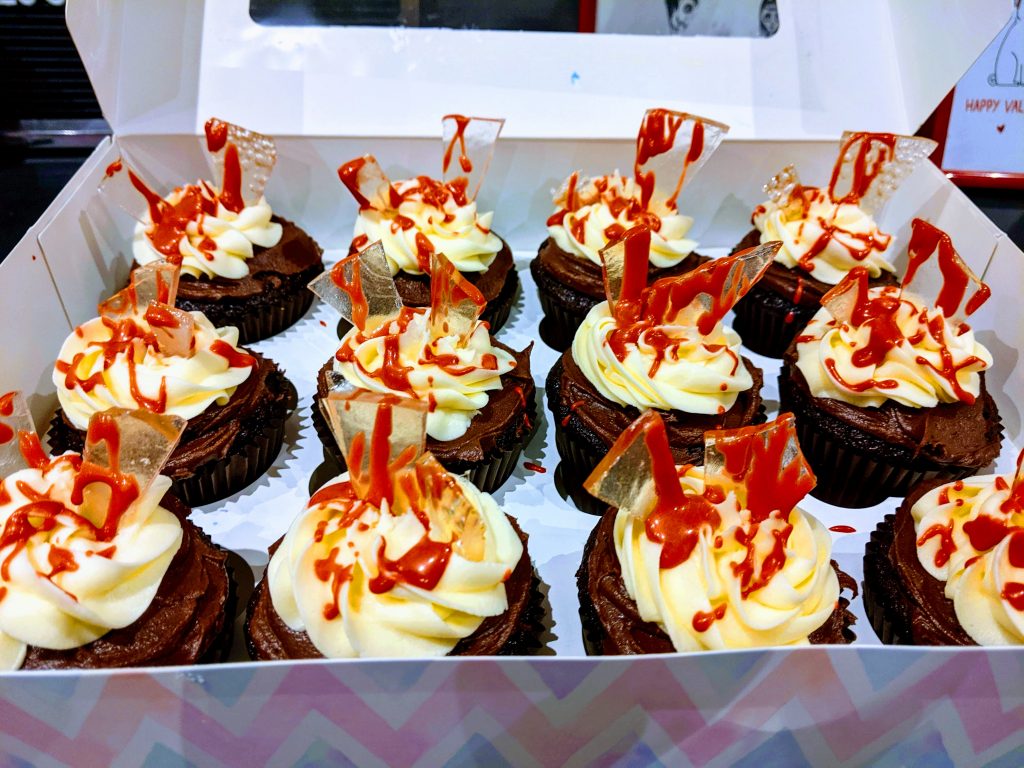
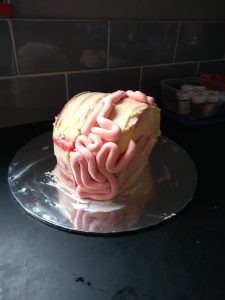
I already had some cupcakes baked, and some leftover buttercreams. I used chocolate buttercream first, then added a vanilla swirl to the top mwhich i “stabbed” with the sugar shards

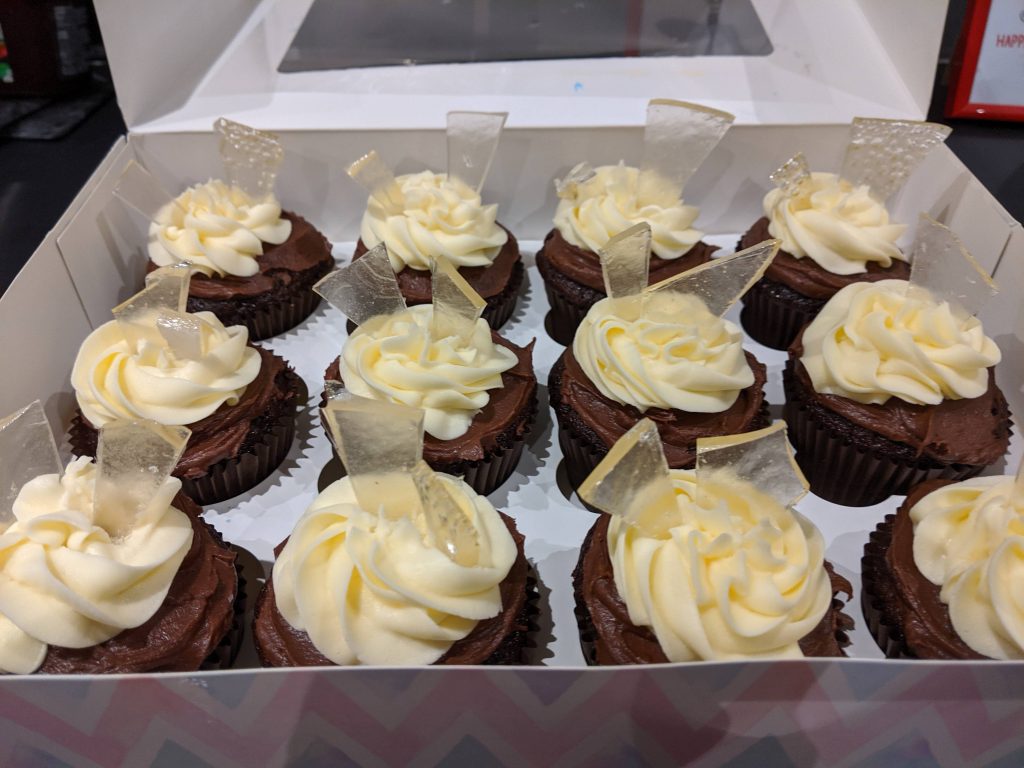
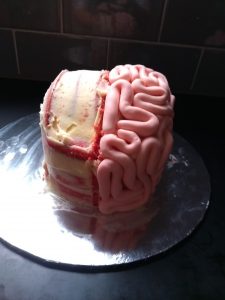
Finally, I added some red coloured icing drizzles to make the “blood”:

Brain Cake

In my last post I showed the cake that I entered for my work’s Halloween Baking contest. I entered a “Brain Cake” which is exactly what it sounds like – a cake shaped like a brain.

It’s surprisingly easy to make …

  • Bake cakes (I coloured them pink)
  • Stack cakes, then trim the edges. Take the off-cuts and put on the top to create a dome
  • Cover in buttercream (I had some red left over from other cakes so I added this too)
  • Colour some fondant using ivory food colouring and a tiny amount of pink
Cake on left, fondant on right
  • Roll the fondant out into “ropes”
  • Apply the ropes to cake to form “brain matter”
  • Coat in strawberry jam
Brain Cake

Mini Pumpkin Cakes

I love the autumn. One of the reasons I love going to visit the USA in “fall” is because of the amount of pumpkin flavoured foods I can get. Whenever I can, I try to make things at home too that have been inspired by my love of the USA.

Today, this inspiration let to me making mini pumpkin cakes.

The first finished pumpkin cake

I started by making my basic cake mix and adding in tinned pumpkin and pumpkin pie spices. I baked these in my mini bundt pan:

I trimmed the cakes to make them shorter, and then stacked them. I sandwiched the layers with a cream cheese icing.

The next step was coating the cakes in orange buttercream

buttercream coating added

I shaped the cakes using a yogurt pot to smooth the edges and add ridges too. The final stage was  to add a stalk made from tootsie roll:

The first finished pumpkin cake

I wanted them to look a little more professional, but they didn’t turn out too bad overall.

Boxed up to take to work this week.

Brain Cake

I feel really into Halloween this year. I’ve got plans to carve two bulldog pumpkins (One for work and one for home) and I’ve just spent today decorating mini pumpkin cakes made from mini bundt cakes.

Yesterday, we went to our friends’ house for a Halloween gathering.

Although we went Day of the Dead style (thanks to some half price outfits purchased last year), they had a “mad science” theme so I decided to have a go at making a brain cake.


I started earlier in the week by baking some vanilla cake layers and dyed them with red food dye. I had ran out of gel colour though and had to resort to liquid – this resulted in pink cakes and not red. I covered in a buttercream coating, and shaped it as best as I could work out freehand…

Prepping the brain cake

I used fondant (dyed ivory and pink) to make the “brain tissue”. I then just attached it in swirly patterns to make my brain.

Starting the brain tissue

Half a brain

After completing the first half of the cake, I continued the “twizzling” with the other side of the cake until it was fully covered.

To finish the cake, I covered it in a seedless strawberry jam which gave it a shiny, bloody glaze:

Finished brain cake

Everyone told me that it turned out well – I was really impressed with it as it was quite a low effort cake!

At the party, knife inserted!