Things don’t always go to plan and that’s ok. I and been asked a while ago to make a birthday cake for someone’s sister’s 60th. I pencilled it in but illness in their family meant postponing. This got postponed again and I thought it was going ahead last week so I prepped the cake layers and frozen them, coated and stacked but plain on the outside.
The plans changed again though and the originally planned cake was cancelled. I had no issues with this – health trumps cake! I did however want my freezer space back so I offered a free cake to anyone in work who could use it.
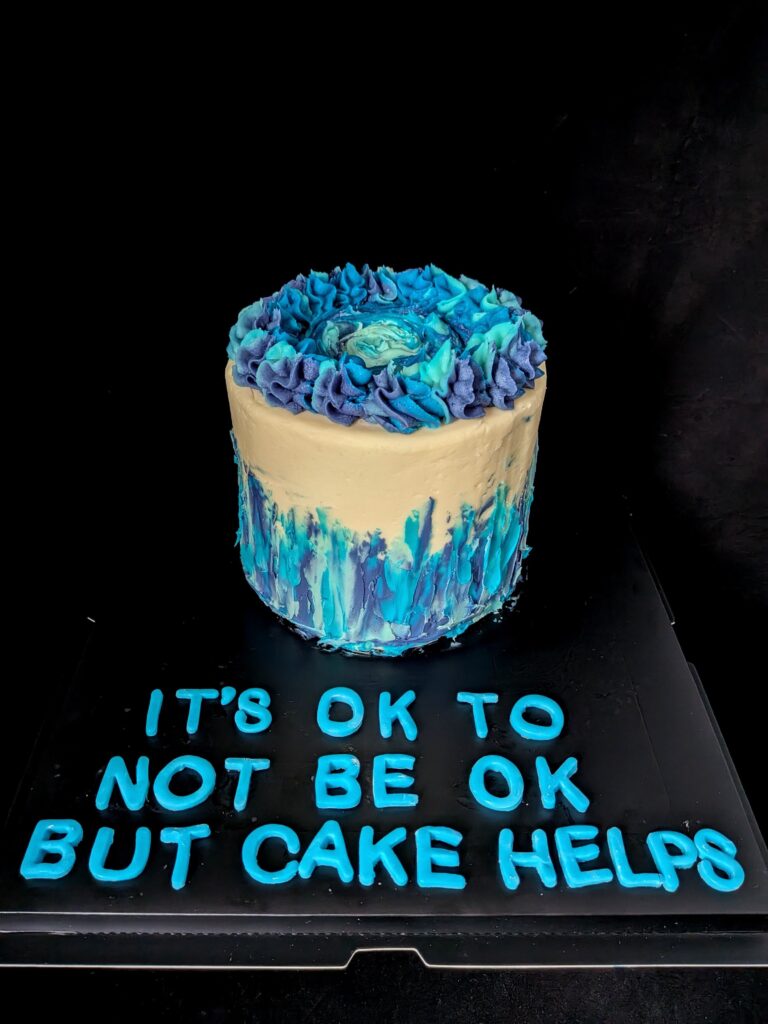
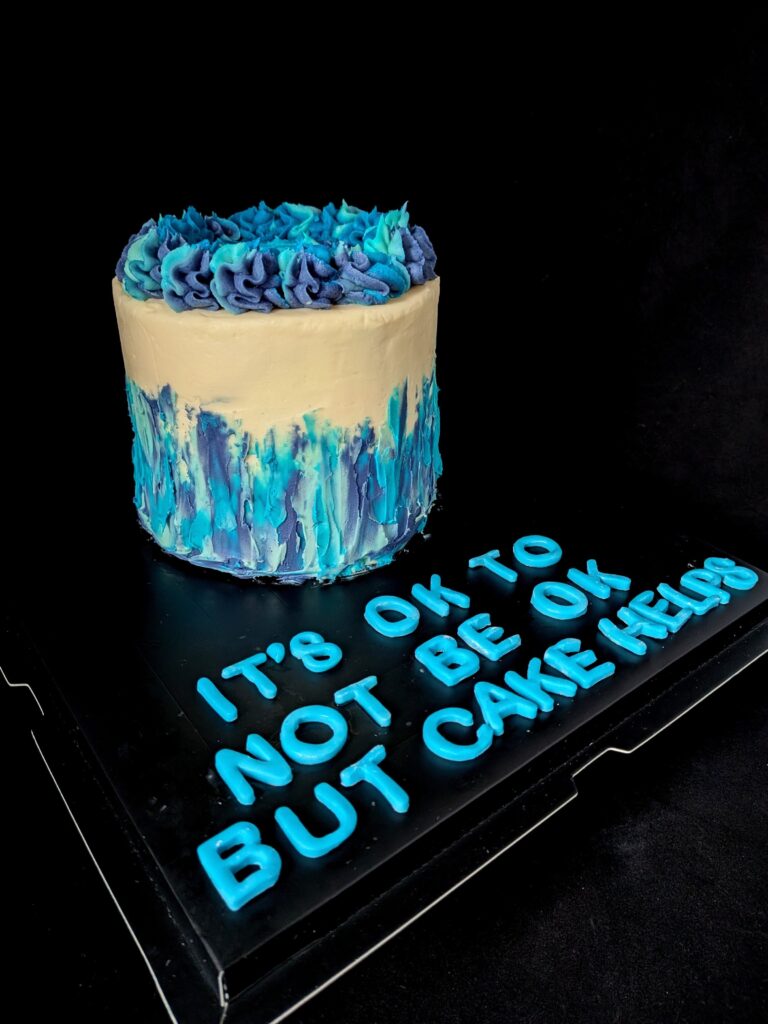
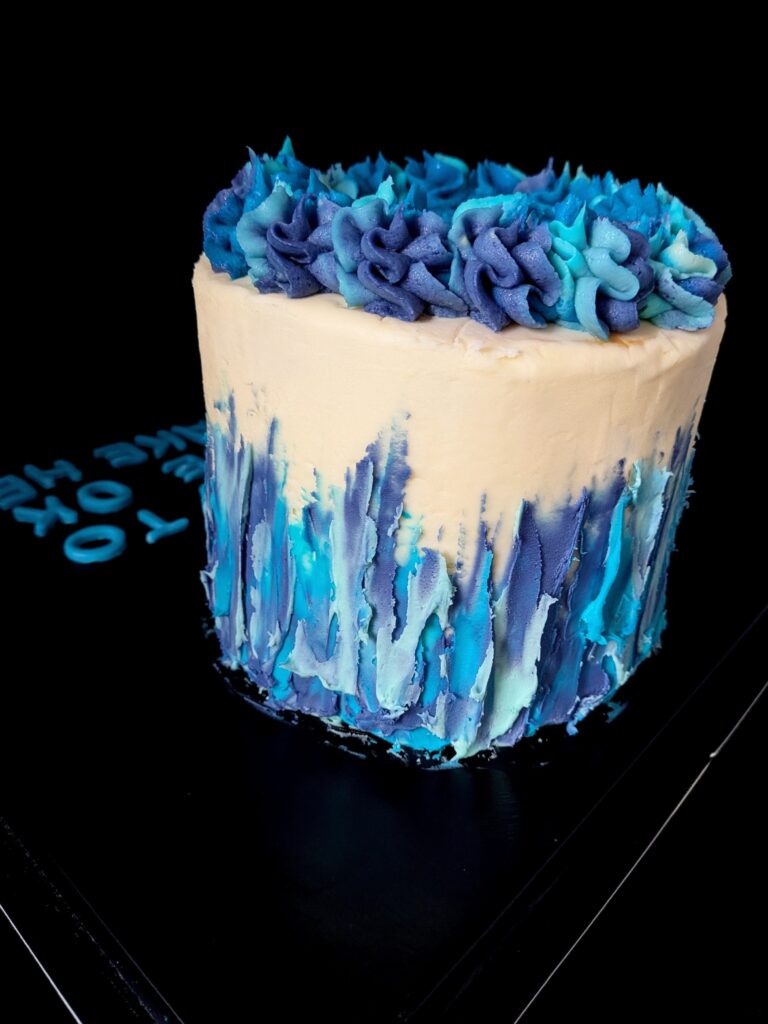
A workmate volunteers with an Andy’s Man Club group and said he would take the cake to their group. I therefore decorated it for the group.
I checked that the phrasing would be ok and not too offensive before I handed it over.
I would say that this cake was definitely one for lemon lovers.
• 4 lemon sponge layers made with lemon juice and lemon zest
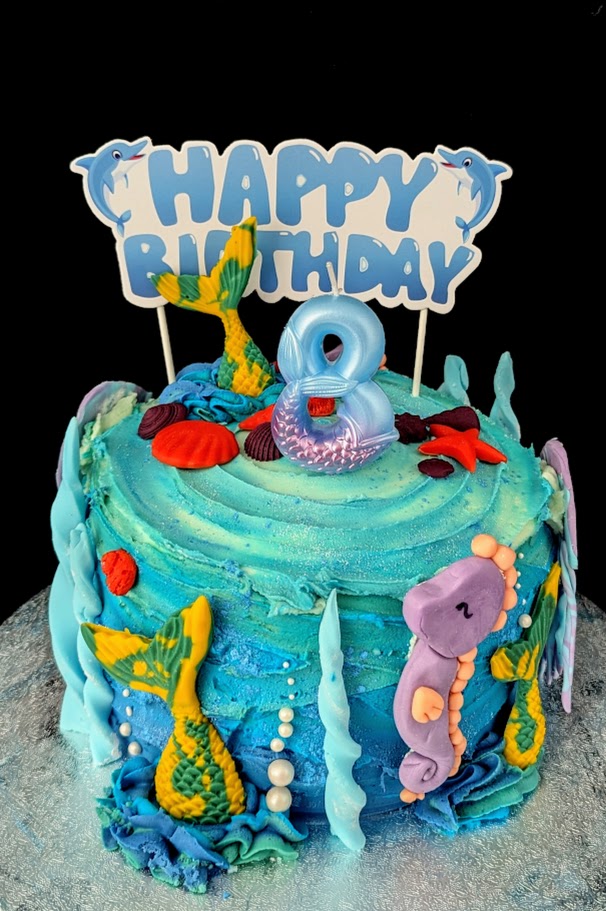
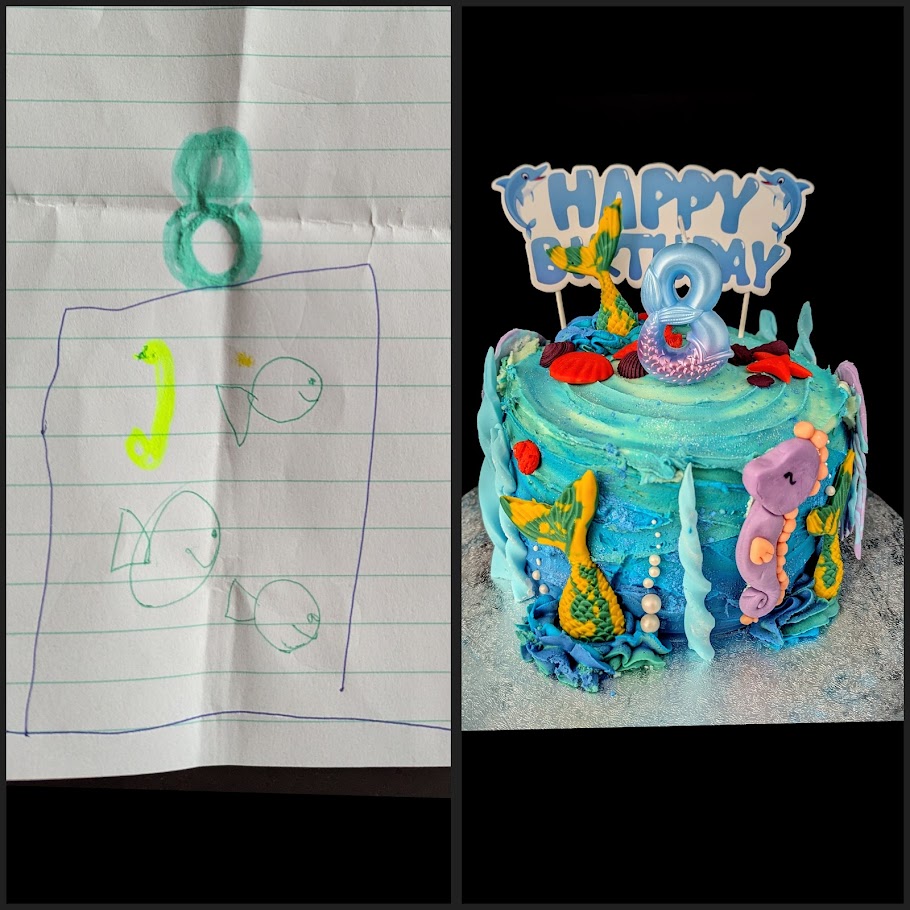
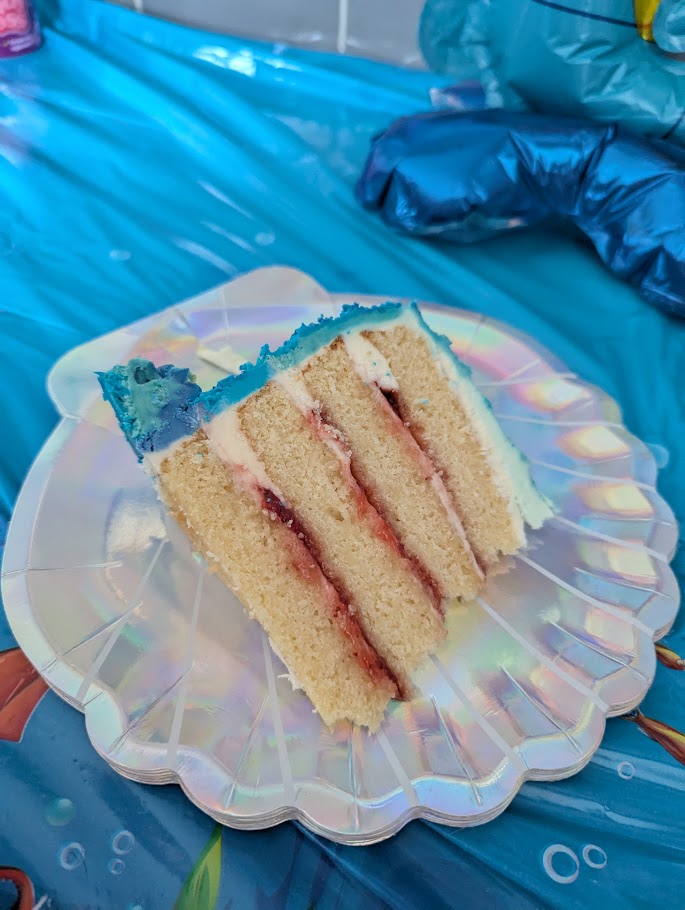
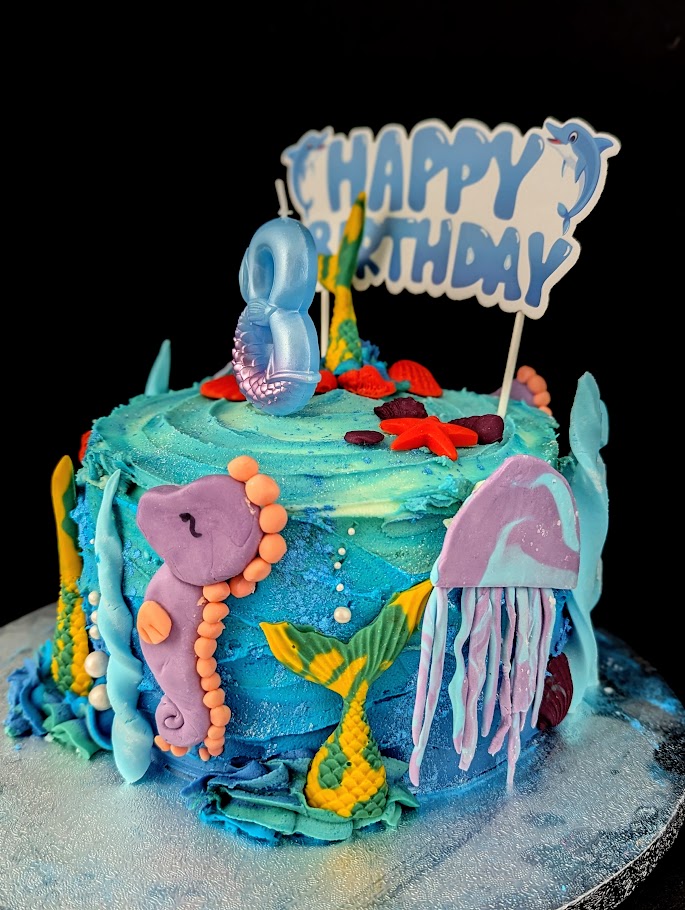
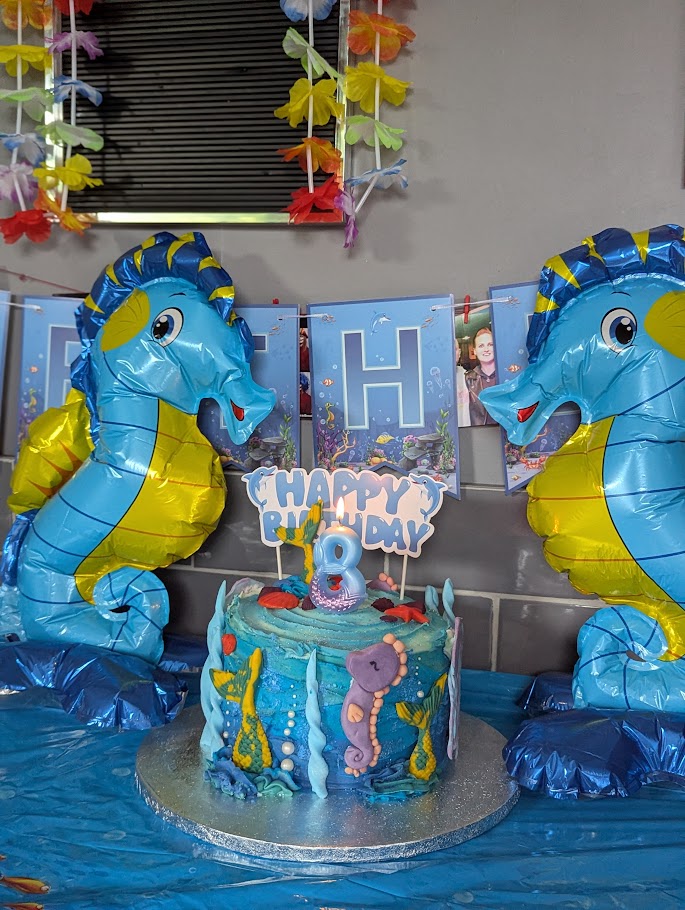
Just before we went on holiday, Charlie gave us a drawing of what she wanted as her birthday cake. She wrote on it that she wanted “a circle with fish, seahorses, jellyfish and a turquoise number 8 on top”
I couldn’t prep much of this before we went away, so made it in between the wedding cake on the run up to her birthday.
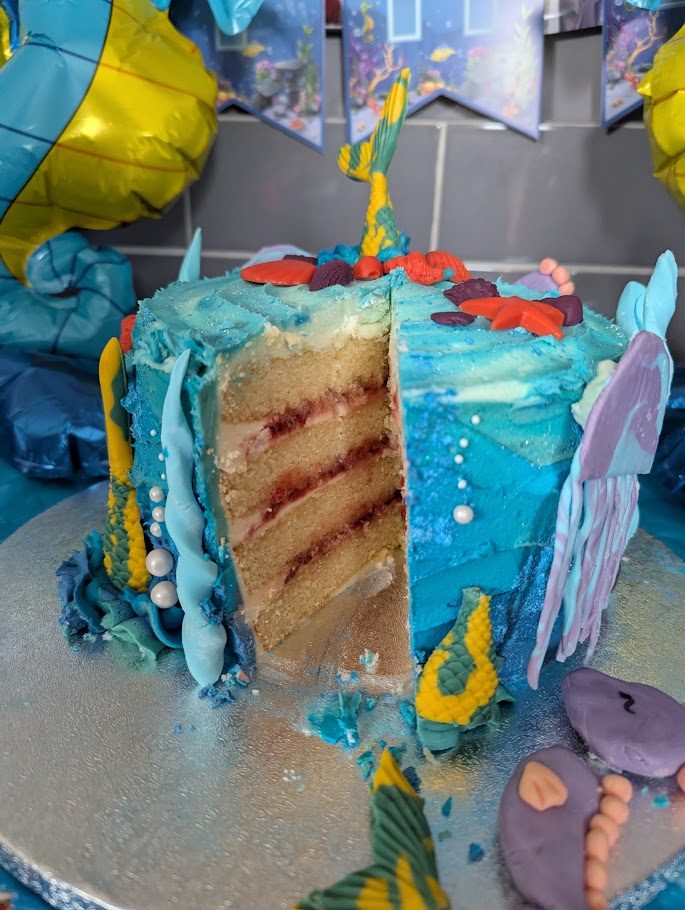
4 x 7″ vanilla sponge layers filled with strawberry jam and vanilla buttercream
The “Ocean” is made with different blue-coloured buttercreams, swirled around to try give them an ombre effect.
The fishtails and shells were made with white chocolate in a silicon mold I had from a few years ago. Th bubbles were pearl sprinkles from the wedding cupcakes.
The rest was fondant (the seahorses, swirls & jellyfish).
I suppode the number 8 isn’t turquoise, but it did match the theme and she didn’t seem to notice!
My mum’s best friend from school married my dad’s best friend from the army at the weekend.
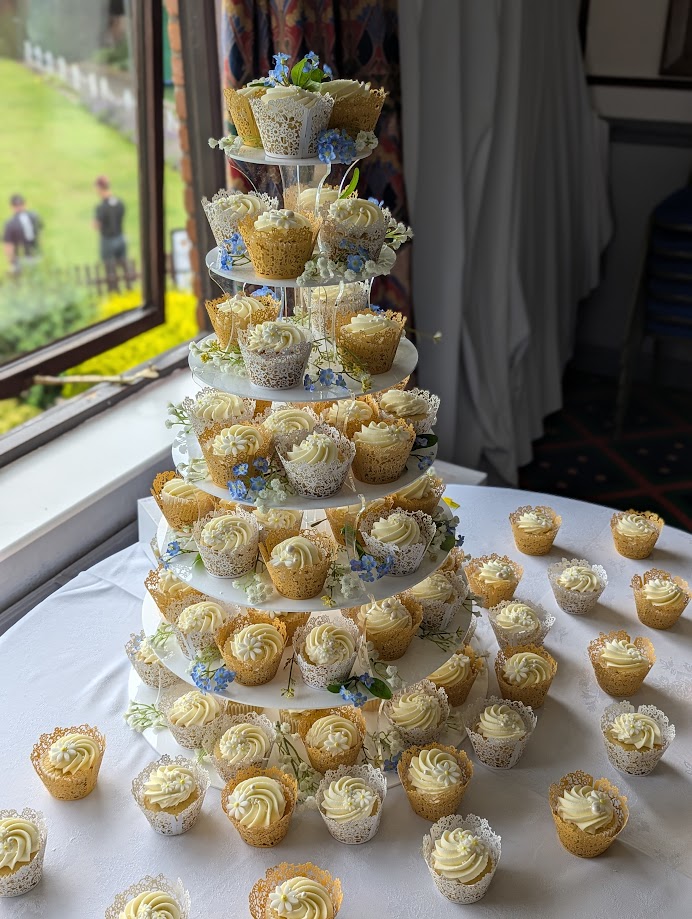
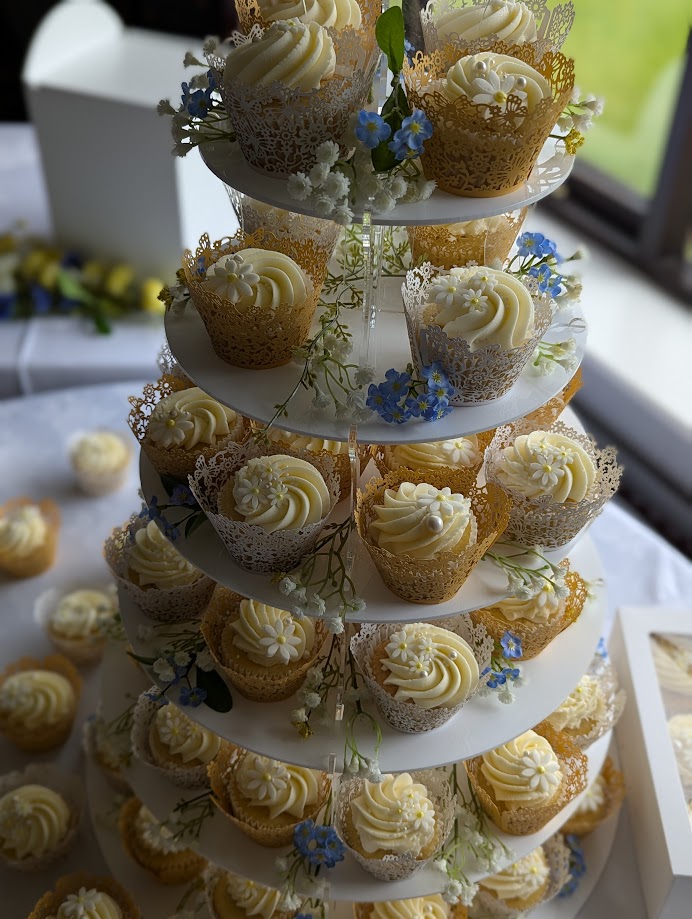
They asked a few months ago if I could make their wedding cake. Originally, I had said no as we only got back from a 3-week holiday the week before, and it meant I’d be making the cake in evenings between my actual job and sleep. I also don’t like doing tiered wedding cakes due to them being stressful and needing to be perfect. It turned out that the bride wanted a cupcake tower though! Yes, still stressful trying to get it all done in a few nights after work, but it was a LOT easier than a tiered cake and so I agreed to do it.
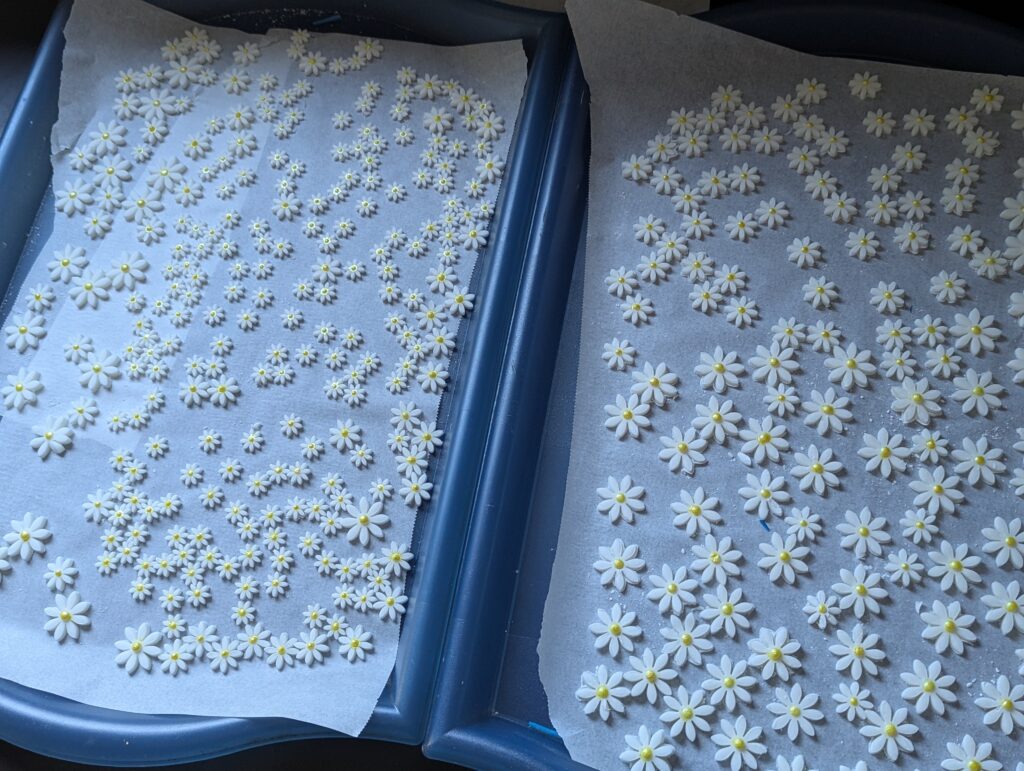
I helped myself by making the daisy toppers at the start of June before we went away so that they had time to dry out whilst we were out of the country.
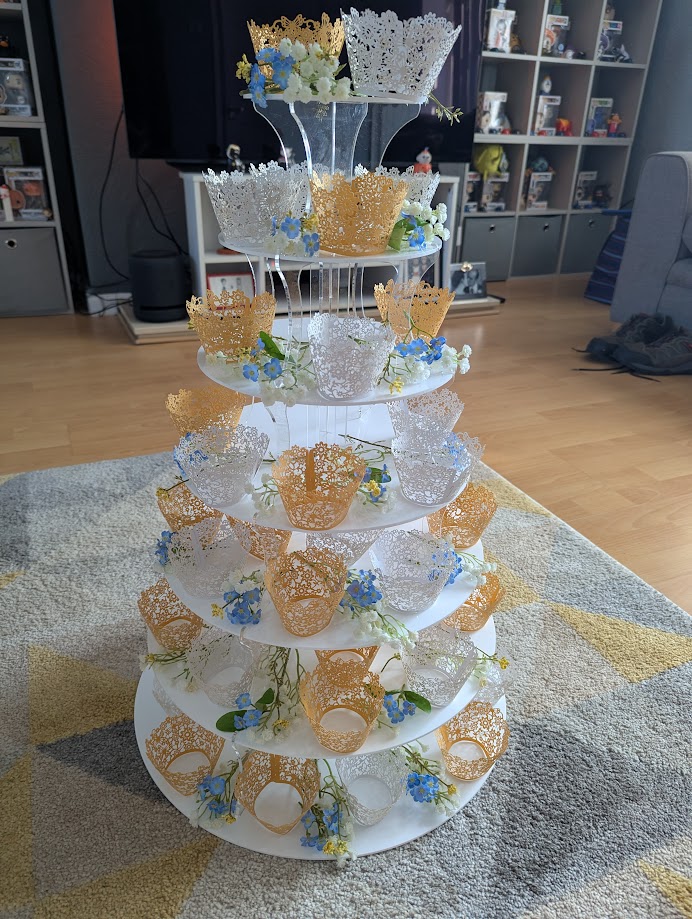
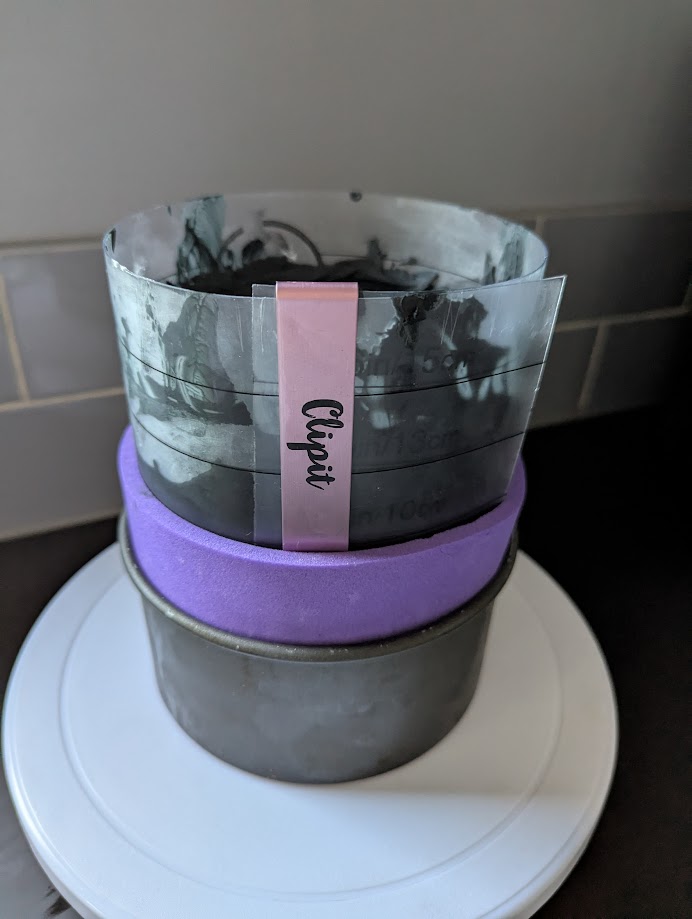
I also bought some cake wrappers in their colour scheme to make them look prettier. This was playing around with the wrappers and (artificial) flowers to check the layout.
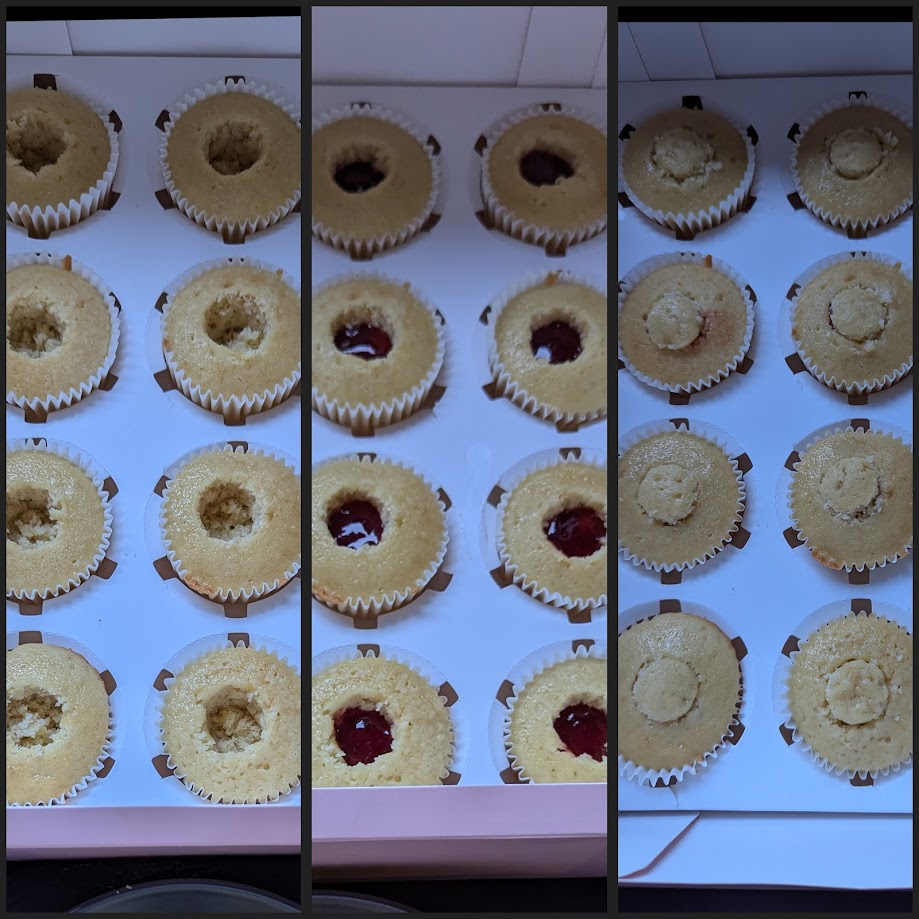
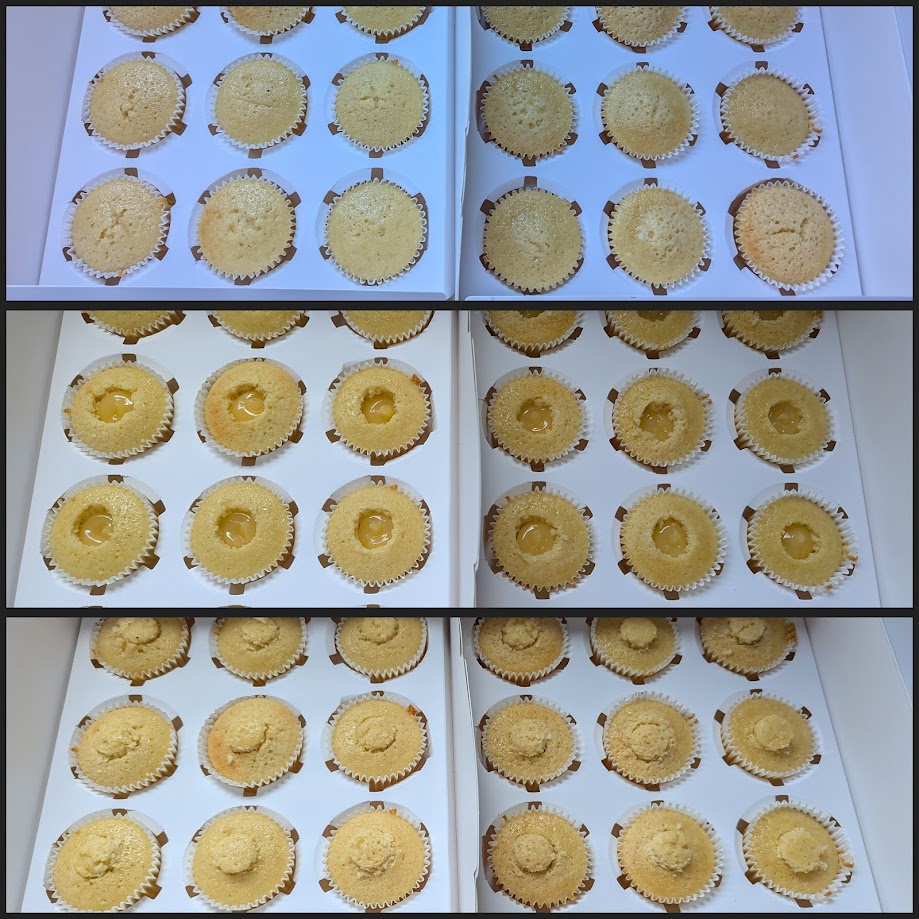
The cakes requested were vanilla or lemon flavours. Firstly, I made vanilla cakes and used a cake coring tool to remove some sponge, fill with strawberry conserve, and replace the sponge.
I did the same with the lemon sponges, only filling those with lemon curd:
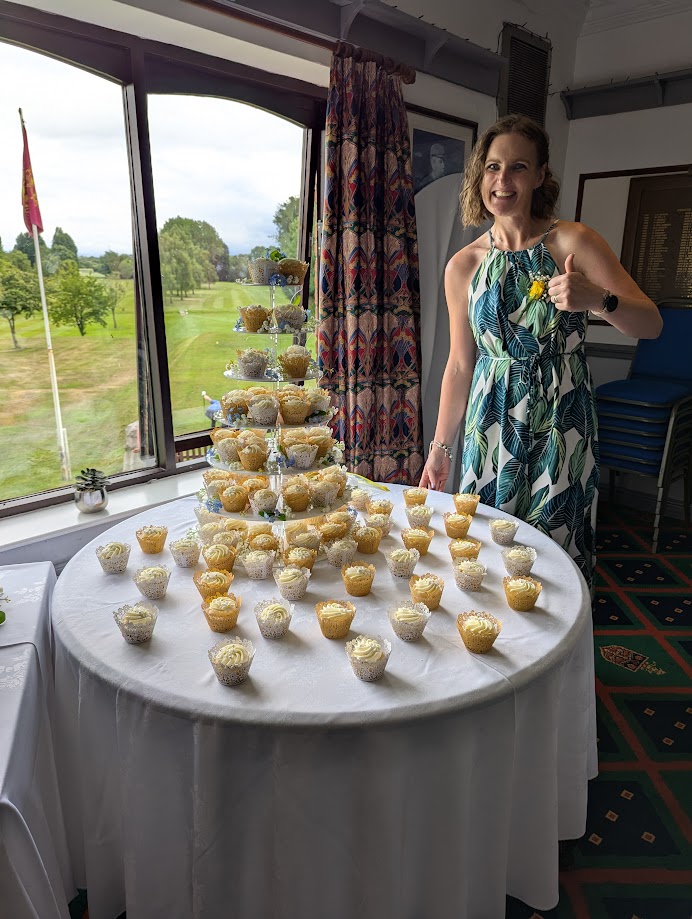
In total, there were nearly 60 vanilla cupcakes, and around 55 lemon ones. I had made cake batter to do 48 of each, but my usual recipe is for slightly larger cupcakes so I had extras which were completely fine for decorating the table around the cake stand.
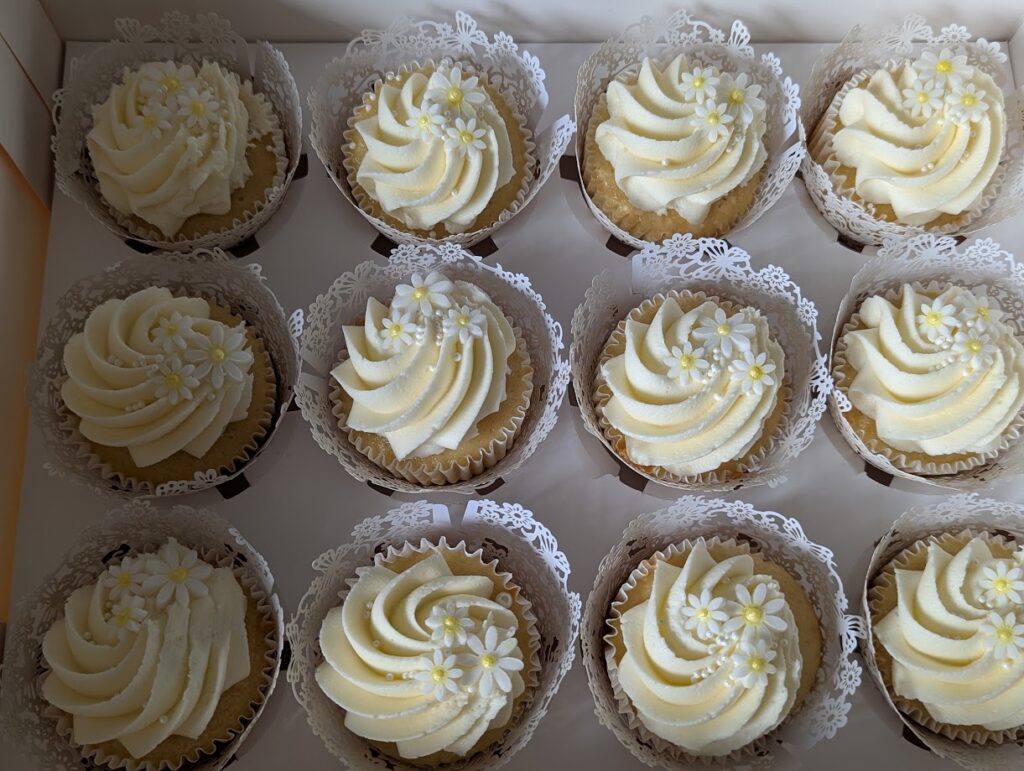
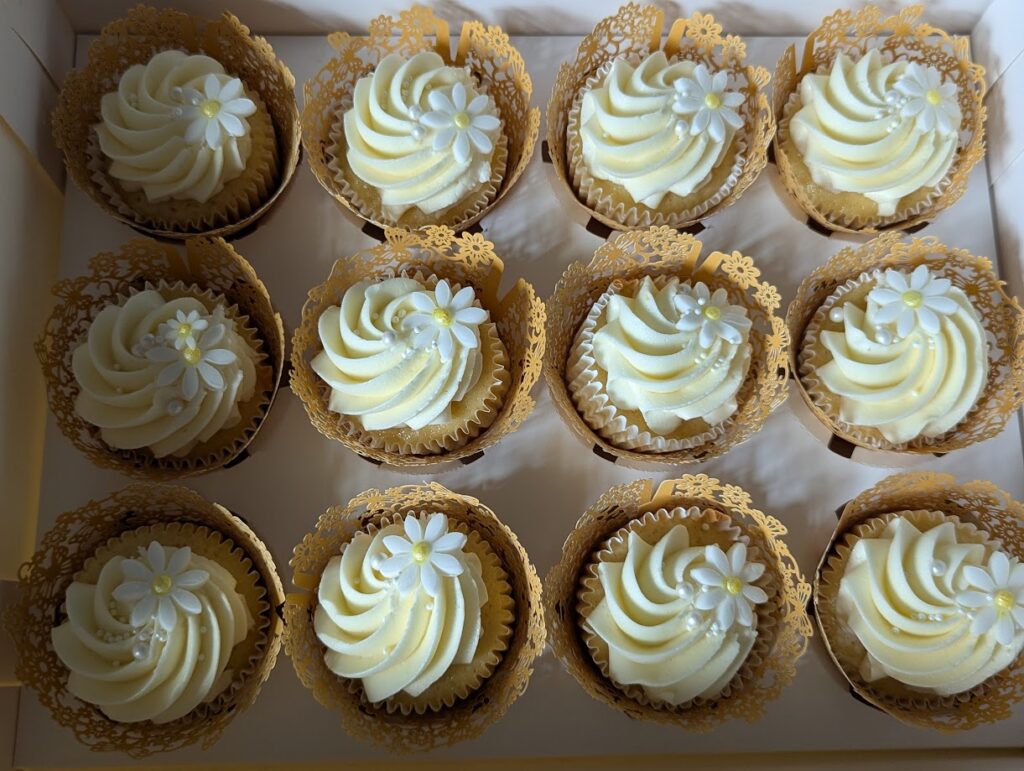
The cakes were topped with buttercream and fondant daisies (and some pearl sprinkles). I used a Jem 3J tip for all of the cakes. White wrappers were used for vanilla, and yellow for lemon to differentiate the two:
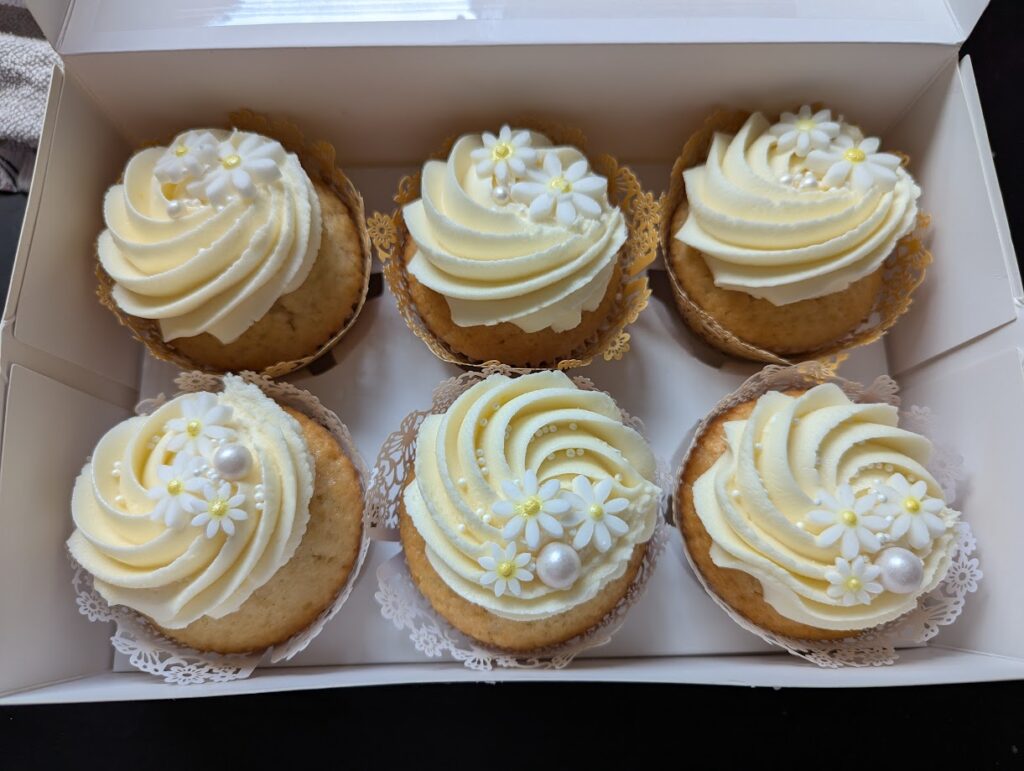
Finally, I had checked if they had any vegan guests. There would be one, so I made a box of vegan cupcakes too. 3 were lemon, and 3 were vanilla. The only difference for these ones was that the lemon cakes did not contain lemon curd (due to egg content)
The cake stand ended up being set up by the venue staff as they were setting up when I arrived in the morning to drop things off (I had to go early as I was also a guest). Thankfully, they set everything up perfectly and I was happy with how it all turned out.
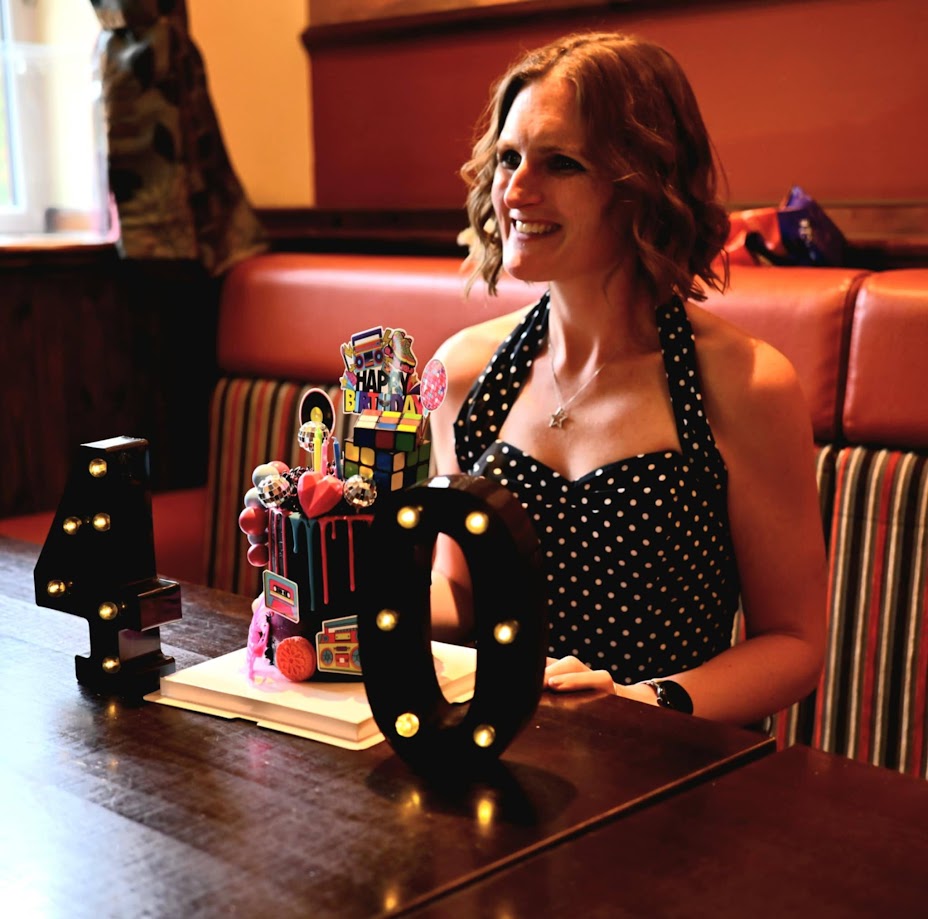
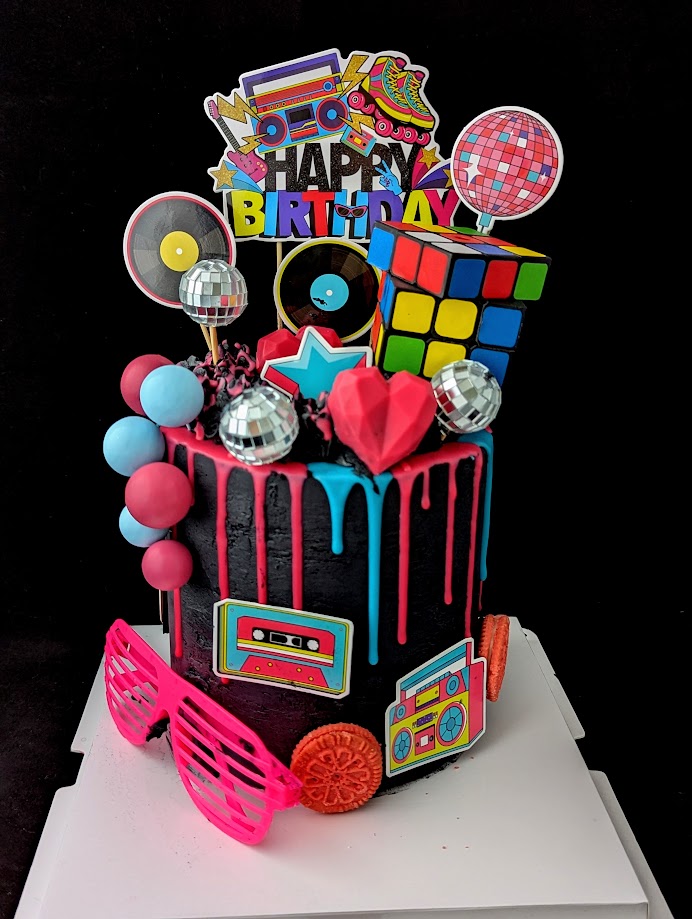
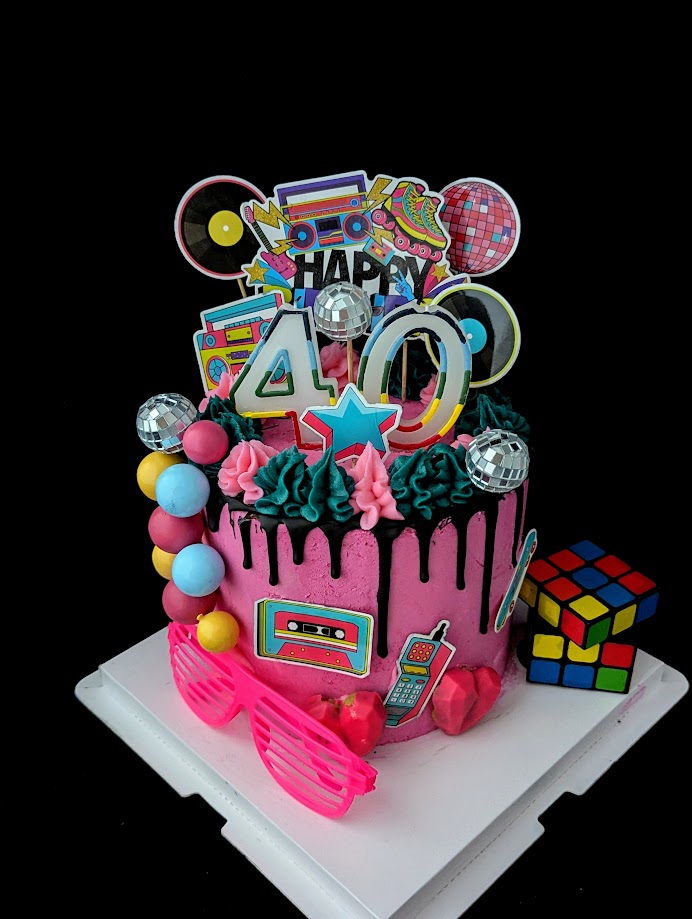
It was my 40th birthday at the weekend. I wanted to do my own 80s themed birthday cake to use up some cake ingredients that I had in the house. We had a few celebrations planned to split out friends and family over the weekend, so naturally I ended up doing 2 cakes.
FAMILY CAKE
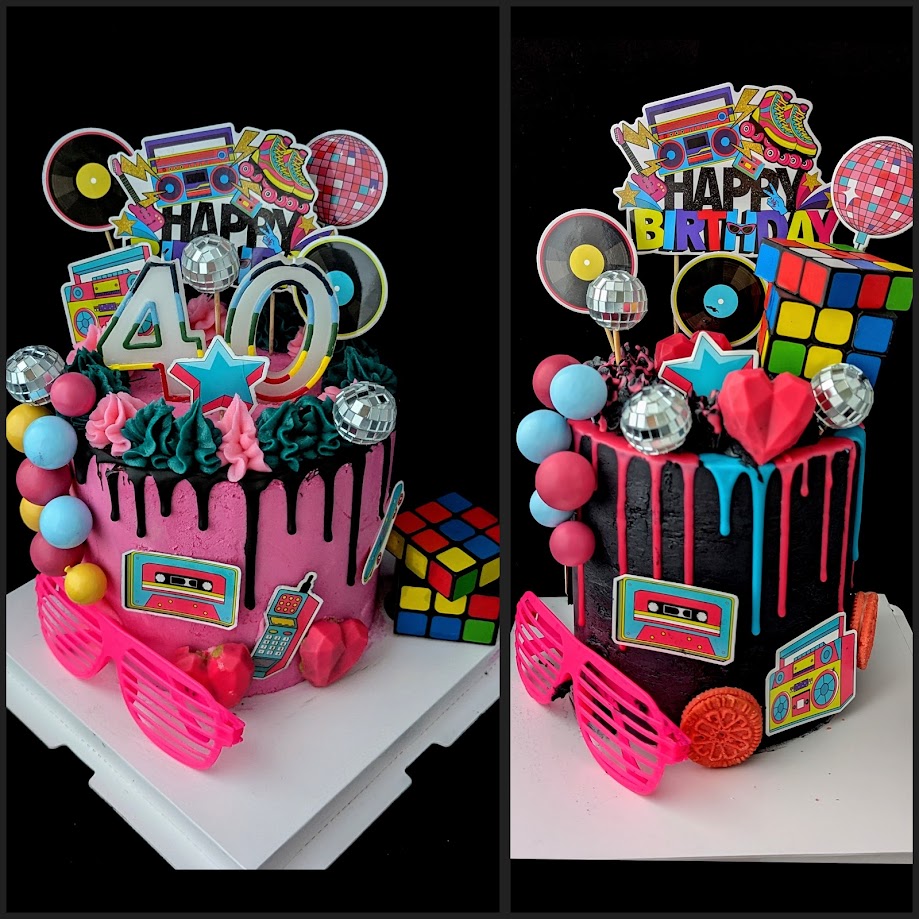
The first event we had was a meal with family on the Friday before my birthday. I had bought 2 packs”Cake Cream” from the Frost Form website last year when making my grandad’s 80th birthday cake and only used the one, so I decided to use that for the first cake and do a black cake again.
I used my ganache kit from Brigid’s to get the smooth lines on the cake again, but I still managed to layer the cake on a diaganol so one side of the buttercream was thicker than the other.
I had also bought some cake toppers to use on the top of the cake, which I cleaned and re-used on the second cake. Some of the decorations were edible (pink cake hearts, pink biscuits) but the rest were not.
CAKE NUMBER 2 – VEGAN FRIENDS
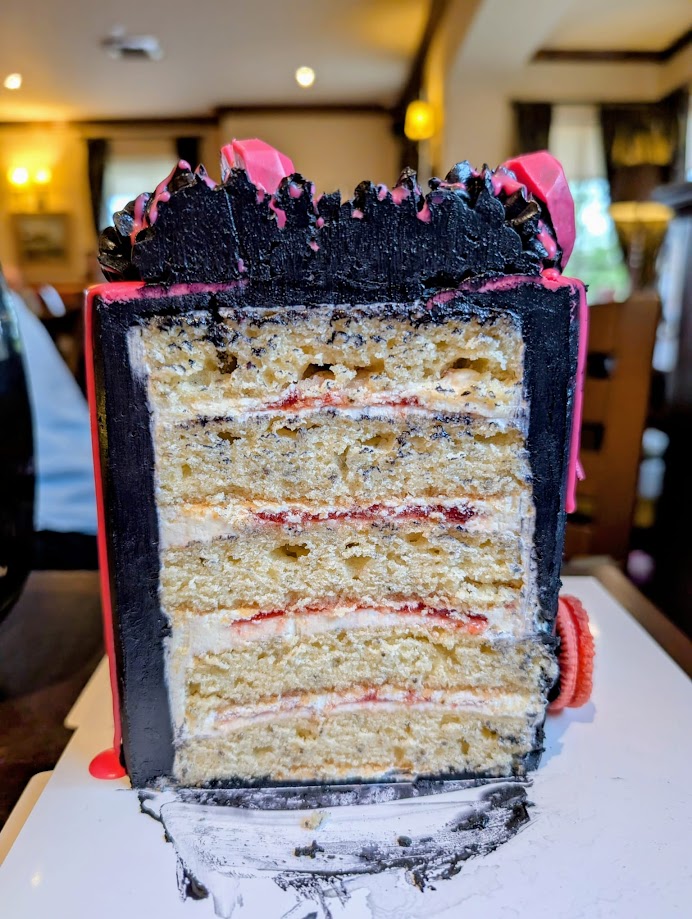
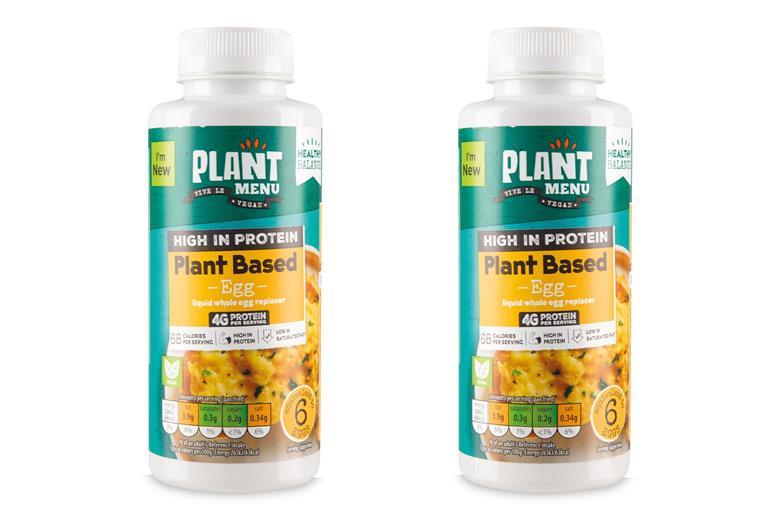
The second cake I made needed to be vegan to include some of my friends who were coming around on Monday. Thankfully, vegan cakes are far nicer than they used to be thanks to all the new ingredients available! This one was done to use some egg replacer that I got from Aldi earlier this year. The egg-stuff was gross as a scrambled egg replacer. Rather than just bin it, I decided to bake some vegan cake layers and freeze them for future use.
I made the full cake vegan by replacing dairy / animal products with vegan equivalent. The above egg replacer instead of eggs, Flora plant butter instead of butter / margarine, and oat milk instead of milk.
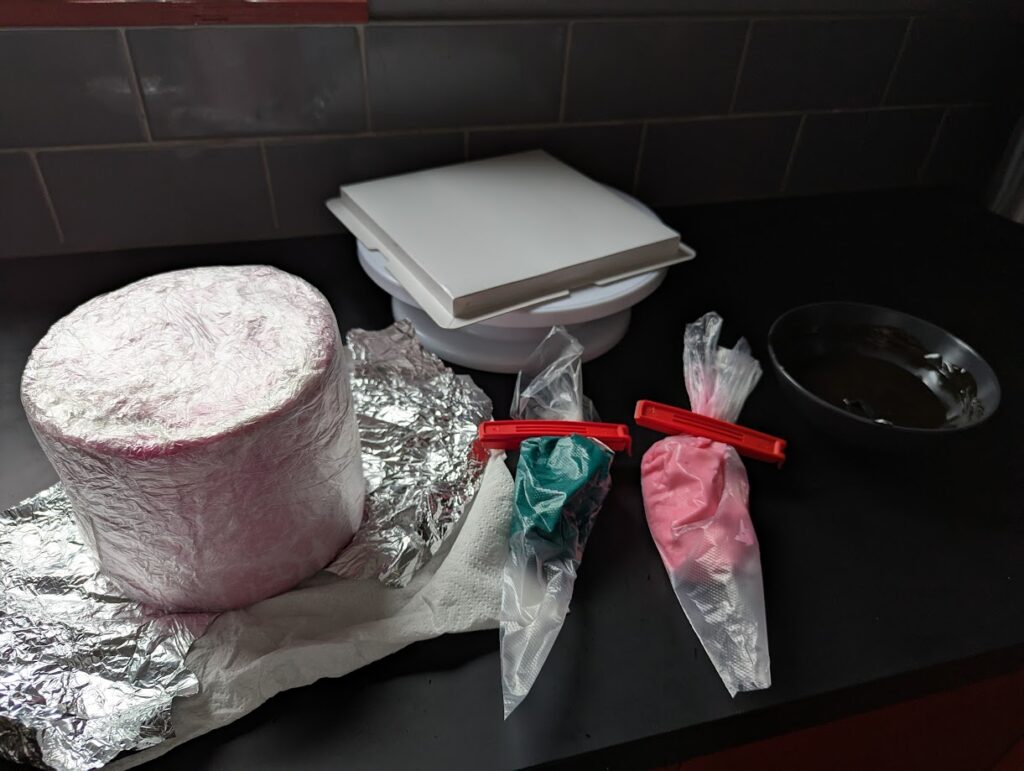
I had iced the cake and fully wrapped it in the freezer to make the baking less stressful on the week of my birthday. This is the “here’s one I made earlier” picture just before I decorated the cake. I wrapped the cake in baking paper, then cling wrap, then tin foil to keep it as air-tight as possible in the freezer,
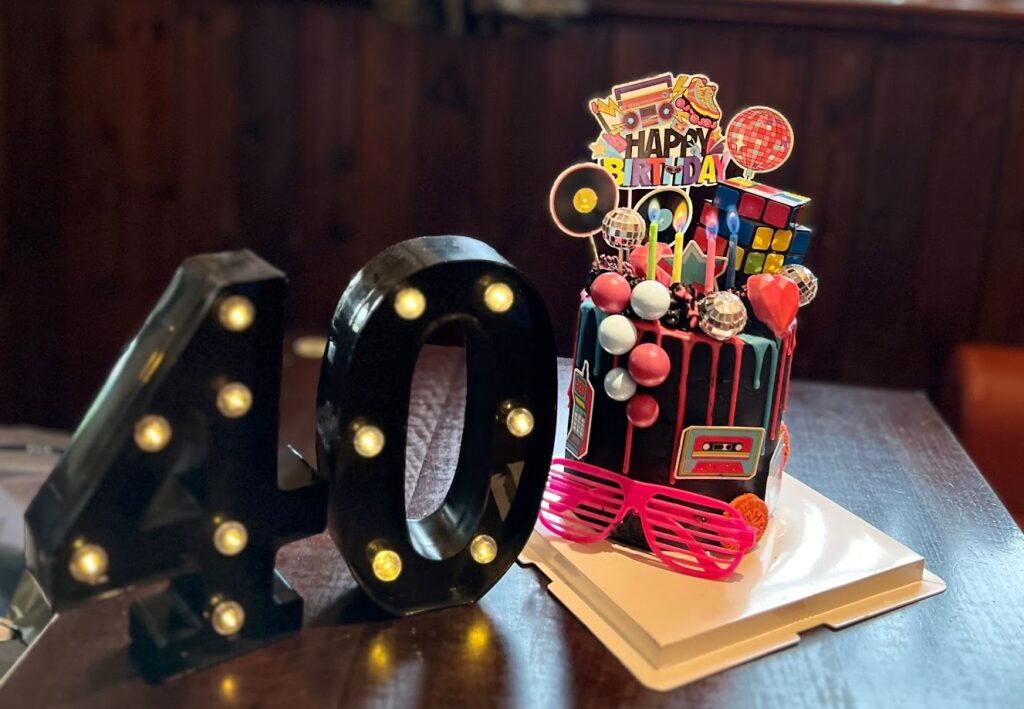
And this is the finished version once I added the re-used decorations from the cake on Friday:
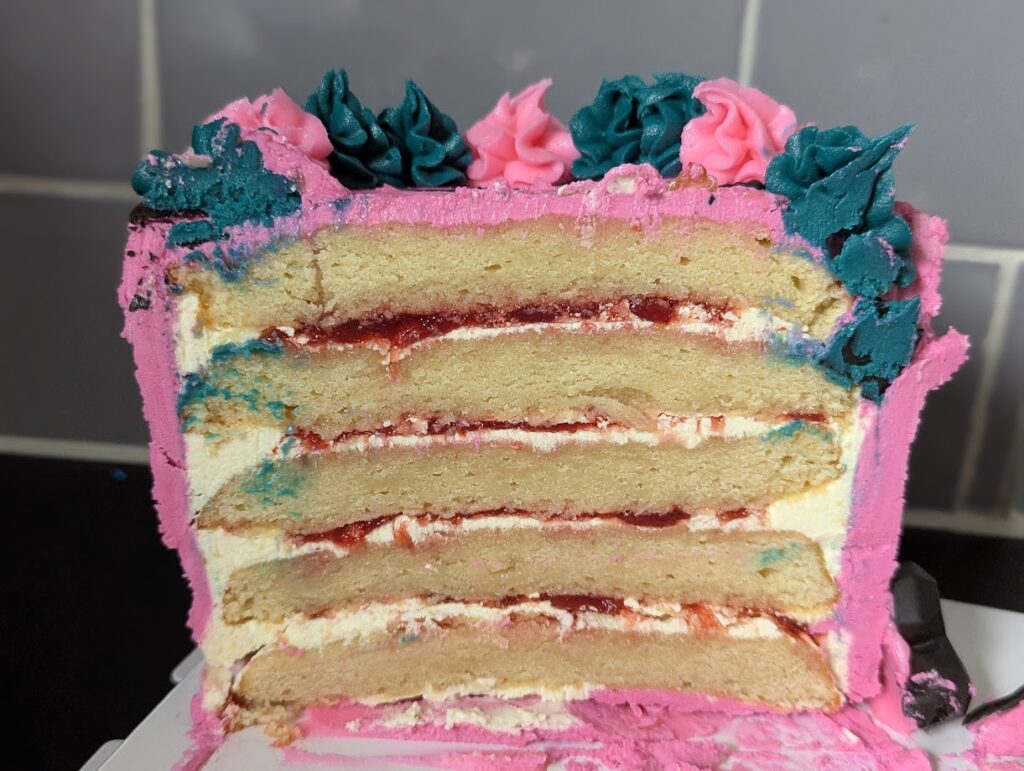
The cake layers in this one had definitely moistened and look dense in the picture, but they tasted lovely!
At the end of the weekend and events, I sliced up what was left and took it all to work to pass on to my workmates, as there’s only so much cake I can allow myself to eat at home!
Baking and sweet making for two events – My Mum’s Birthday next week, and my friend’s 40th.
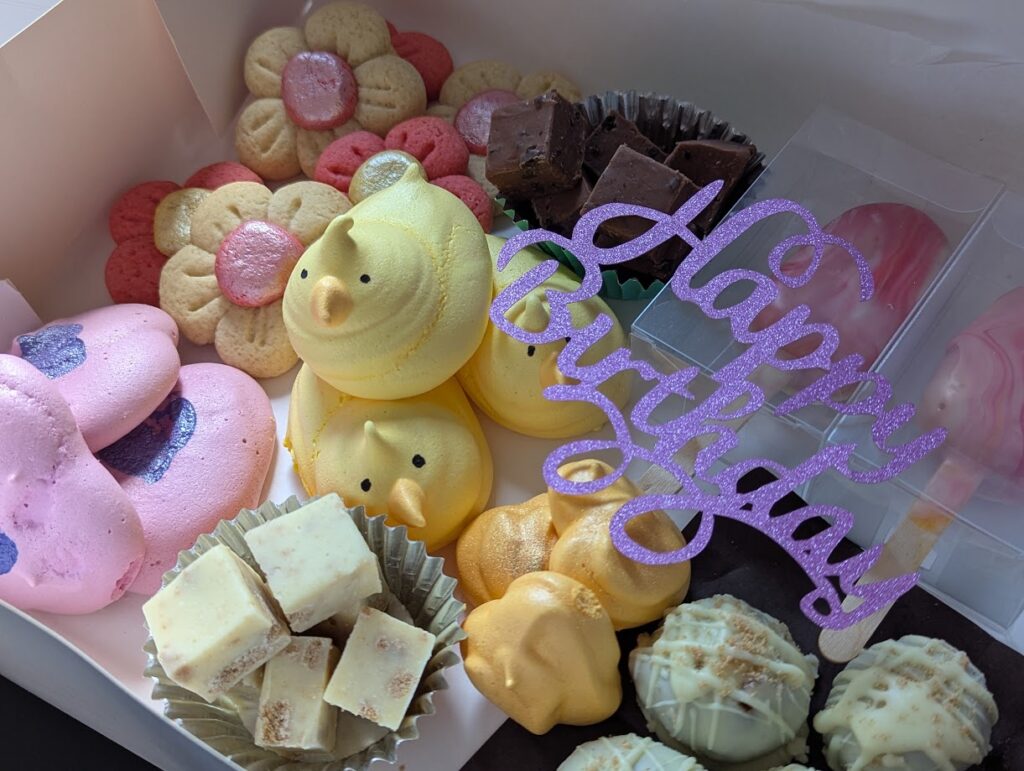
I am heading to York at the weekend to stay over at my friend’s house and take her for a spa day as an early birthday celebration. It is also my mum’s birthday at the start of next week, so I used both occasions as a reason to try some recipes and put together some treat boxes.
I used some recipes that are my own, and then others that I got from other bakers for inspiration (linked when I used someone else’s recipe)
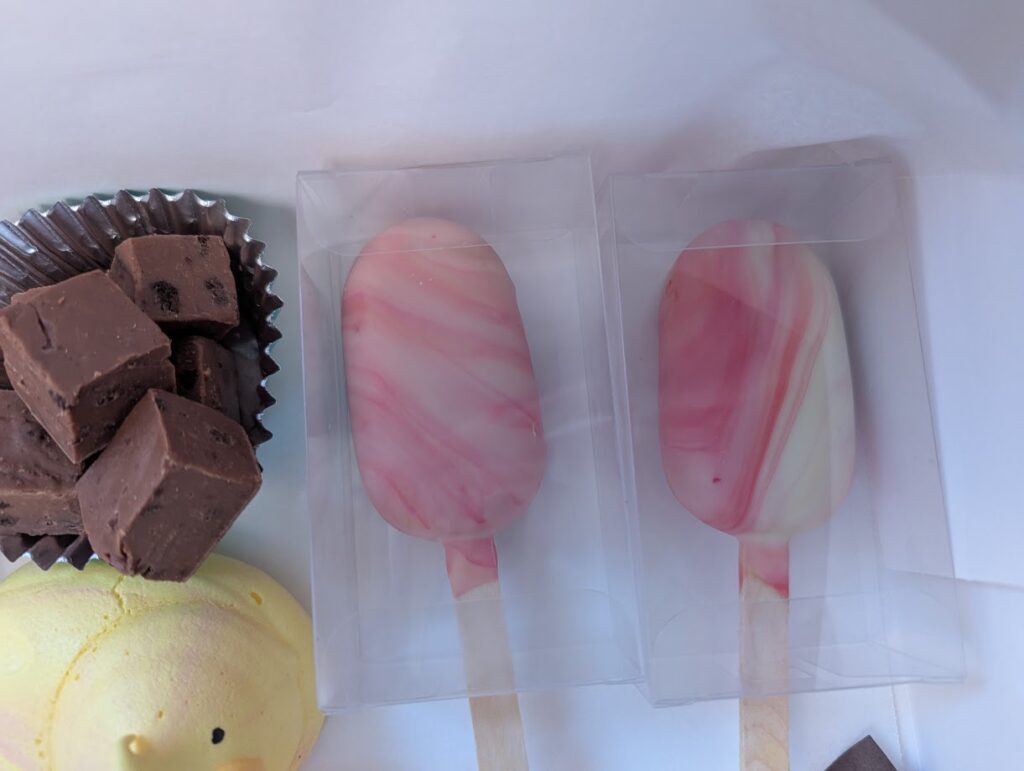
Lemon Cakesicles
These were made using offcuts of a cake I made earlier this month. I crumbled the cake into crumbs and then mixed it with lemon buttercream and lemon curd. I use a silicon mold to shape the cake into the popsicle shape, and let them freeze. Once ready, they were coated in white chocolate that was coloured with some pink and yellow oil-based colouring to get the marble effect.
I have cakesicle boxes which I popped them into as they look a tad nicer:
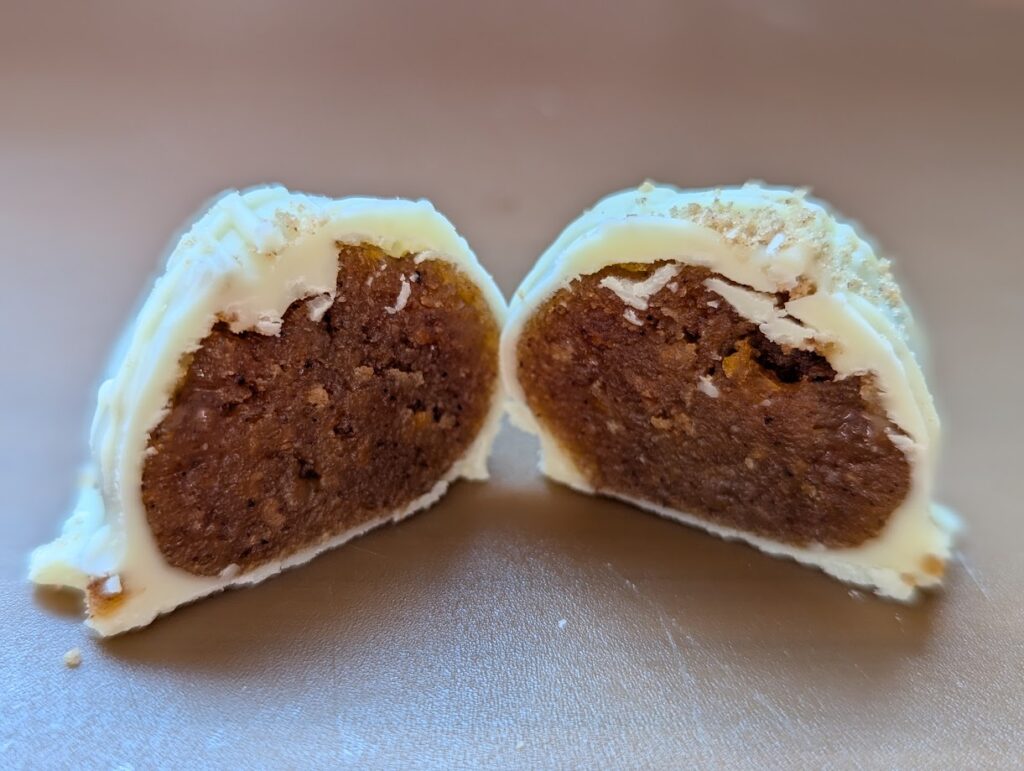
Carrot Cake Truffles
I made a small carrot cake using 1/3 of this loaf recipe from Jane’s Patisseie. The cake was then just crumbled up and mixed with some ginger conserve and cream cheese to form the truffle filling. I rolled into balls, then put in the freezer to solidify. Once ready, I melted whote chocolate to coat them and finished with biscuit crumbs.
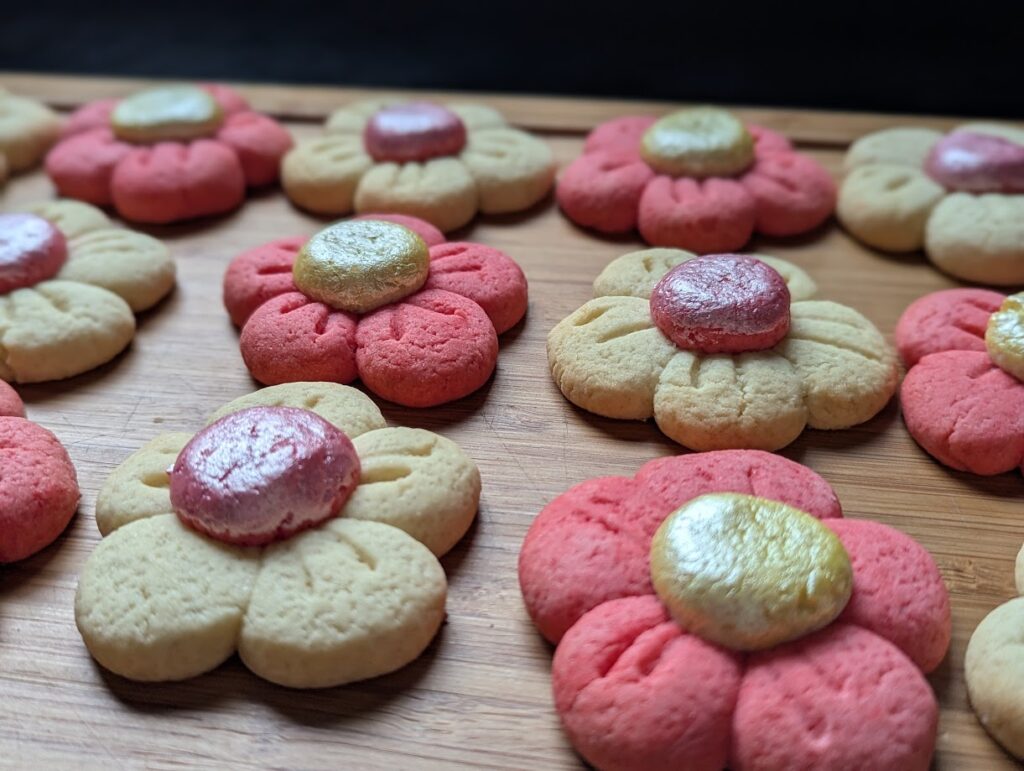
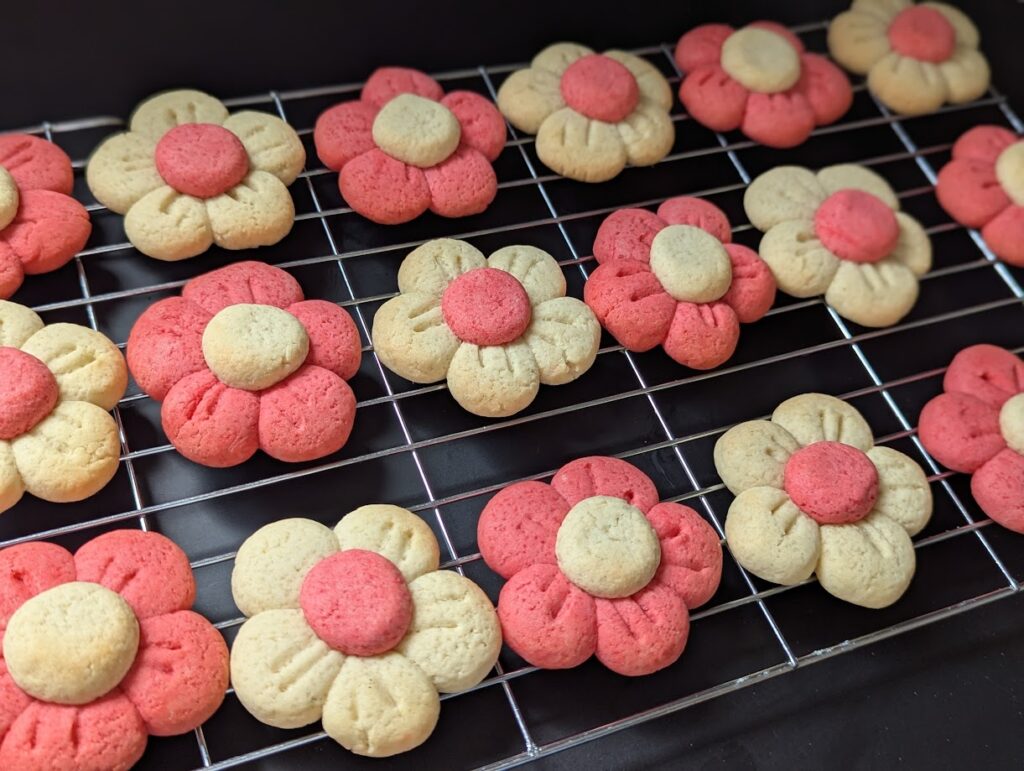
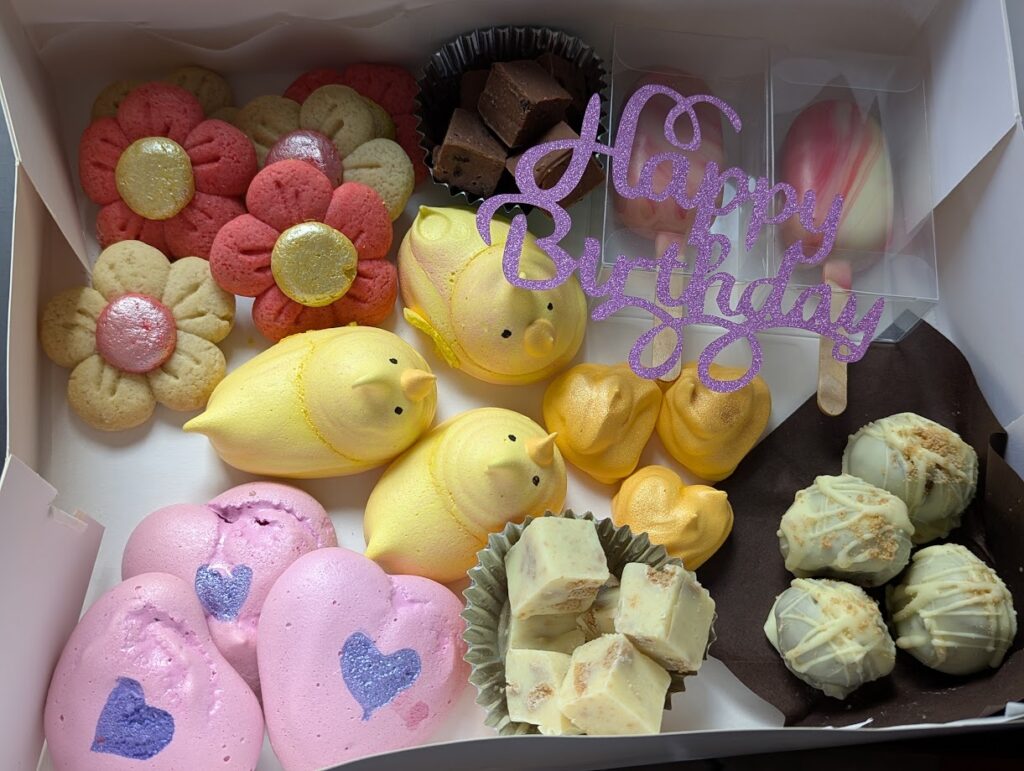
Vanilla Sugar Cookie Flowers
This recipe came directly from Chelsweets and worked amazingly well.
It’s quite a “simple” recipe, that ends up looking so cute. The longest time was rolling the small balls of dough, but it was worth it.
I finished by Cookies by adding some edible “paint” (as above) but they look just as nice without the shiny parts too:
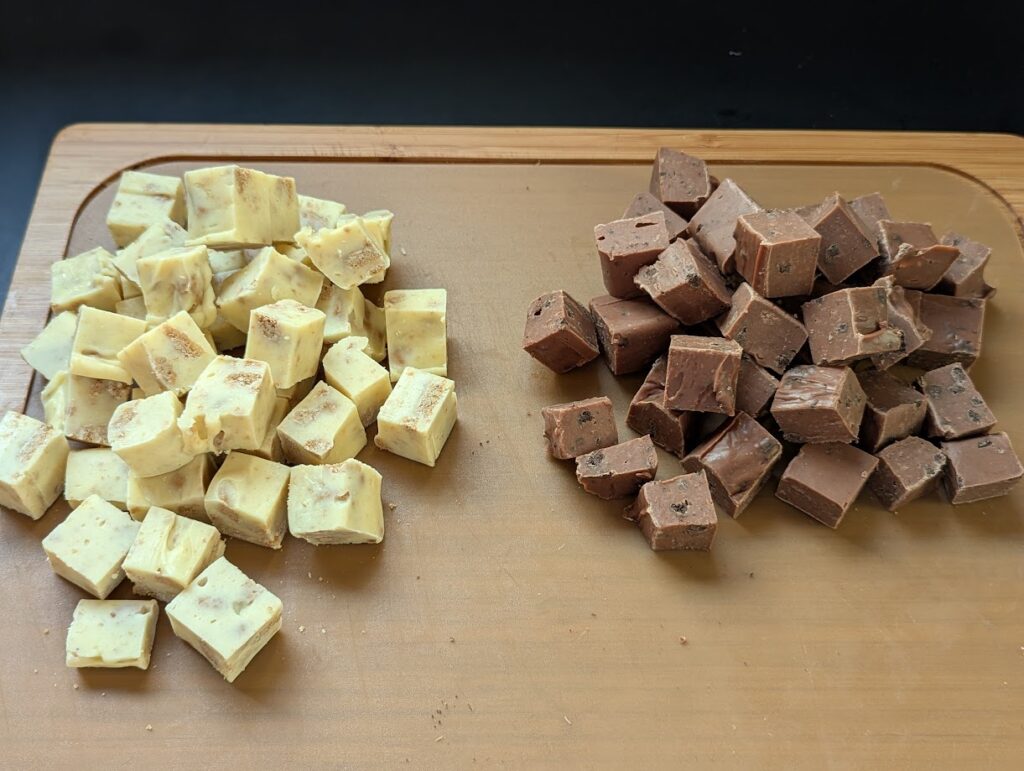
Fudge
When I make treat boxes, I nearly always make easy-fudge recipes. This time I used one can of condensed milk to make 2 different versions.
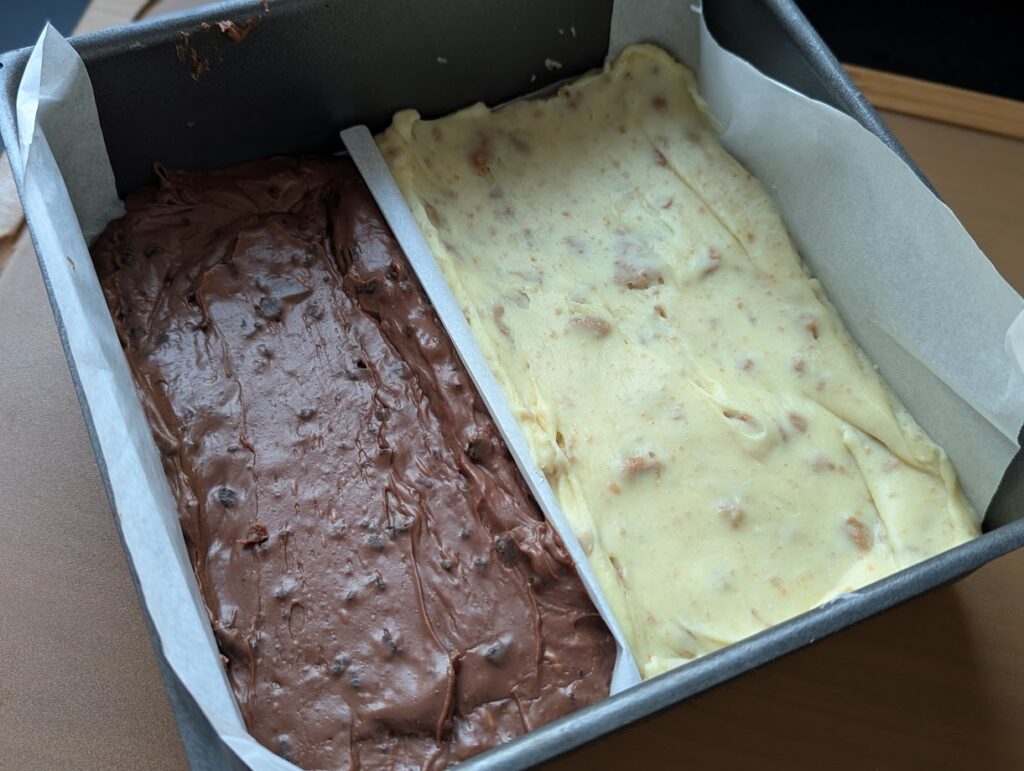
I separated them in a baking tin with some foil and greaseproof paper so I didn’t have to wash as many pans.
White Chocolate Speculoos Fudge: – 250g White Chocolate – 199g Condensed Milk – Crushed speculoos buscuits
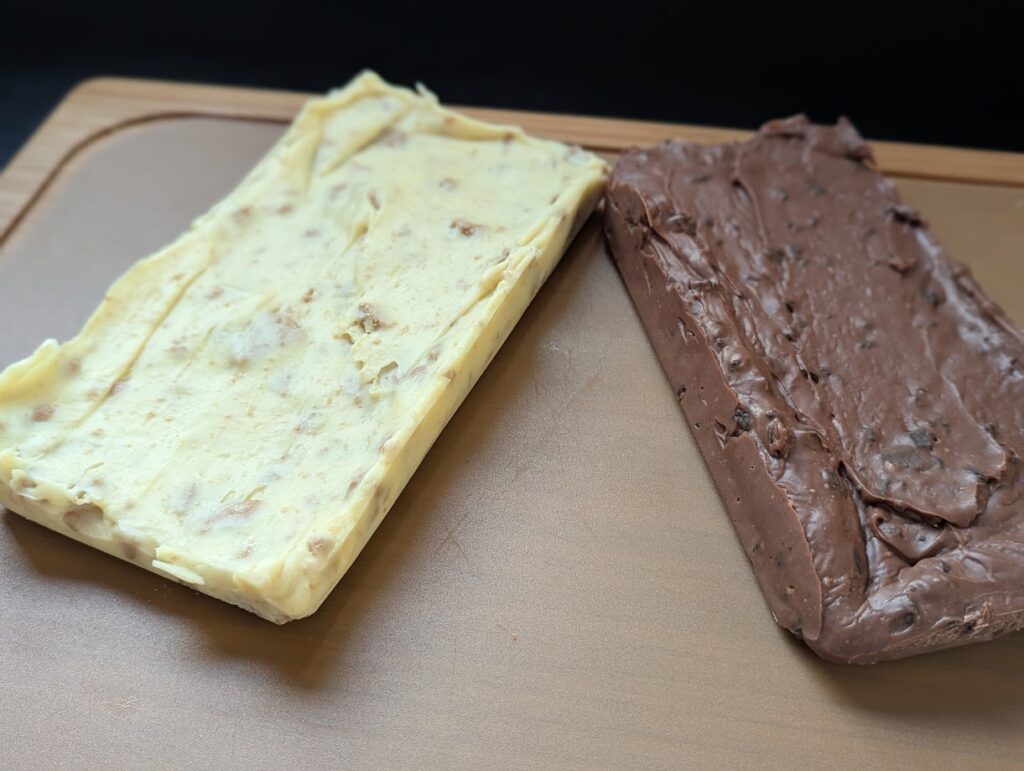
It’s a really easy recipe as all you do is melt the chocolate & add the condensed milk & fillings before chilling for 6 hours+. This was the two blocks taken straight out of the tin before I cut into squares:
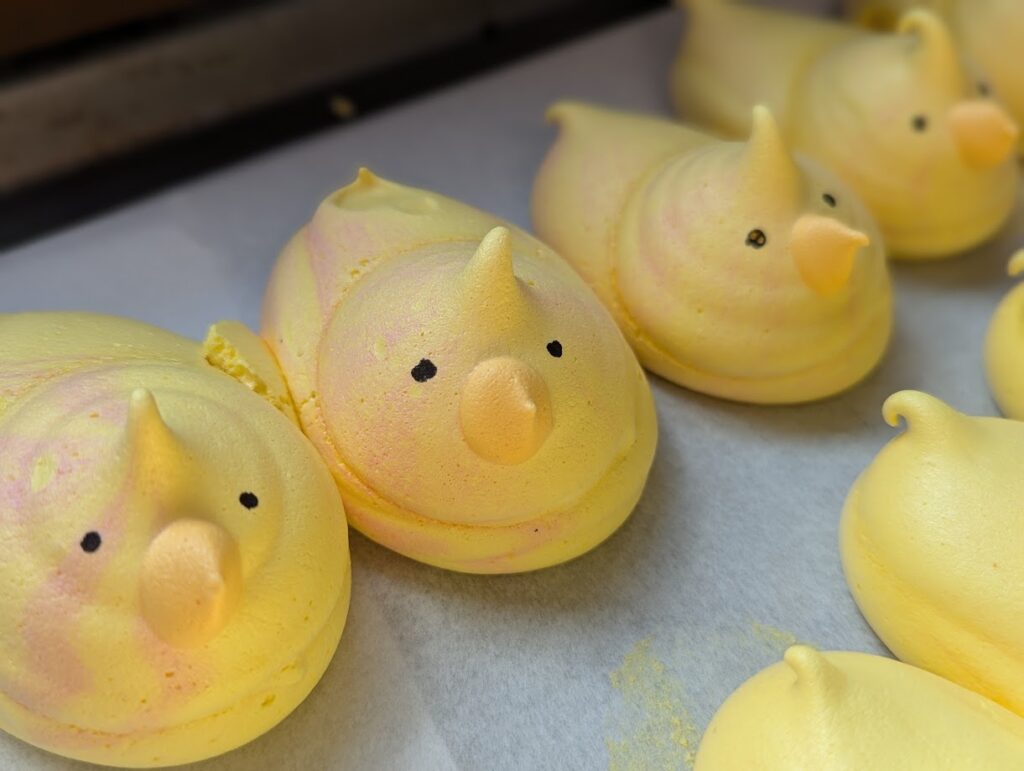
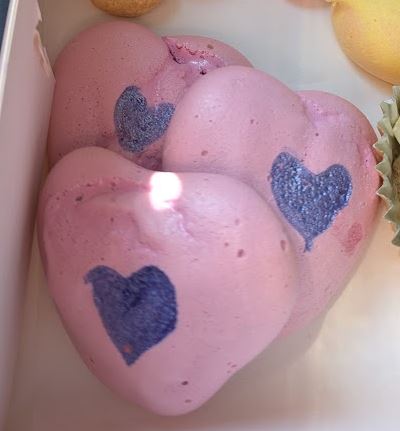
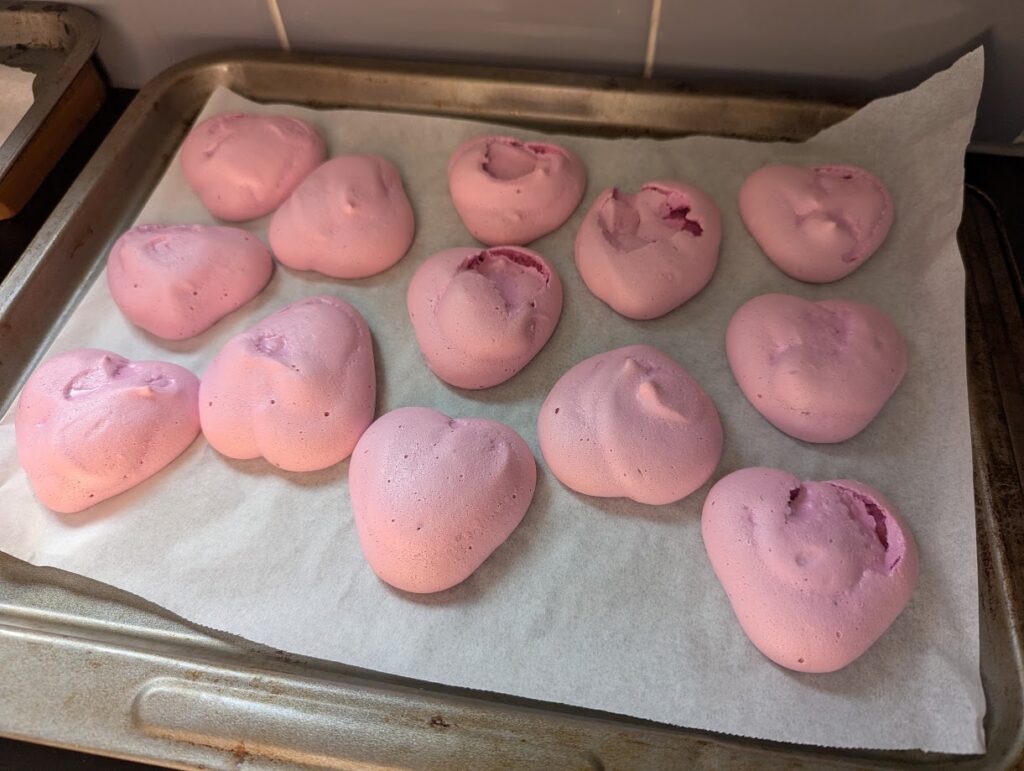
Meringue Hearts & Chicks
I used the idea from Chelsweets from her Easter cookie boxes, but used a vegan meringue recipe from Loving it Vegan as I had aquafaba to use.
I love these cute little guys!
I tried to make some pink hearts (that didn’t quite look as I pictured them in my head) so I painted a purple heart on top too.
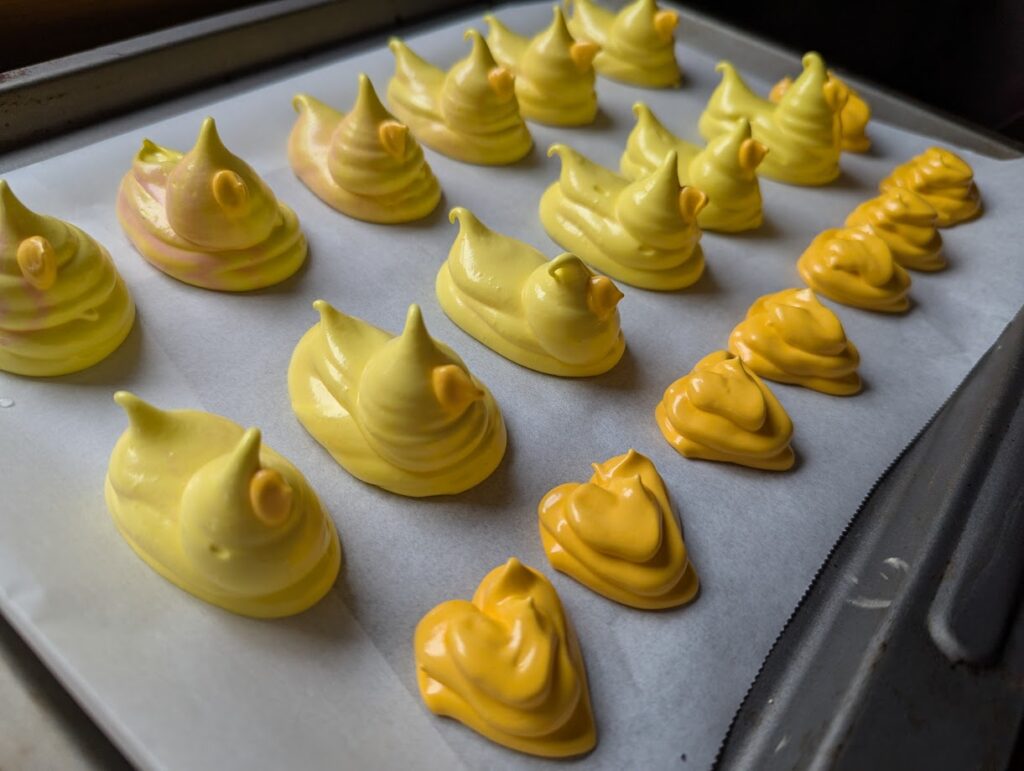
I LOVED how the chicks turned out, even though I did forget to give them wings! Here is everything before going into the oven
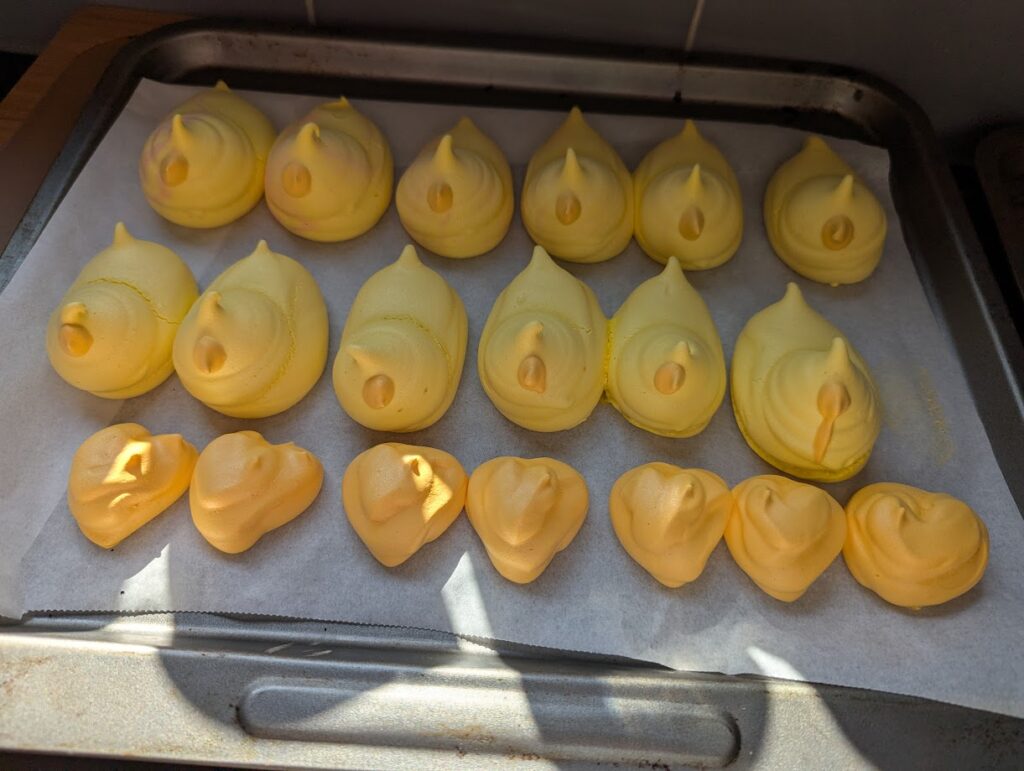
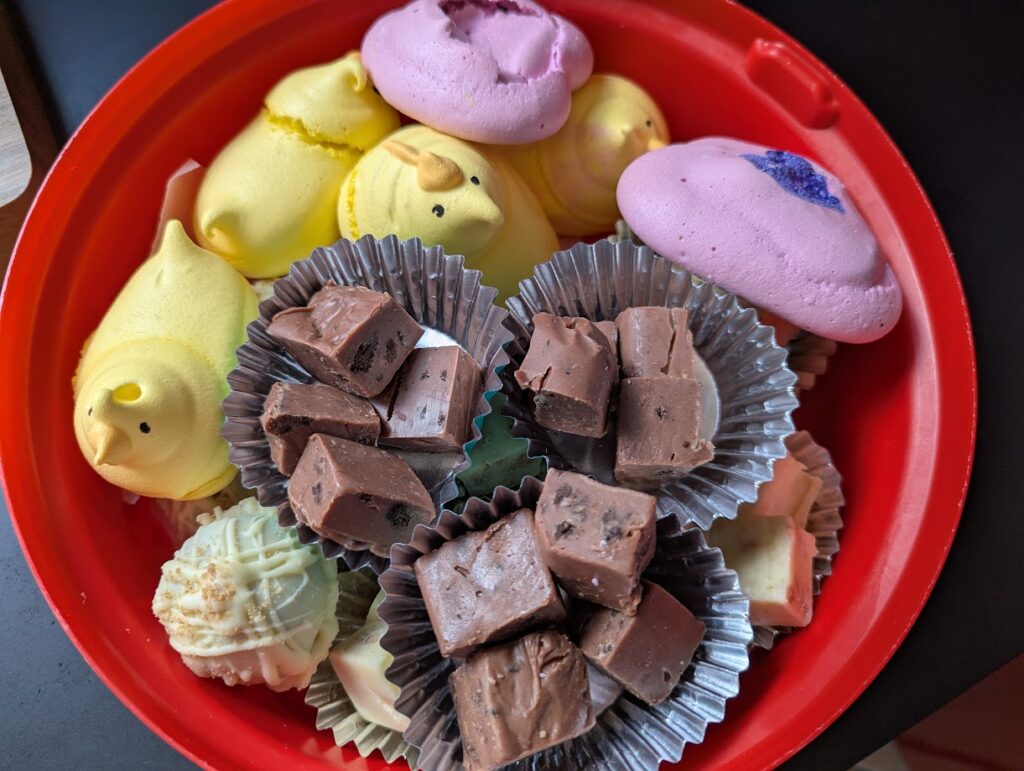
And how things looked when they had baked & cooled:
I’ve put together 2 large treat boxes, 2 small ones, and still had loads spare for eating / sharing which are just in a tub:
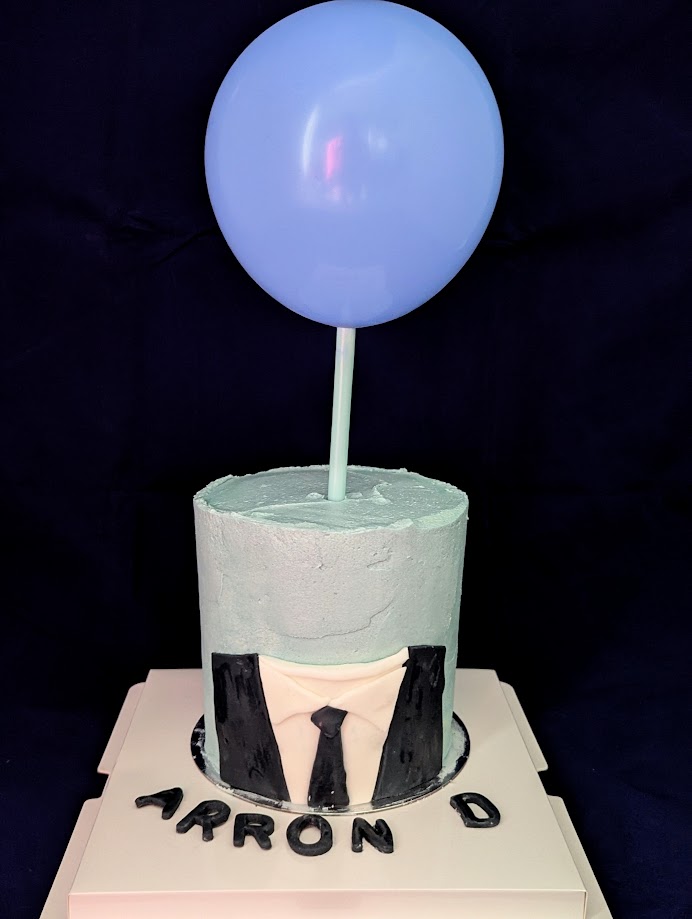
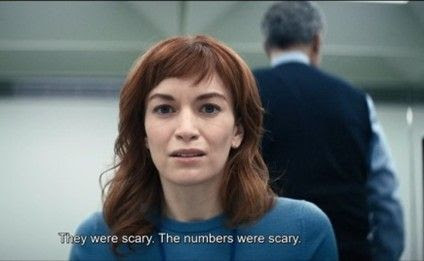
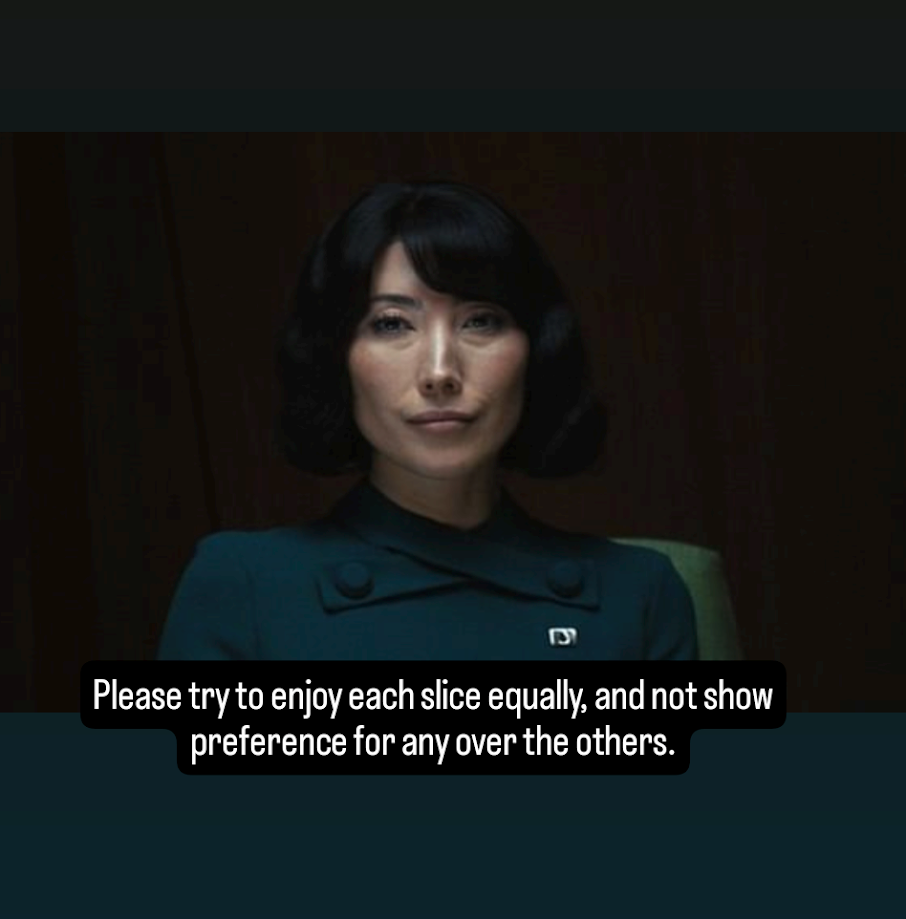
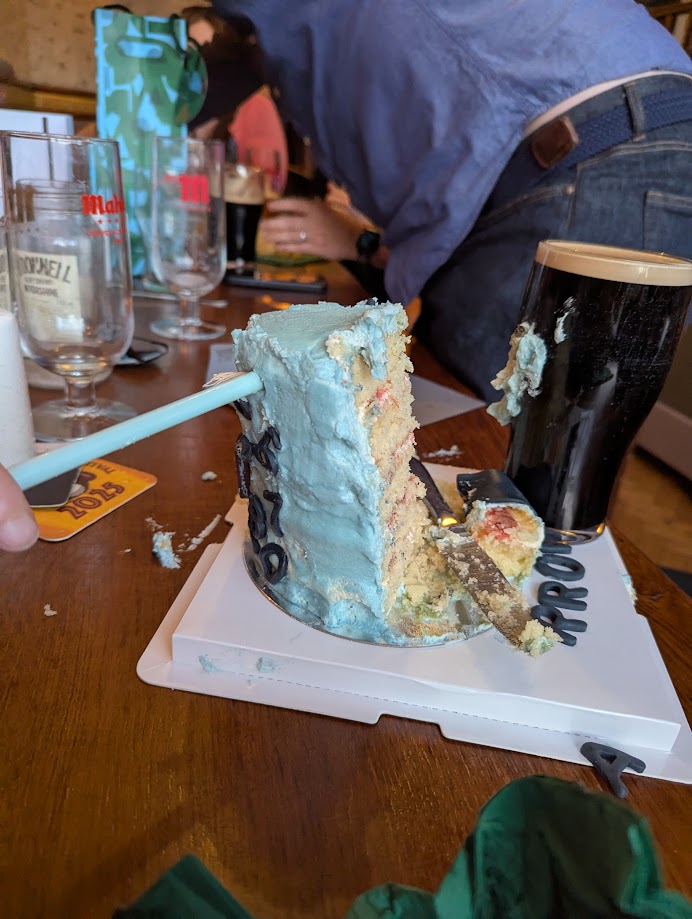
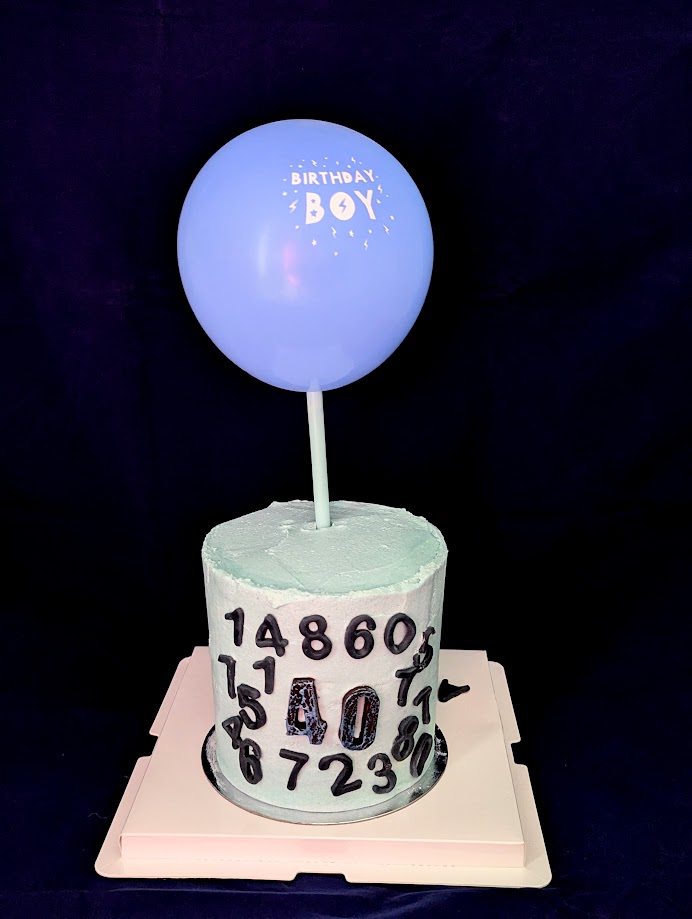
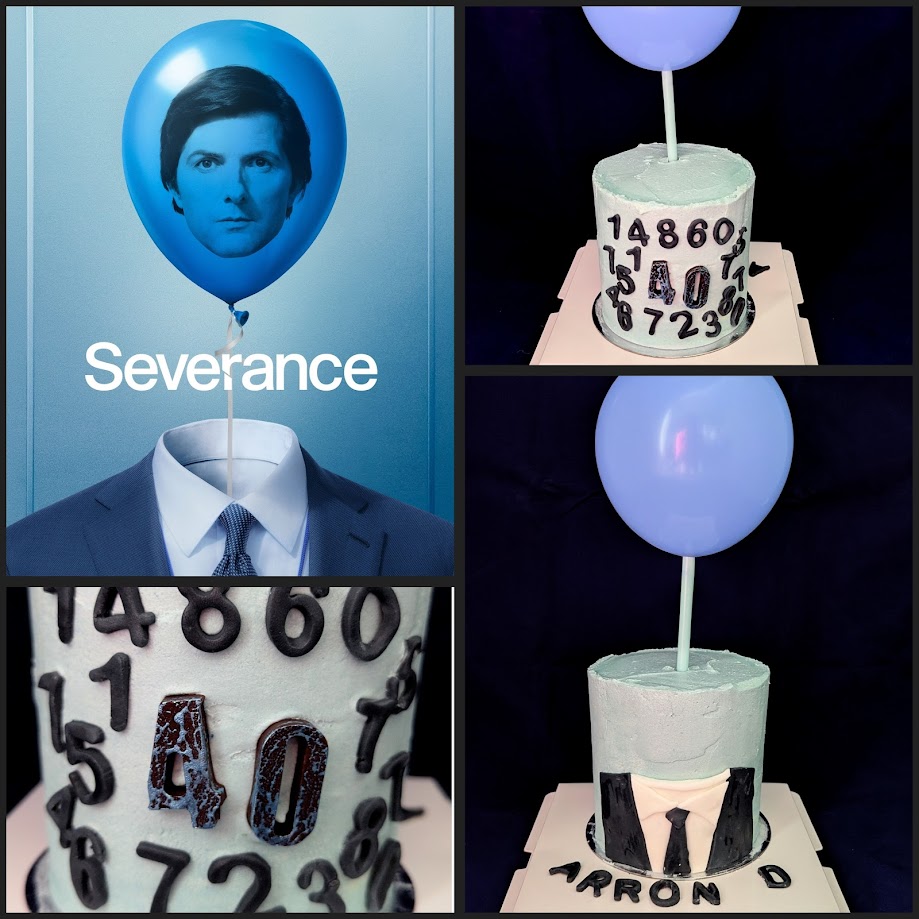
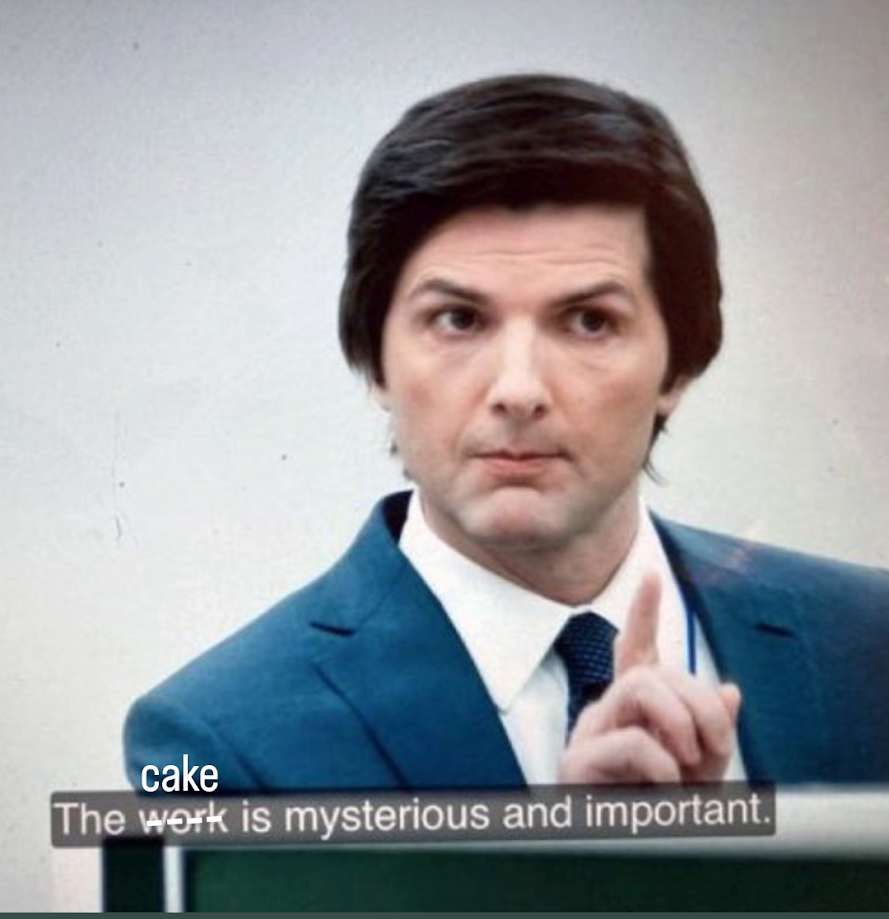
My friend is 40 today. He’s the penultimate person in our quiz-friend group to turn 40, with me being the last one next month. We all have a love for the TV show, Severance, so I decided to make a cake for his birthday based on this.
I usually lack my own ideas and look to the internet for inspiration… but there were so few out there! I had to use my own imagination.
The front of the cake / balloon was based on a TV poster for season 2:
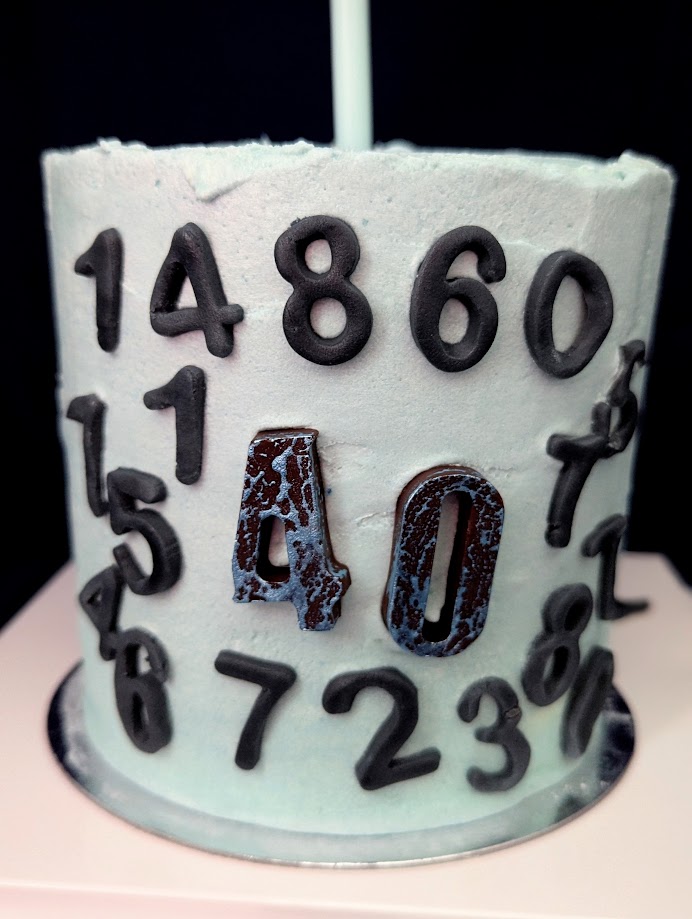
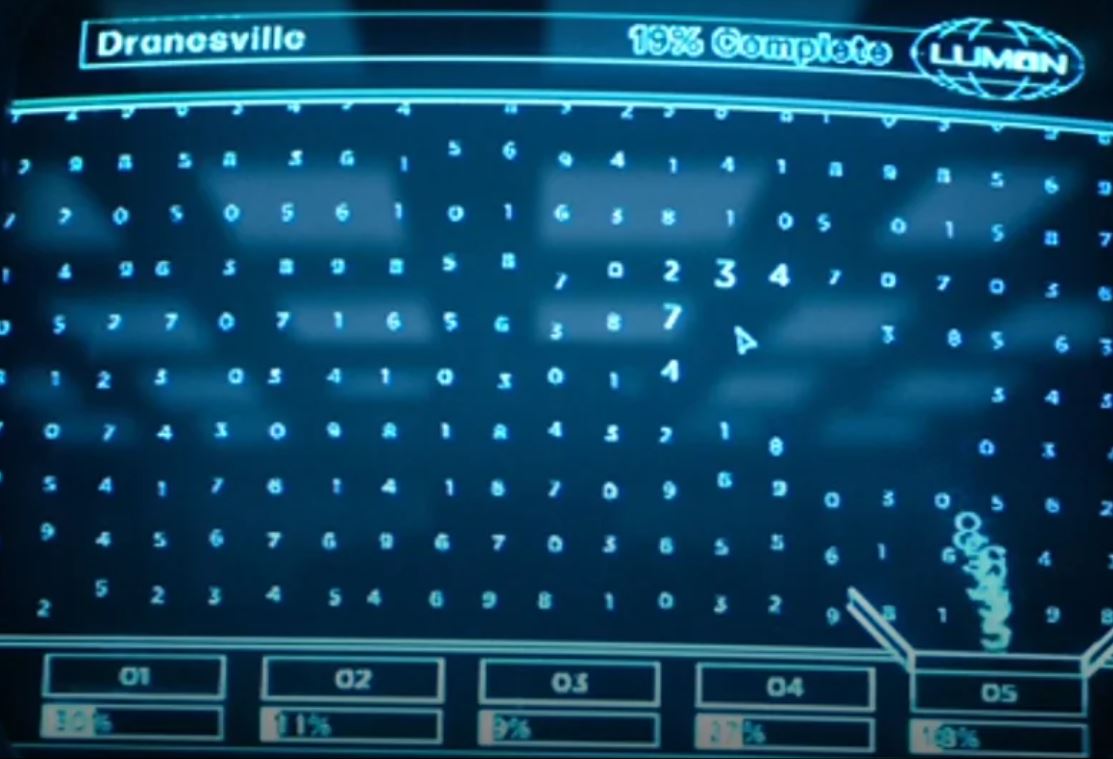
I then went for the “numbers” for the rear of the cake.
The cake itself was verrrrrryyyyy soft. I ussed plant butter for the buttercream (just as it’s so much cheaper than butter) but I added some liquid to it like I do with usual buttercream and this led to a very soft consistency. It held shape, but it did not hold up to being sliced with a butter knife at the pub. At least it tasted AMAZING!
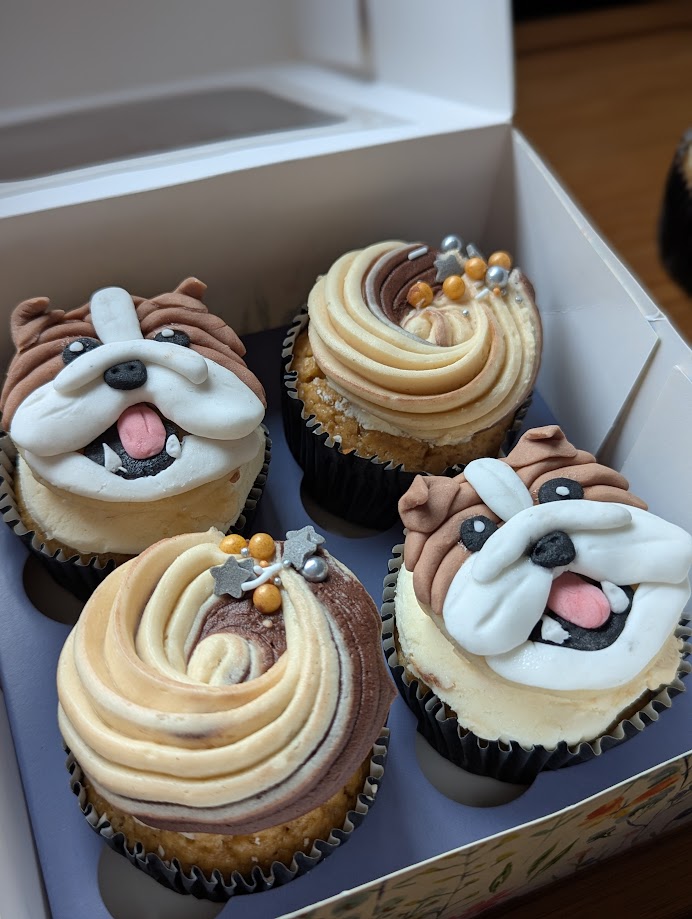
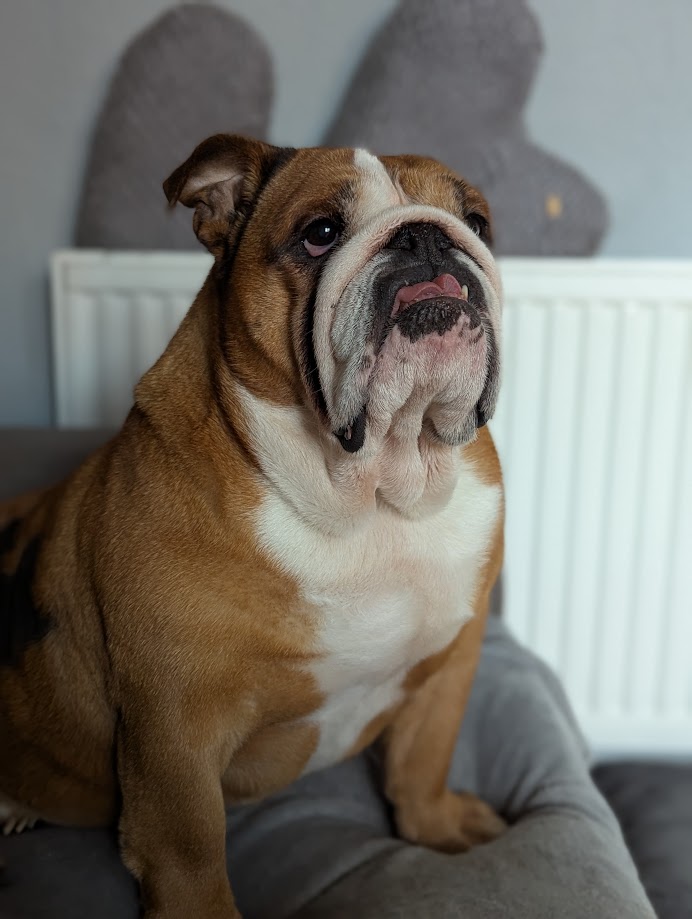
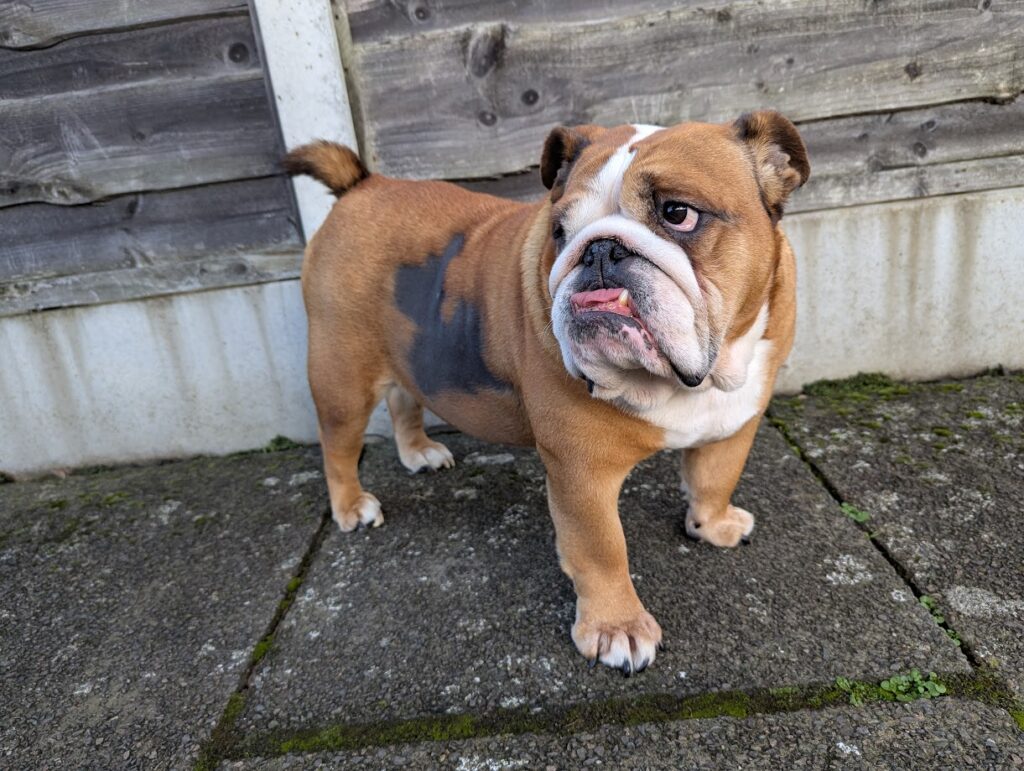
I look after a Bulldog called Betty from time to time after a few years back when she came to stay with us for a few months. Her owner is 50 this week, and went to Liverpool to celebrate at the weekend so Betty came to stay with us.
I wanted to treat her owner, so I got a few bits & pieces and then decided to make some cupcakes with Bulldogs on! This is Betty who I used for the inspiration…
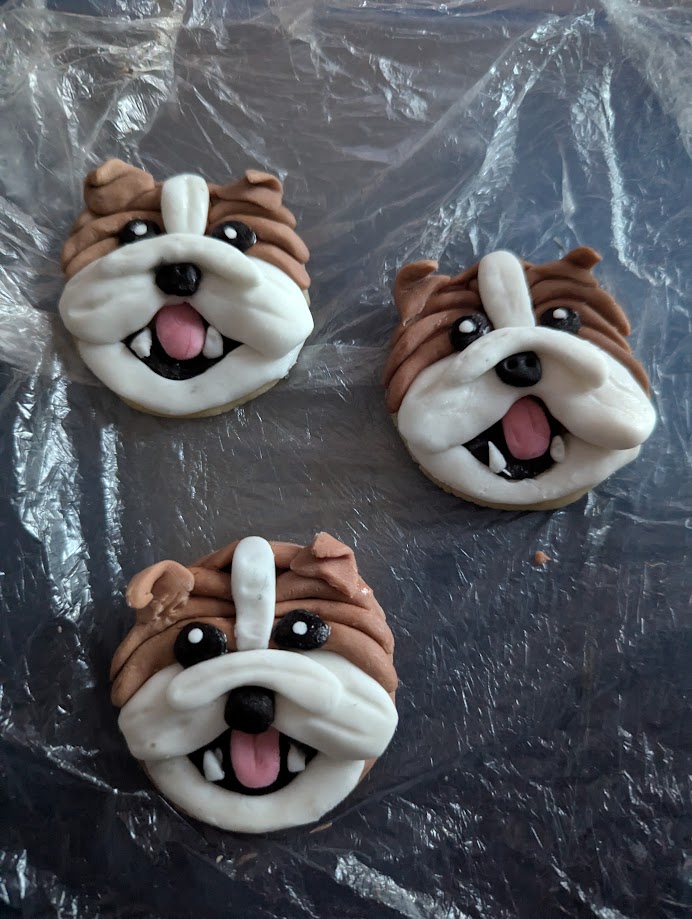
Betty was actually sat on the sofa next to me whilst I used a tray and fondant to make the toppers. I basically used various colours of fondant to make these bulldog faces:
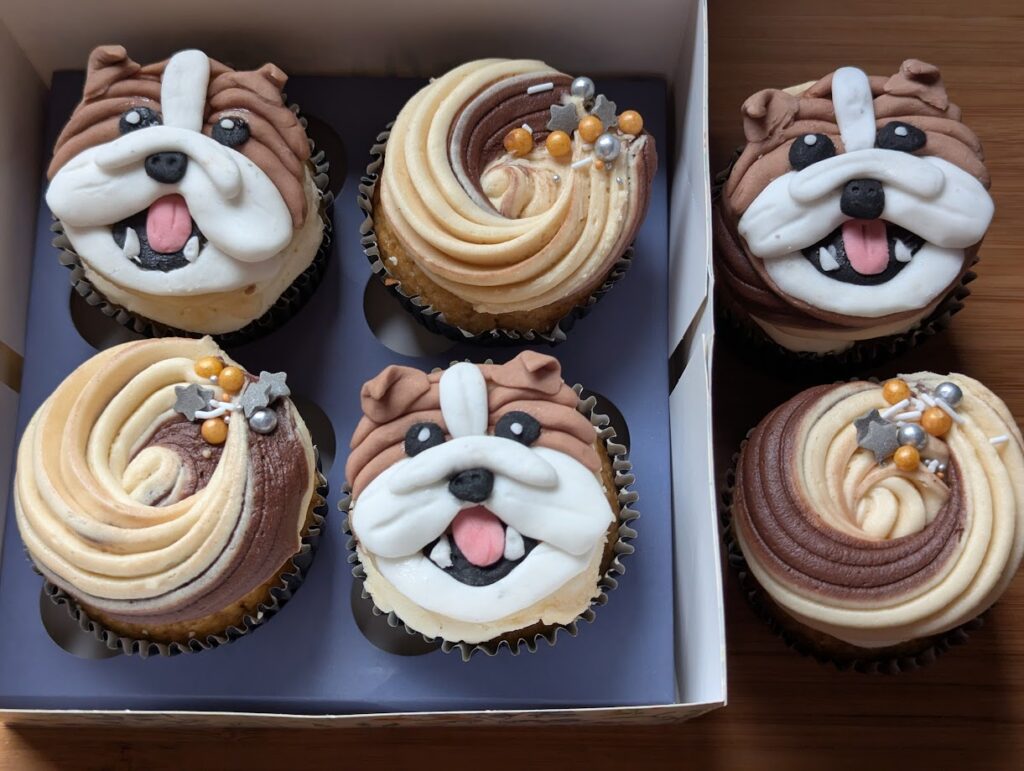
I made 3 but only used 2 in the box of cakes that I gave to the recipient. The spare one has topped a cupcake that is back in the freezer to pass on to my parents too!
The actual cupcakes are made with a Caramelised Biscuit liquer (like Biscoff) which was also used in the buttercream topping. I added some cocoa powder ass well to give a chocolatey swirl, and finished with some sprinkles.
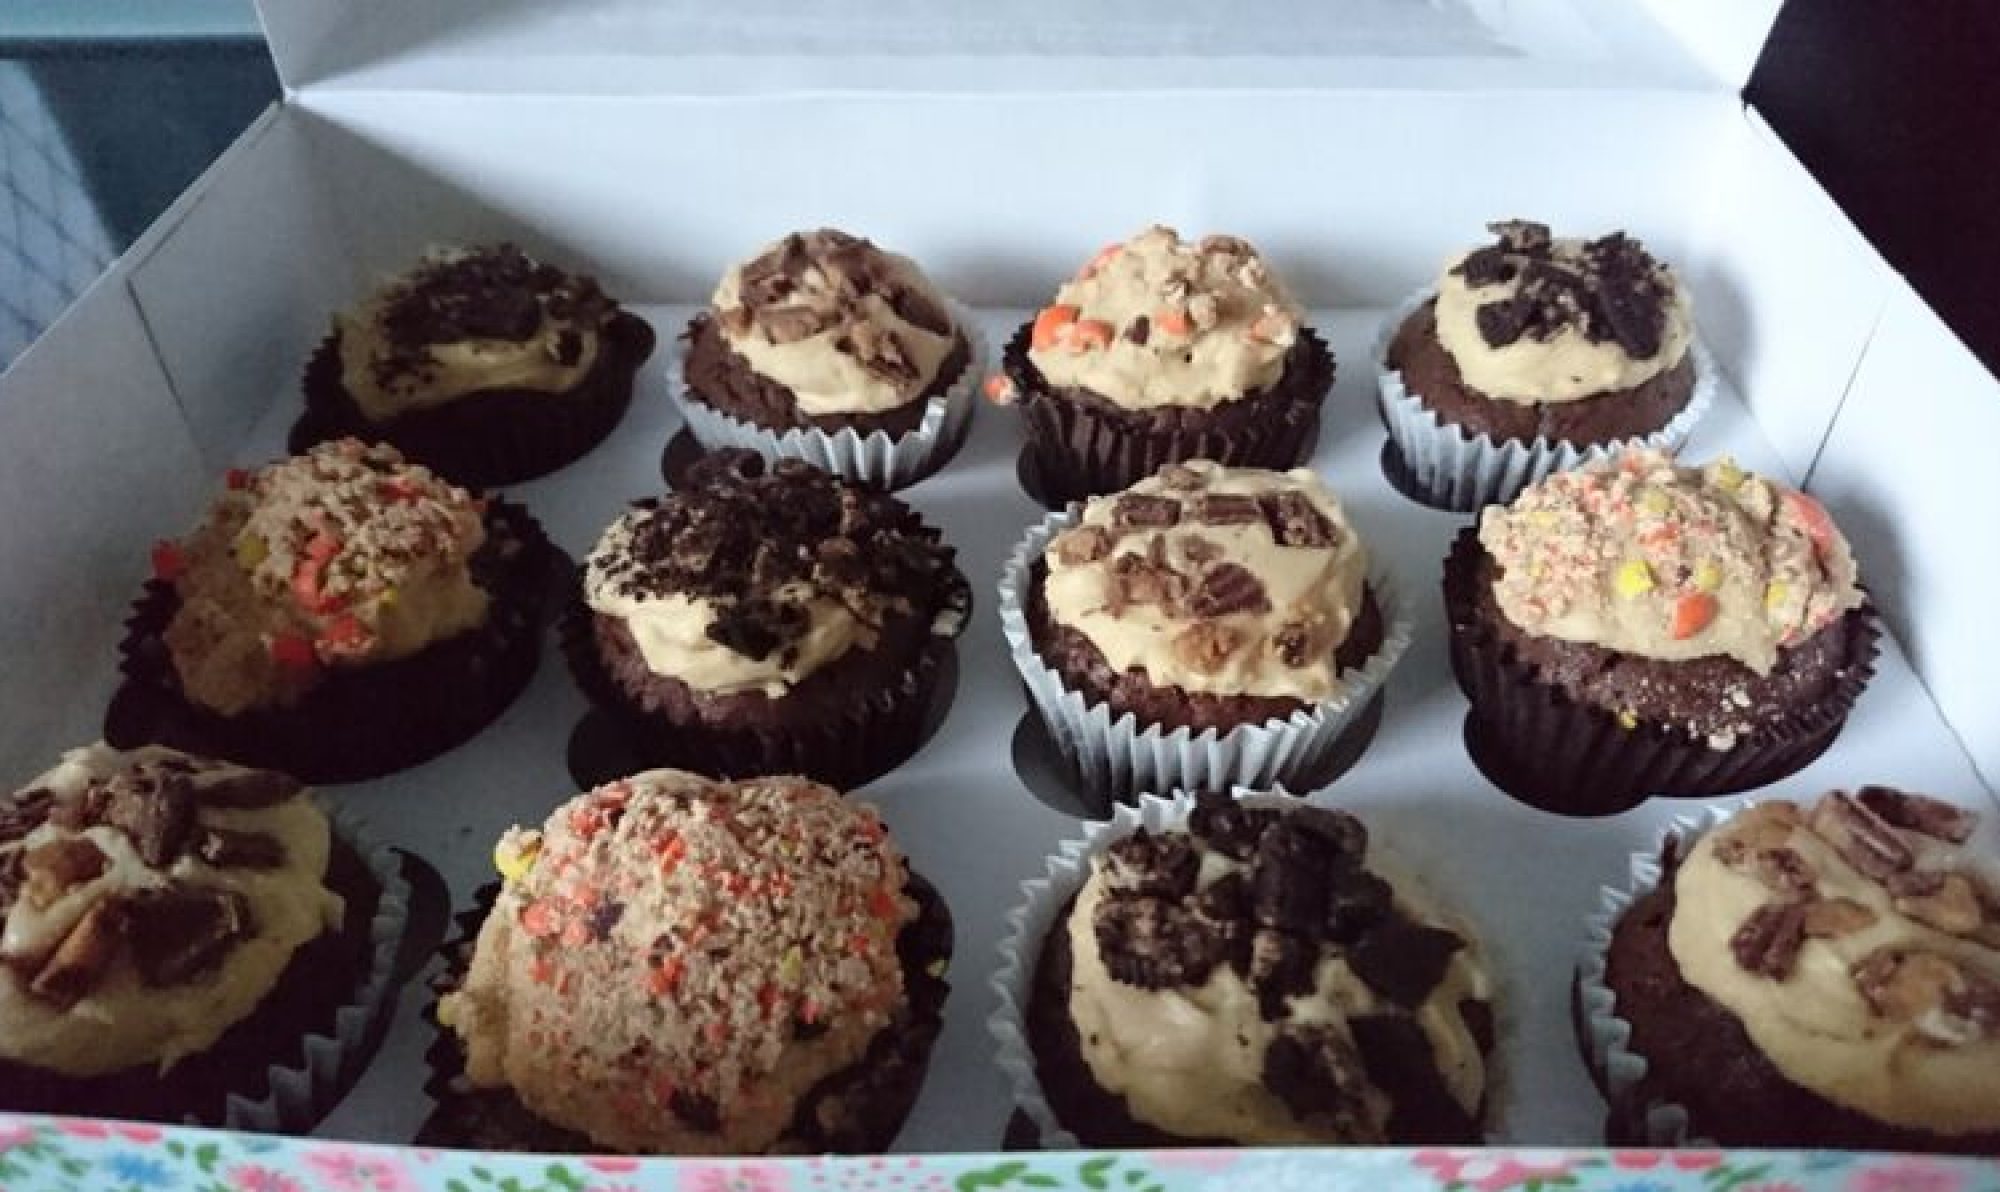
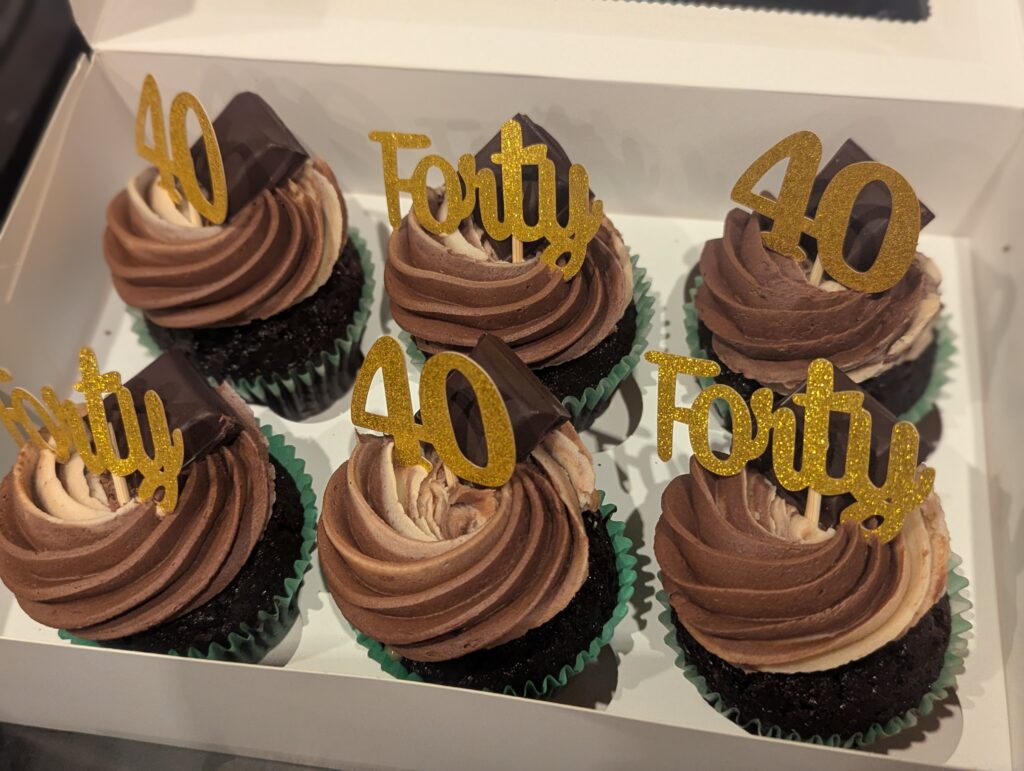
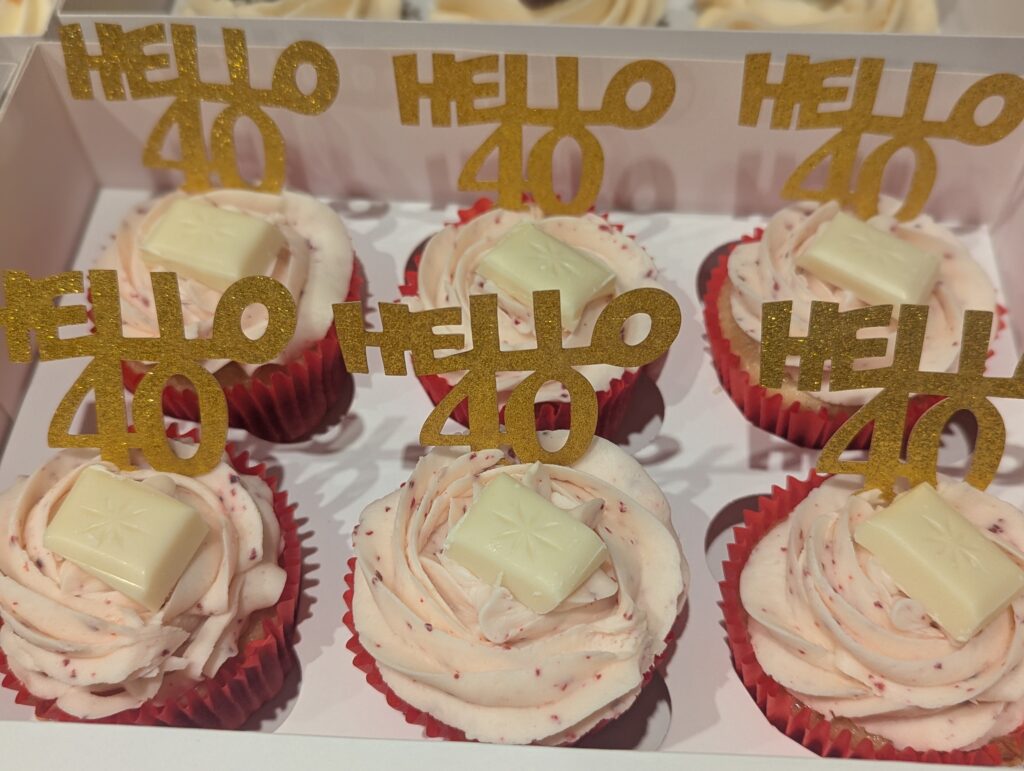
My sister in law is 40 this week, and my husband asked me to make 40 cupcakes for her. I bake in multiples of 6 and only had boxes that hold 6 or 12, so she’s getting 42 instead. It is the answer to life, the universe and everything, so I’m sure that the 42 is OK.
Anyway… The cakes
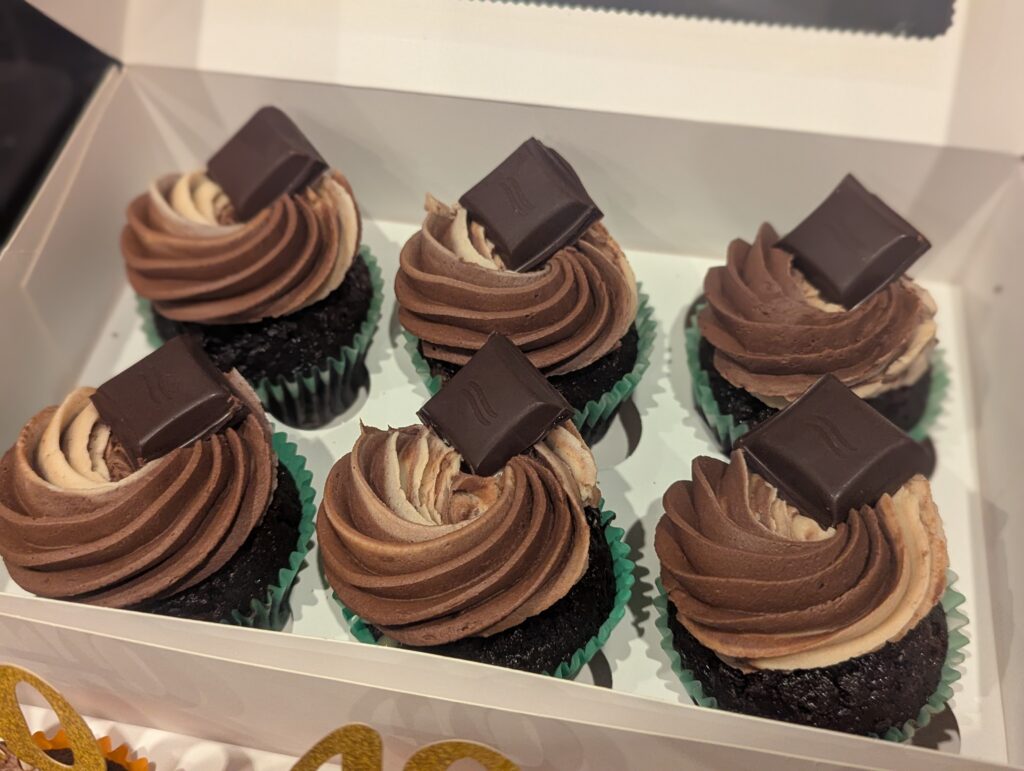
Mint chocolate:
Chocolate cake with a peppermint fondant filling. Topped with chocolate and mint swirled buttercream and a piece of mint chocolate bar.
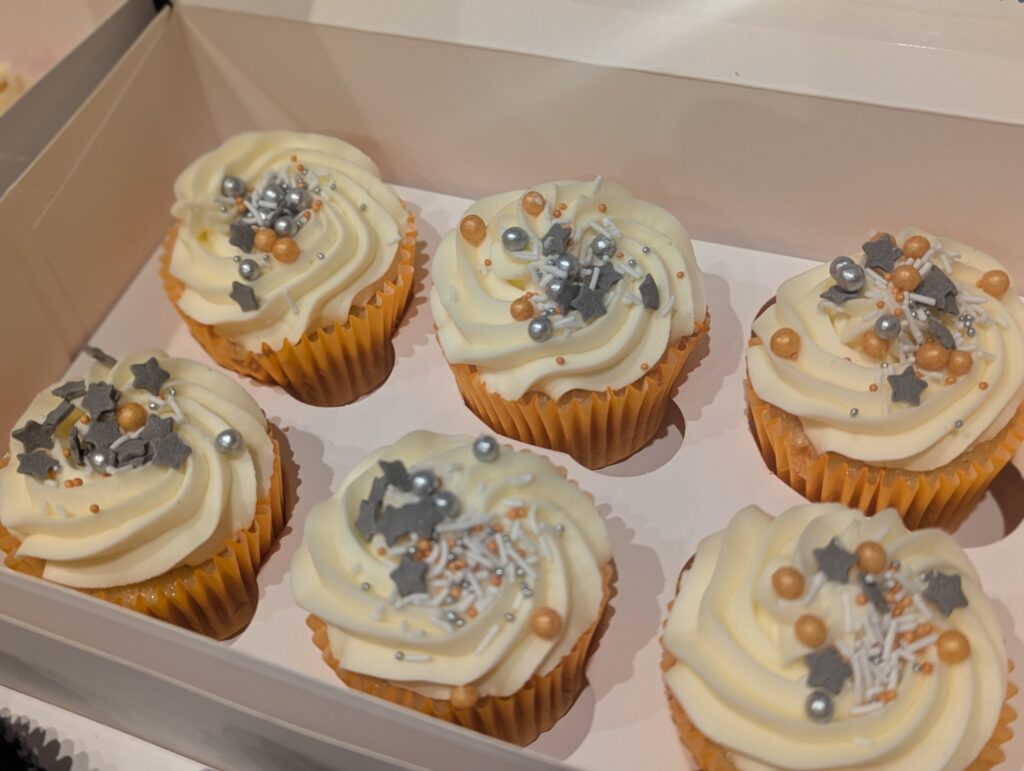
Vanilla:
Vanilla sponge topped with vanilla buttercream and sprinkles. A classic.
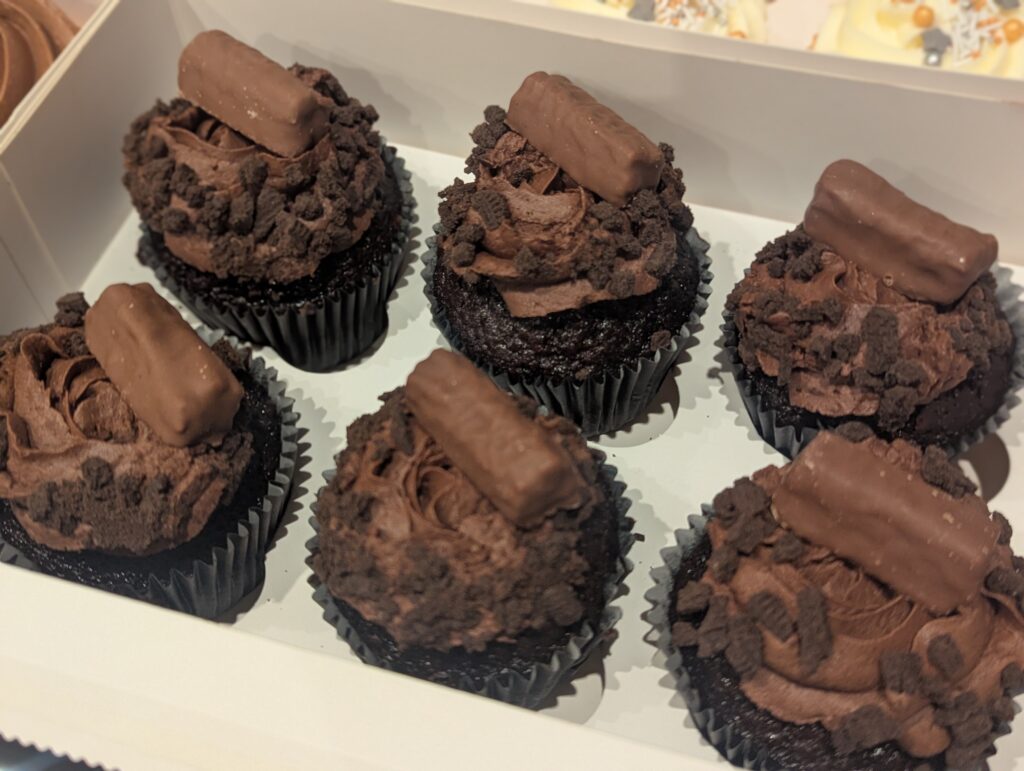
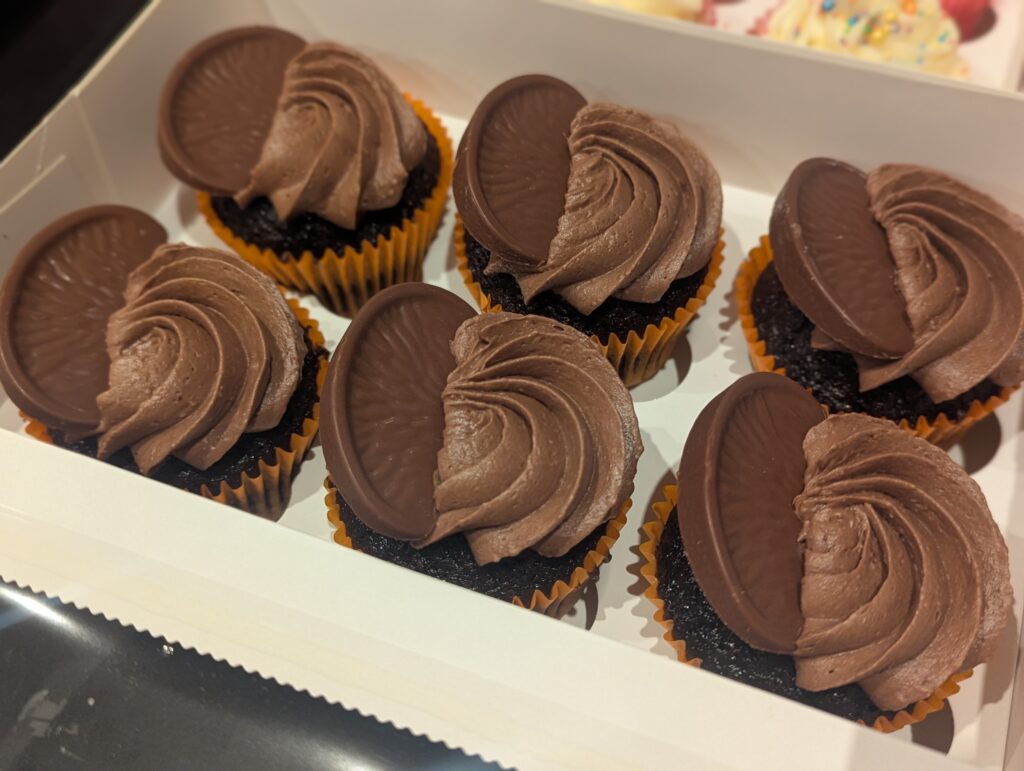
Mega chocolate:
Chocolate cake, topped with chocolate buttercream (made with additional melted dark chocolate mixed in). Finished with Oreo Crumbles and a Cadbury Twirl mini.
Lemon:
Another simple, yet effective flavour. Lemon sponge, topped with lemon buttercream and sprinkles.
Chocolate Orange:
Chocolate sponge that was flavoured with Orange essence. Topped with orance chocolate buttercream, and a Terry’s Chocolate Orange segment.
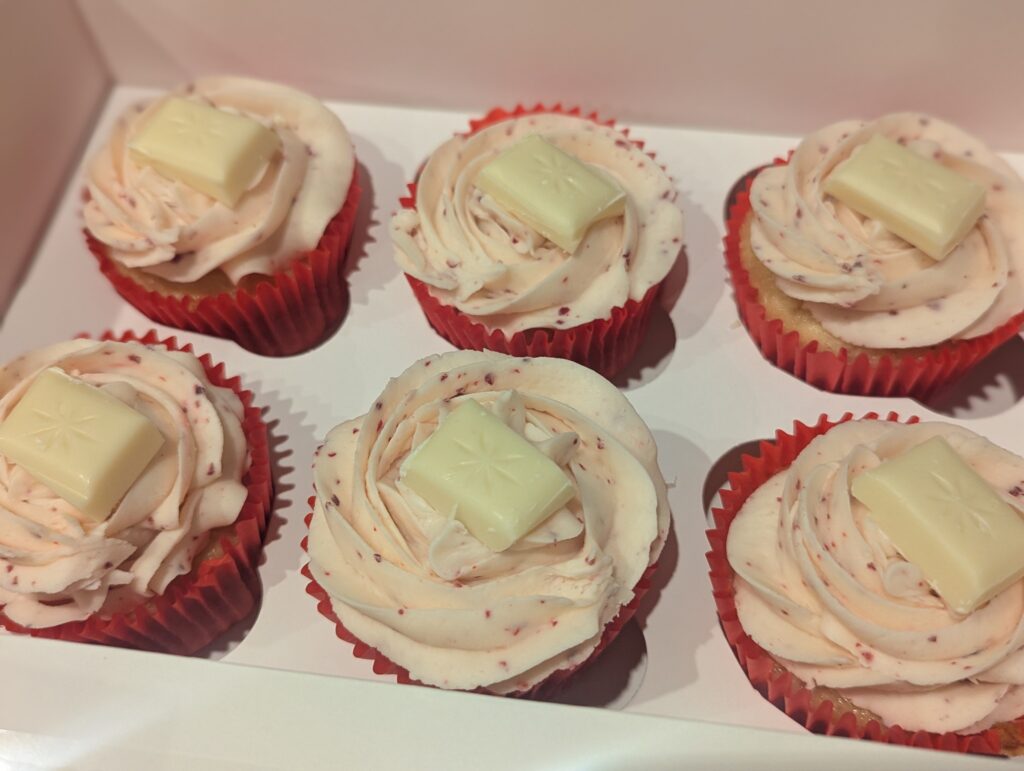
White Chocolate Cherry:
Sponge cake flavoured with cherry essence and white chocolate chips baked in. Topped with cherry buttercream and a white chocolate chunk.
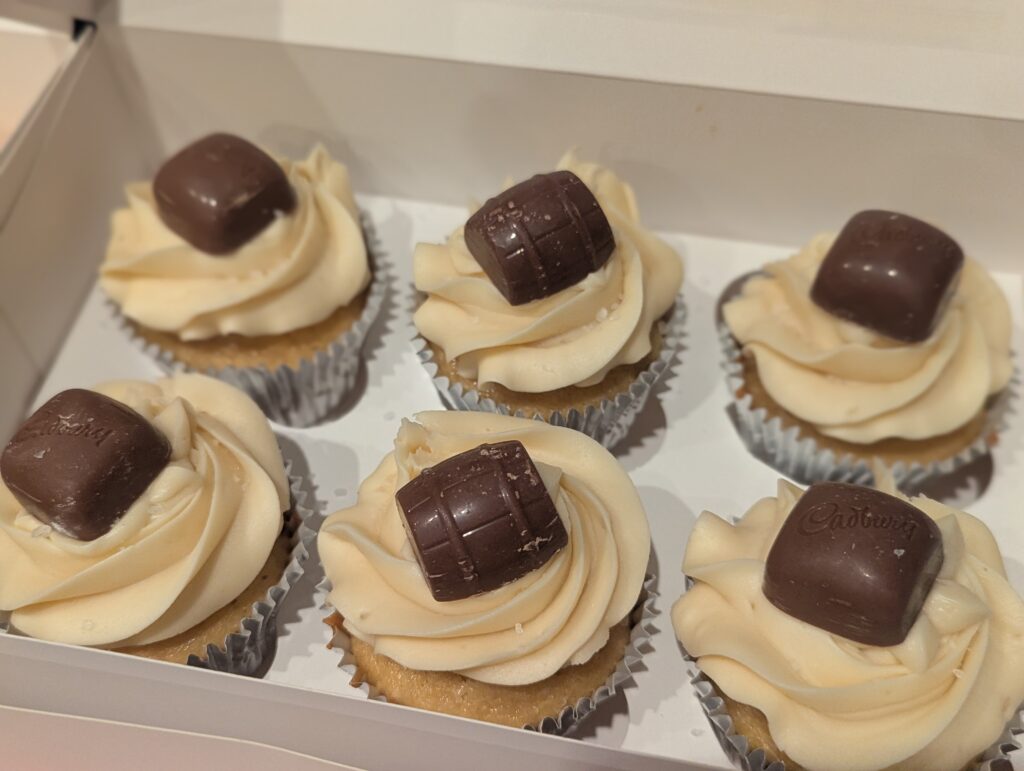
Salted Caramel:
Salted caramel flavoured sponge topped with salted caramel buttercream and a sprinkle of sea-salt. Fainal touch are Cadbury caramel chocolates / Quality Street caramel barrel.
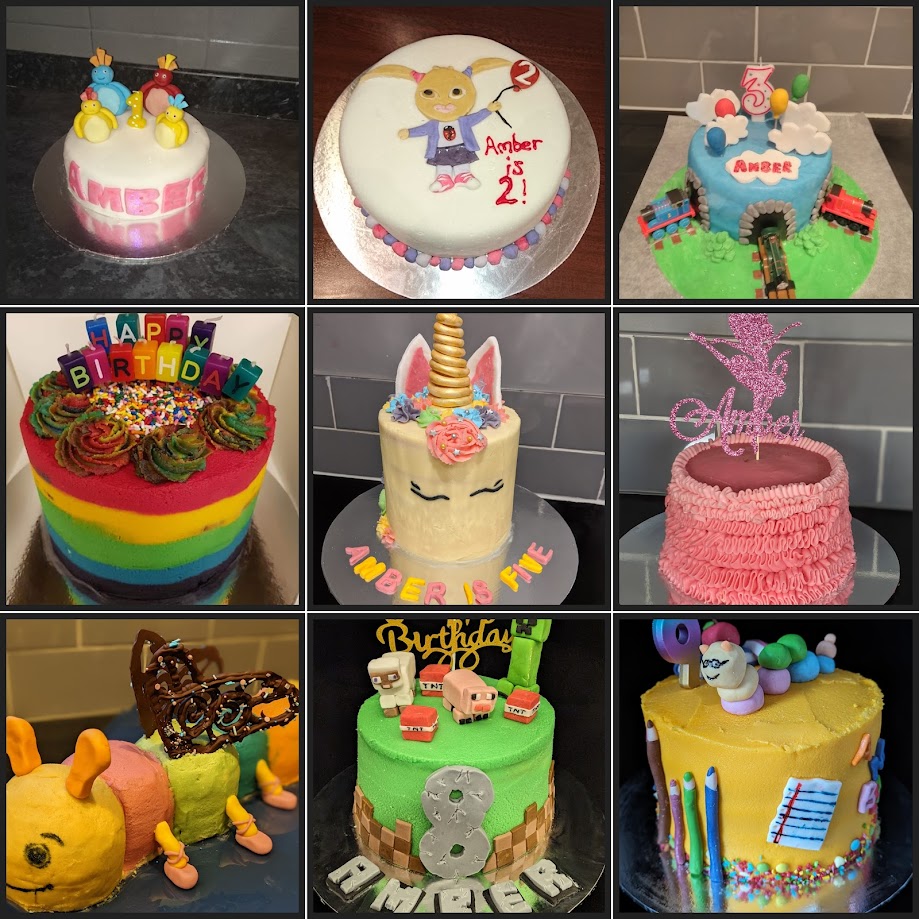
Amber is my eldest niece, and I’ve made her birthday cakes every year since she was born. Usually, I make a cake based on her request and over the years this has included:
Unicorn Cake
School Cake
Minecraft Cake
Rainbow Ballerina Fairy Caterpillar
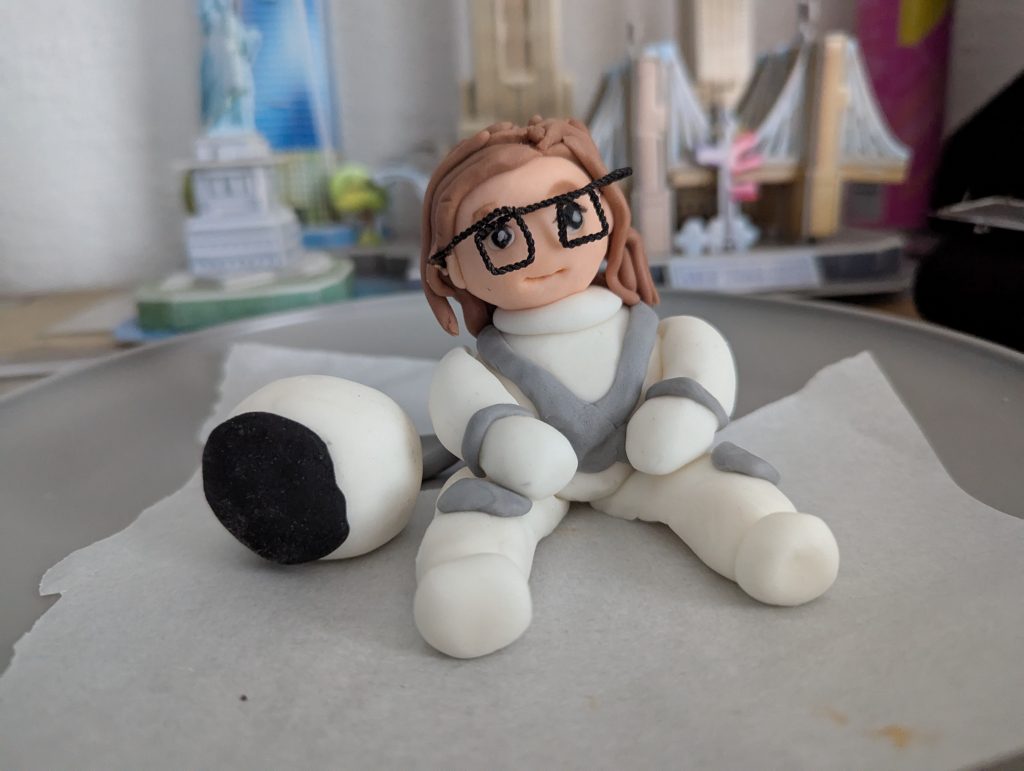
Her birthday falls quite soon after Christmas, and often the ideas come my way later on. This year, I asked if I could just run with my own idea and I was told to “have fun with it”. In school last year, Amber learnt about space and has been really interested in it ever since. She was jealous that we went to visit NASA in Houston on our trip last year, so I knew that I wanted to make her a “space” themed cake.
I made a fondant cake topper astronaut with its helmet off, so that I could try model a character of Amber to sit on the cake. The glasses were the hardest part for me – I couldn’t make them out of icing (too fiddly) so I ended up stripping a pipe-cleaner instead.
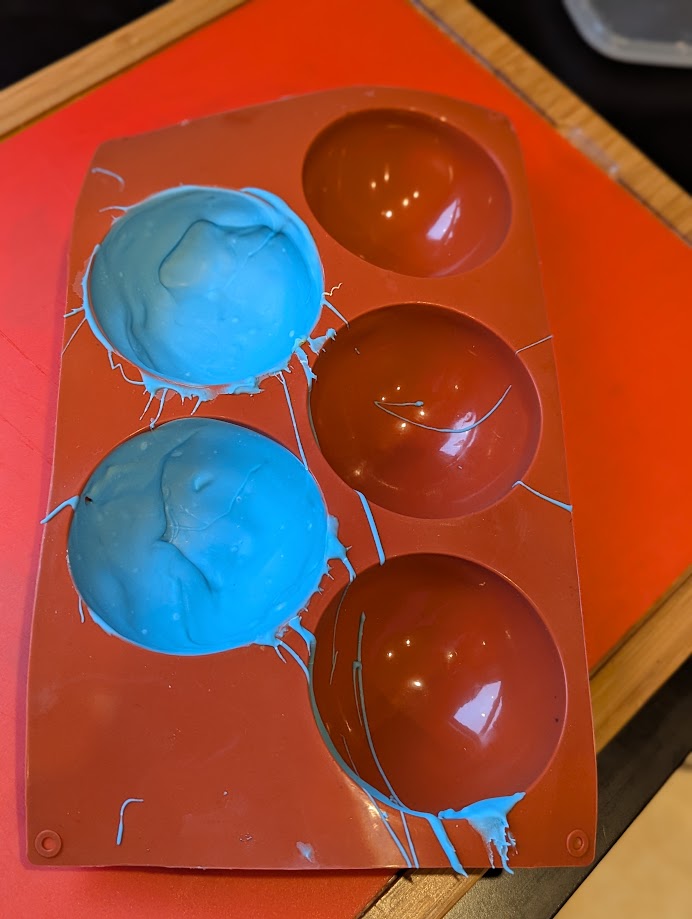
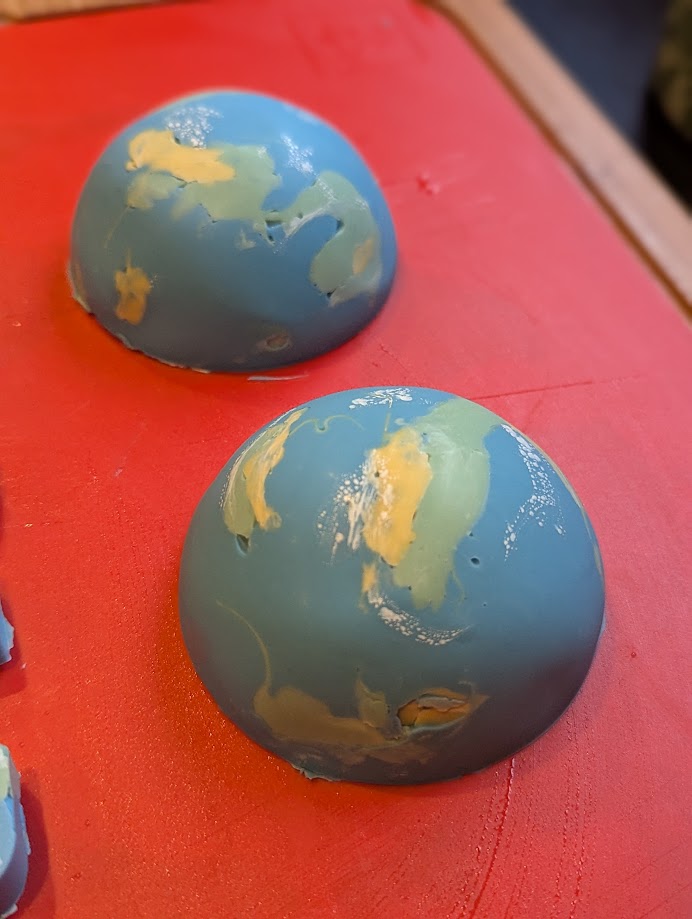
The planet on the top of the cake was made using a round silicon mold that a workmate gave me in December as they weren’t going to use them… never has something come to me so perfectly timed.
I was scared that they’d snap when trying to remove them from the mold, but they came out intact – hooray!
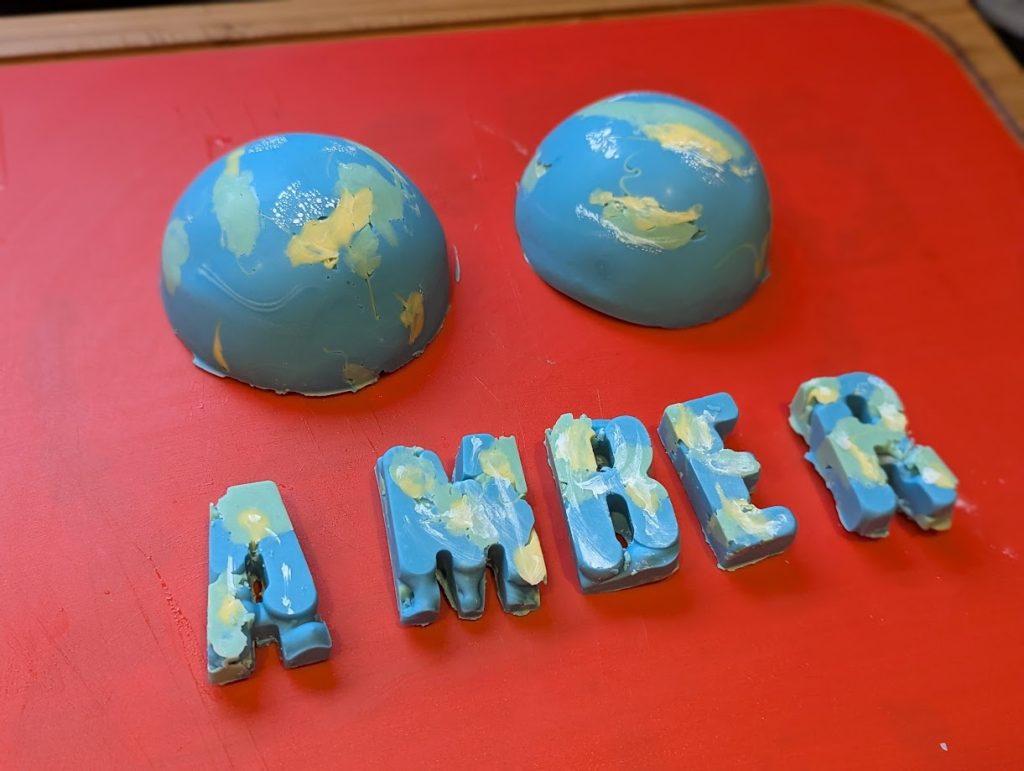
I tried to make the letters for “AMBER” in the same planet design, but the chocolate didn’t quite fill the molds. I still used them though – never waste food!
The cake was a “standard” birthday cake: Vanilla cake, strawberry jam & vanilla buttercream. I iced the cake by hand (didn’t use my cake coating kits for ths one) and used a scraper to achieve the colouring on the outside of the cake. I used a base of light-pink coloured buttercream and them added purple, magenta and silver for the pink “galaxy” effect.
I used a paint brush to apply the silver star splatter, and used some fancy sprinkles that my friend got me for Christmas to add stars to the outside.
After adding the planet and the astronaut topper, I used some cake balls to add some additional planet design to the outside of the cake.
We presented the cake today, then cut some slices for people to enjoy – I was really happy with how this one turned out.