Brownie Yule Logs

As you may have noticed from my last post, I’m not the quickest to jump on a trend bandwagon. I saw brownie yule logs all over Instagram last year (or maybe it was 2022?) but I finally wanted to give it a try this year.

I purchased the Finch Bakery Yule Log instructions / recipe (well worth the £3) and gave it a go a few weekends back.

The first attempt I went with was the chocolate brownie Yule Log, that I filled with biscoff and milk chocolate. I followed the Finch Bakery recipe and instructions, and was amazed that things went well & the roll turned out brilliantly. Genuinely expected it to go far worse for my first attempt!

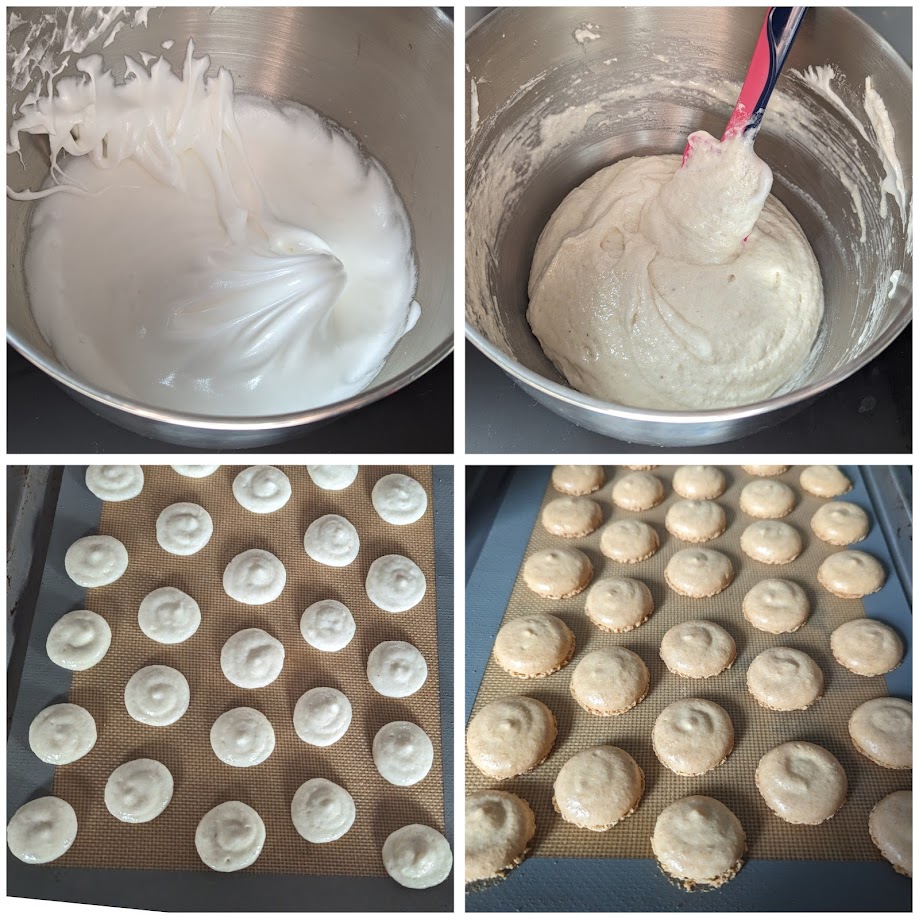
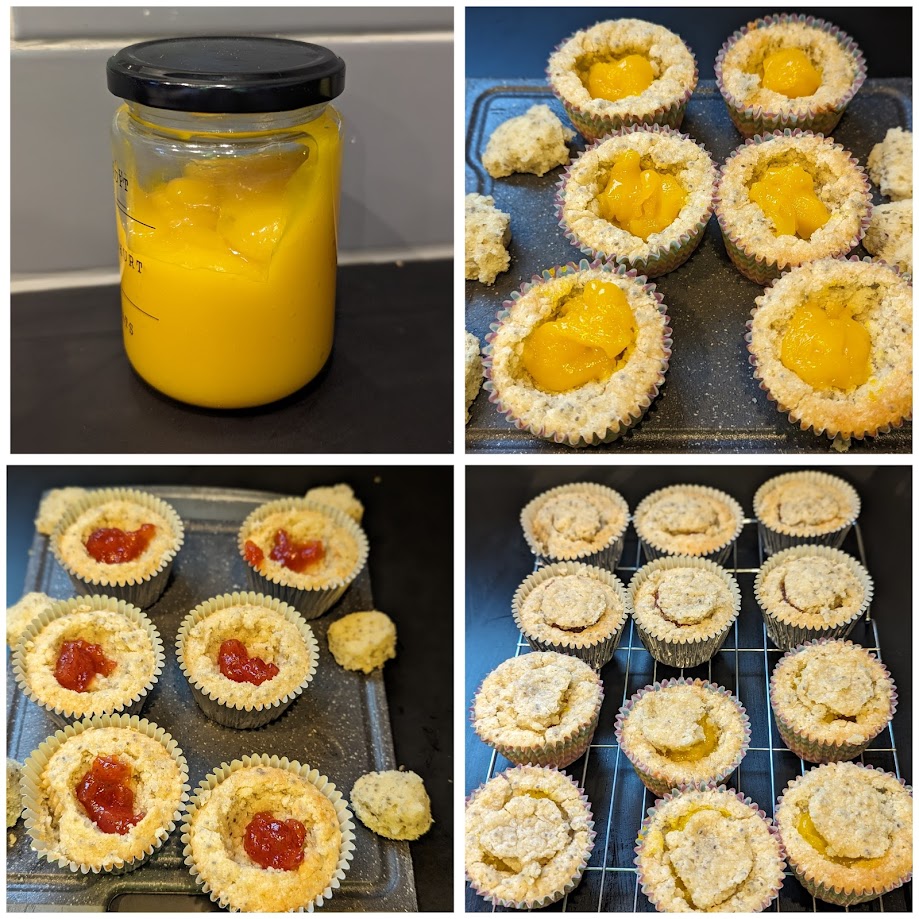
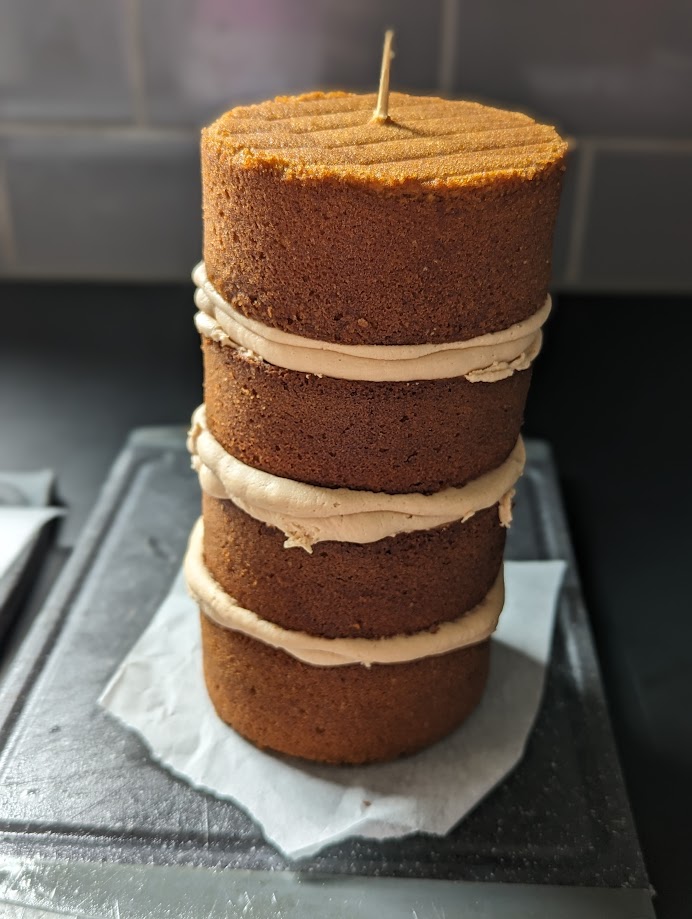
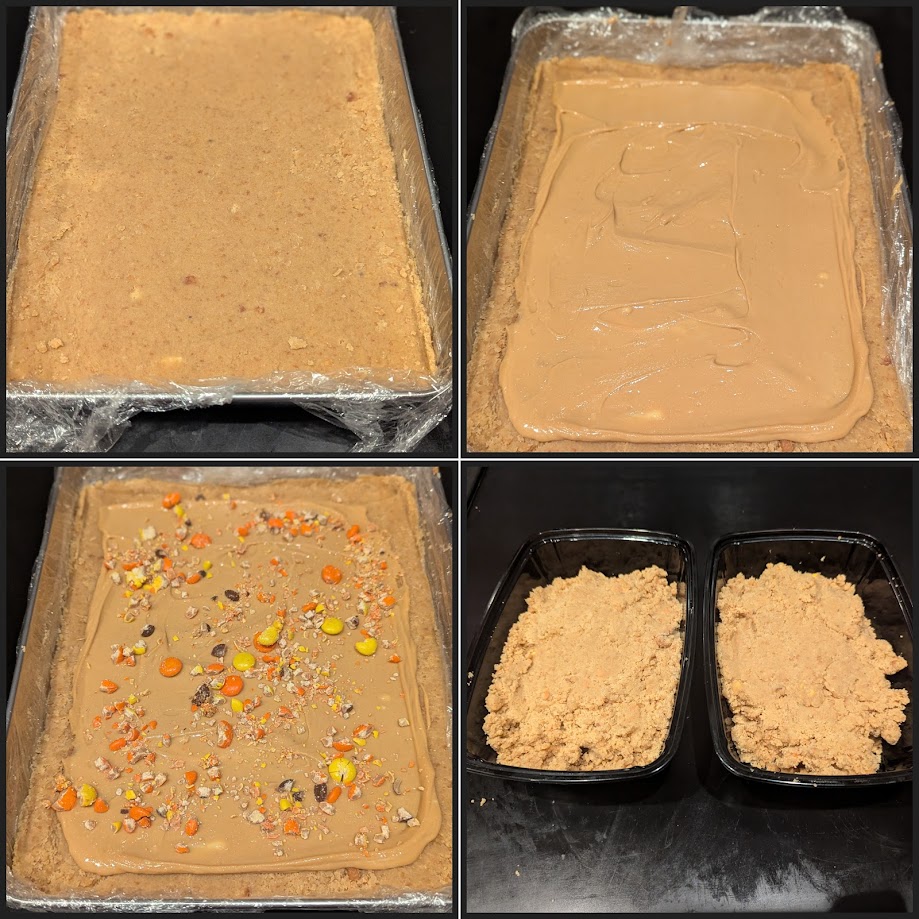
The above image shows some of the steps involved.
– Baked the brownie and allowed it to cool fully, before mixing it in my stand mixer.
– Lined my sheet tin with cling film, and pressed the brownie into it
– Allowed that to set again, then added the filling – in this case a mixture of Biscoff and oreo crumbs.
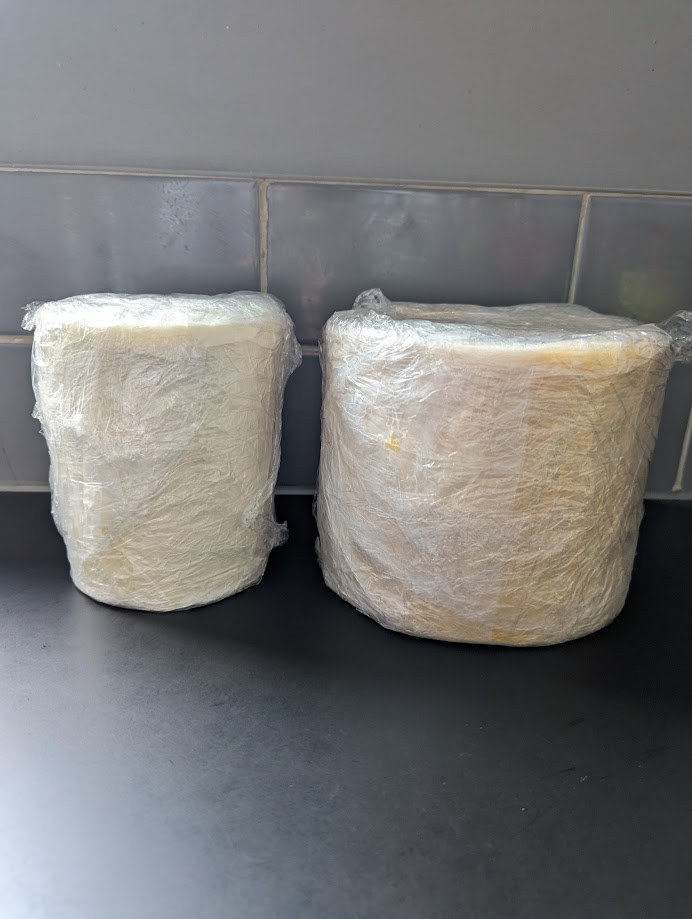
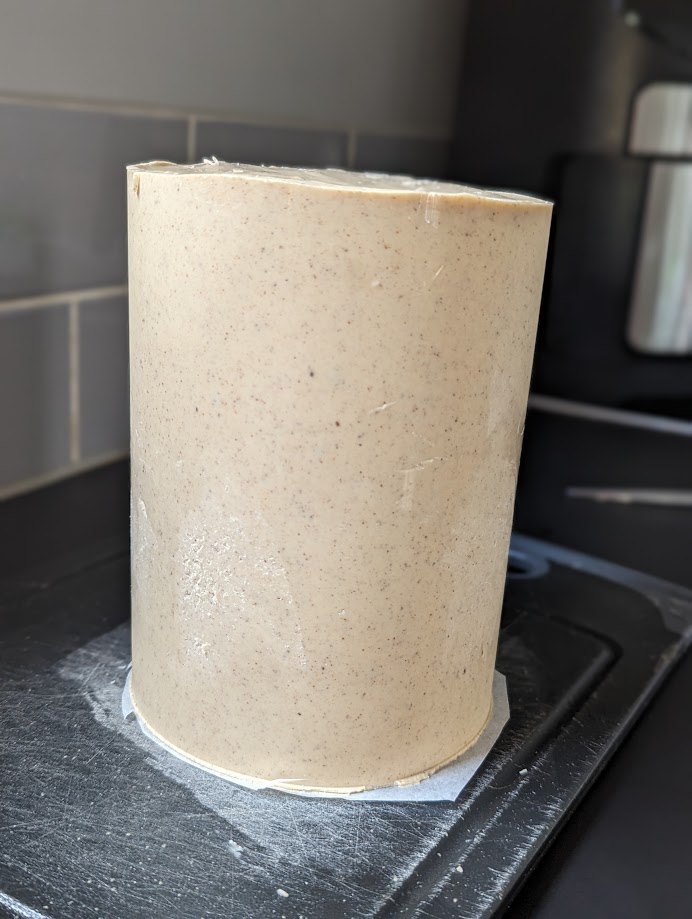
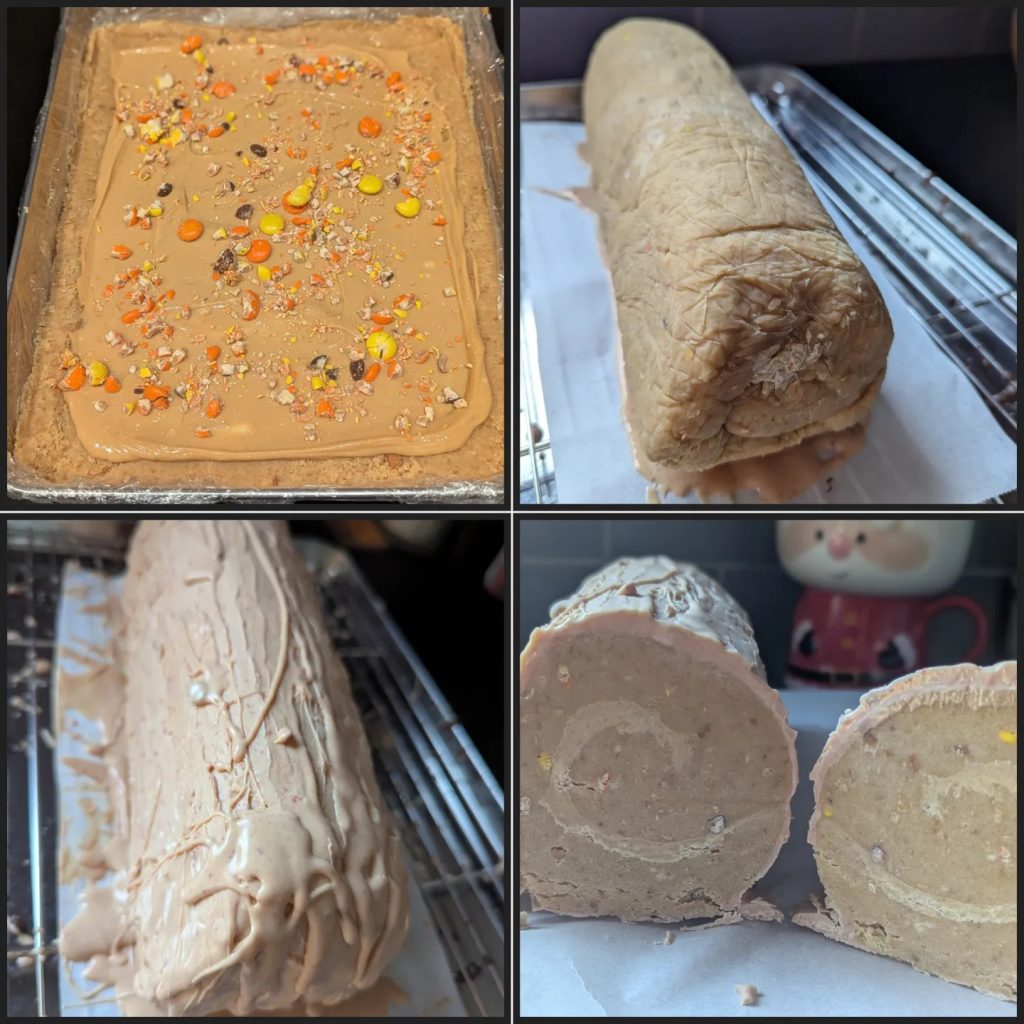
– I then rolled the log, using the clingfilm to help hold it in place.

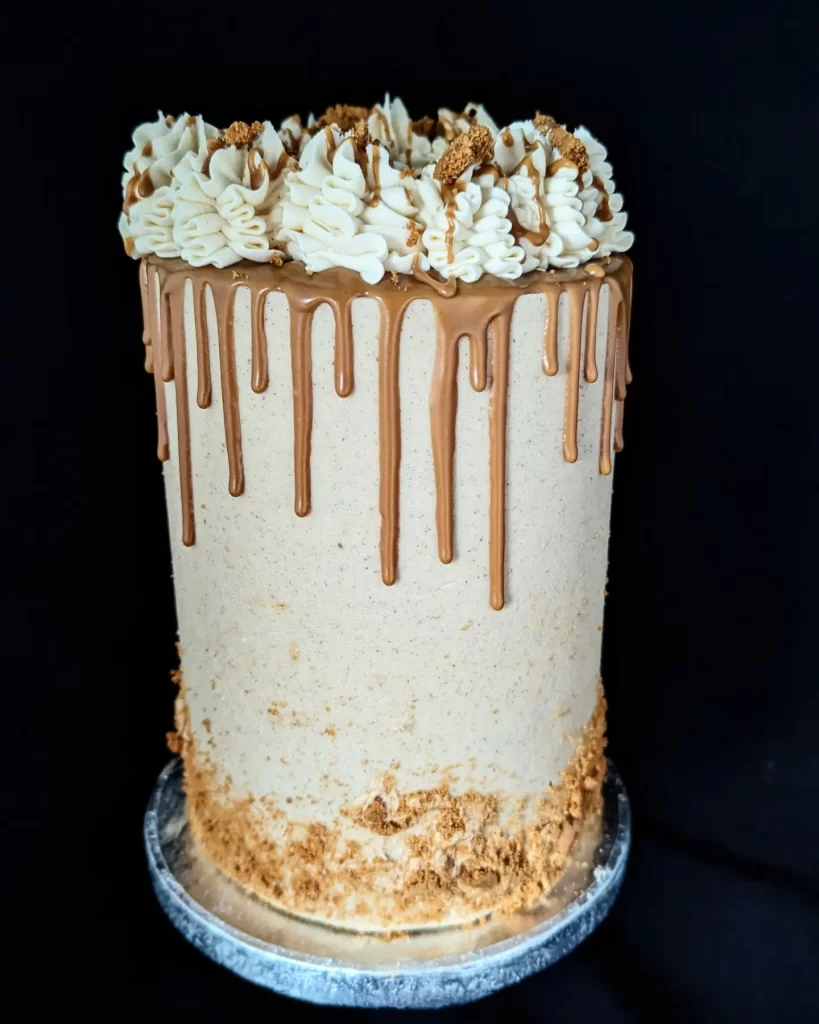
I wrapped the log and allowed it to fully chill before coating with melted chocolate. I used milk chocolate for the outside of this one, and added some fondant toppers.

Feeling confident after attempt 1, I decided to try a Blondie Roll with PB filling. I used a different recipe to the one on the Finch Bakery sheet, which is a blondie I had successfully made before.

Things seemed OK at first, until it came time to roll the log, and the blondie just crumbled into a sand!

At first I thought about giving up on this one and using the crumbs for some truffles, but I saved it by adding more “wet” ingredients to the mixture to get it to a rollable consistency (basically oil & peanut butter!)

This time around, it went a lot better but was VERY THICK thanks to the extra ingredients. No-one would complain to that though!

I coated this log in blonde chocolate mixed with raspberry powder to give it more of a PB&J vibe.

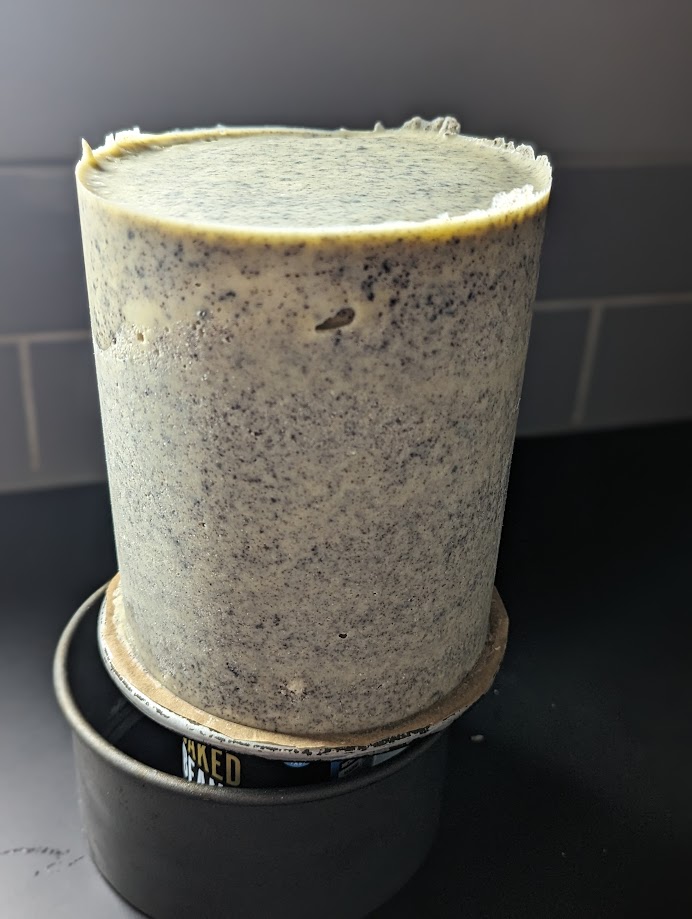
Undetered from the issues with the PB roll, I decided to try a peppermint bark one. The brownie layer was fine, but my white chocolate ganache filling was too wet and I had to scrapre it off and re-do it before rolling. You couldn’t tell though – and this one was my favourite (taste wise):

At the end of all this, I decided to try one more roll… this time feeling inspired by the cornflake rolls I have seen posted by Georges Bakery. My friend got me his “Rebel Bakes” book earlier this year for my birthday, so I decided to try making the caramel cornflake recipe to use in a roll.

Take 1: Making the caramel from scratch & I managed to burn the sugar. I binned it and tried again.

Take 2: This time, my sugar wouldn’t melt & I ended up having to bin that batch too.

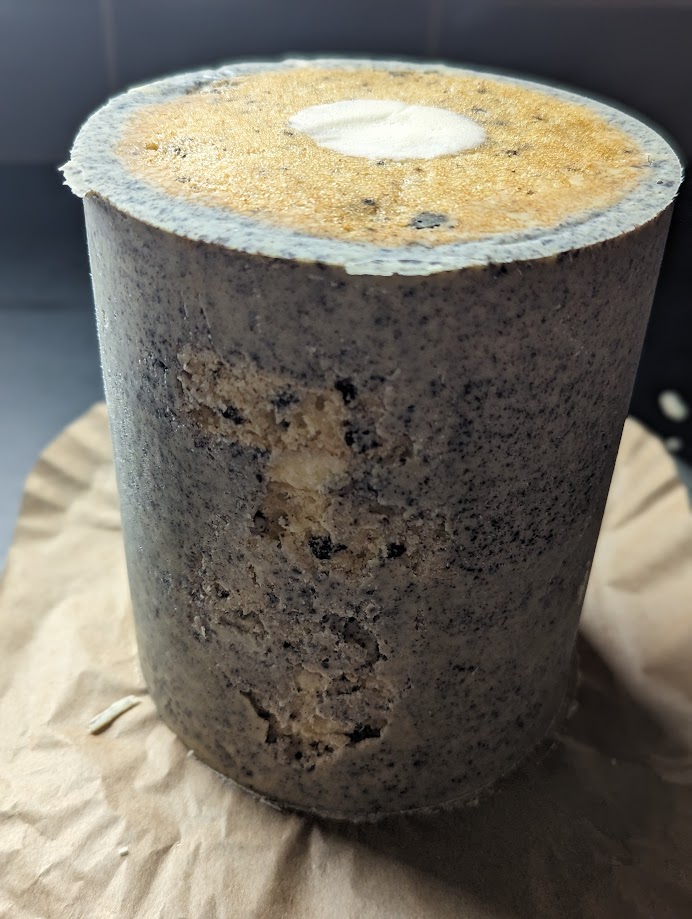
Take 3: I decided to deviate from the Rebel Bakes book and instead try making a “wet” recipe. This went to pot too – the sugar was not browning and the mixture just looked like a wet fudge. Rather than waste even more ingredients, I ended up combining that with chocolate and marshmallows to form a decadent cornflake cake.

To add to my annoyance, I couldn’t get the cornflake mix to “roll” without breaking so I ended up just squeezing it into one big log & coating with a mix of white and dark chocolate.

In spite of this one annoying me the most, it was the best tasting cornflake roll – so at least that part went well!

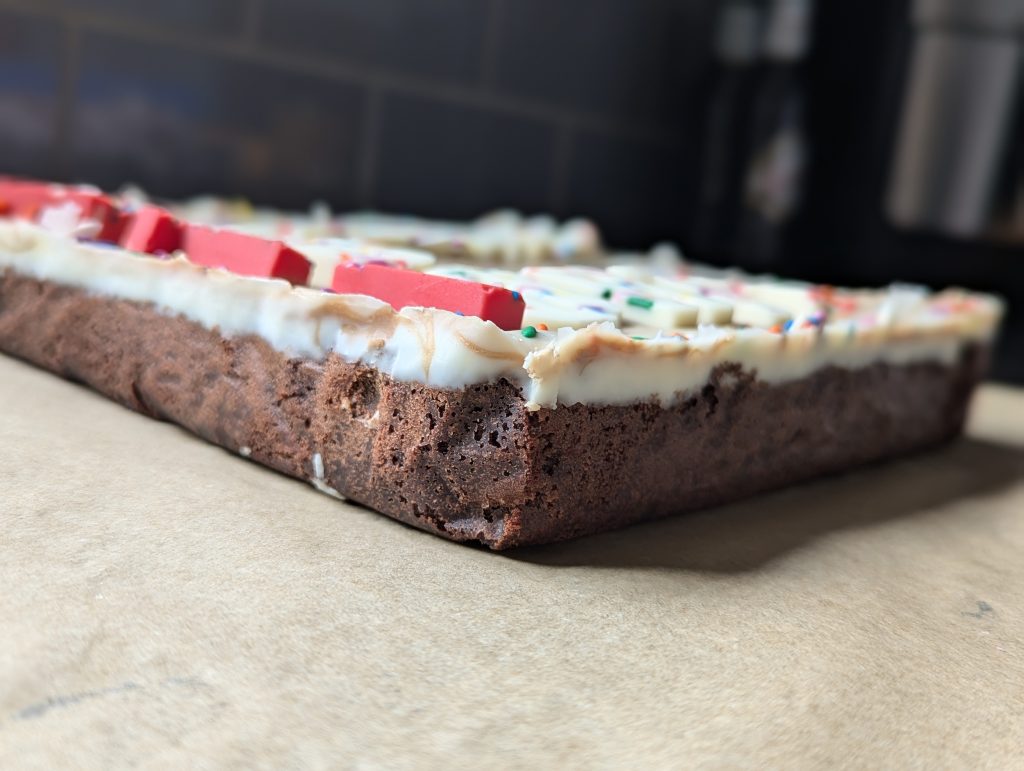
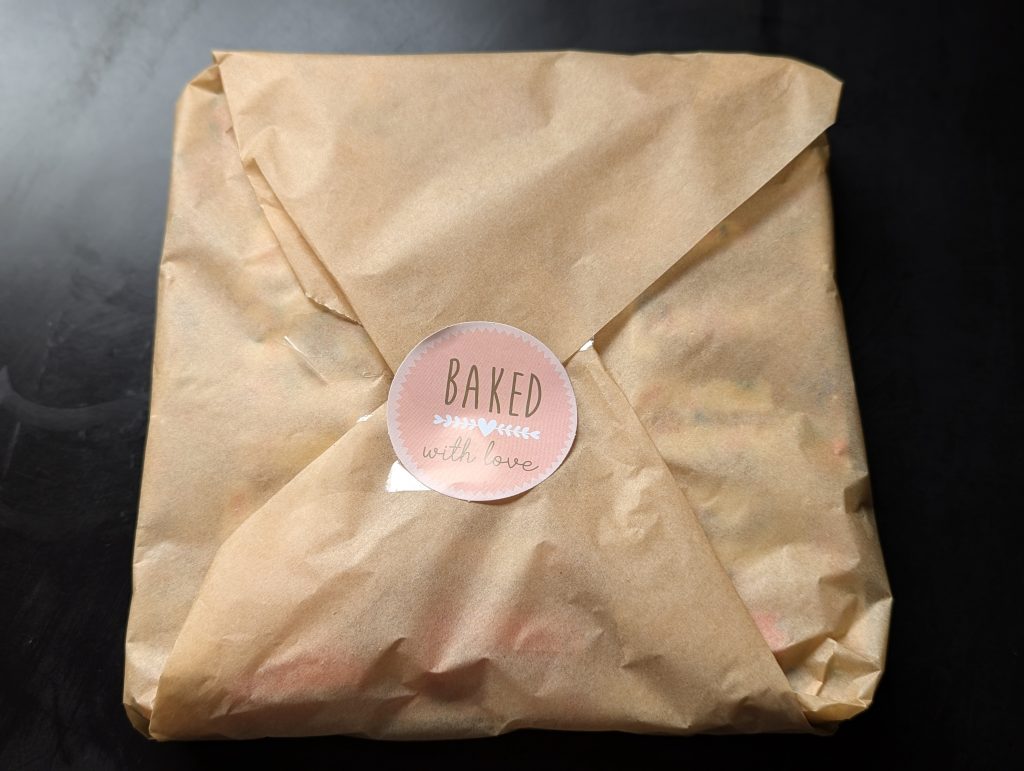
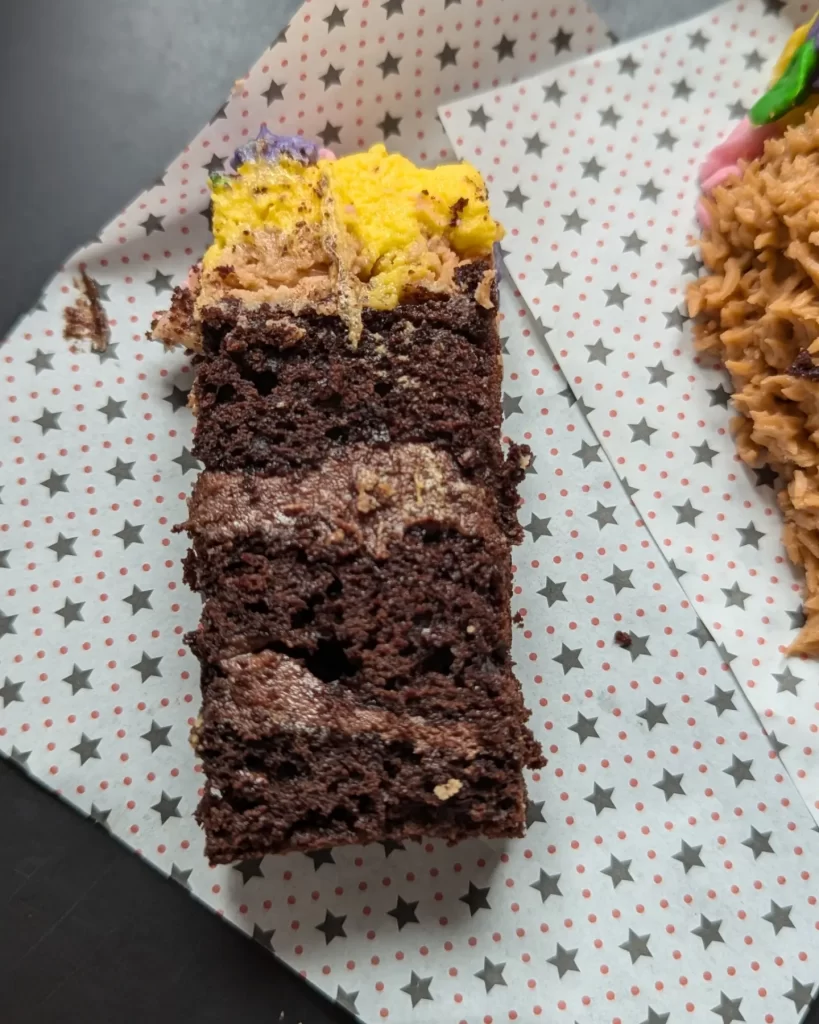
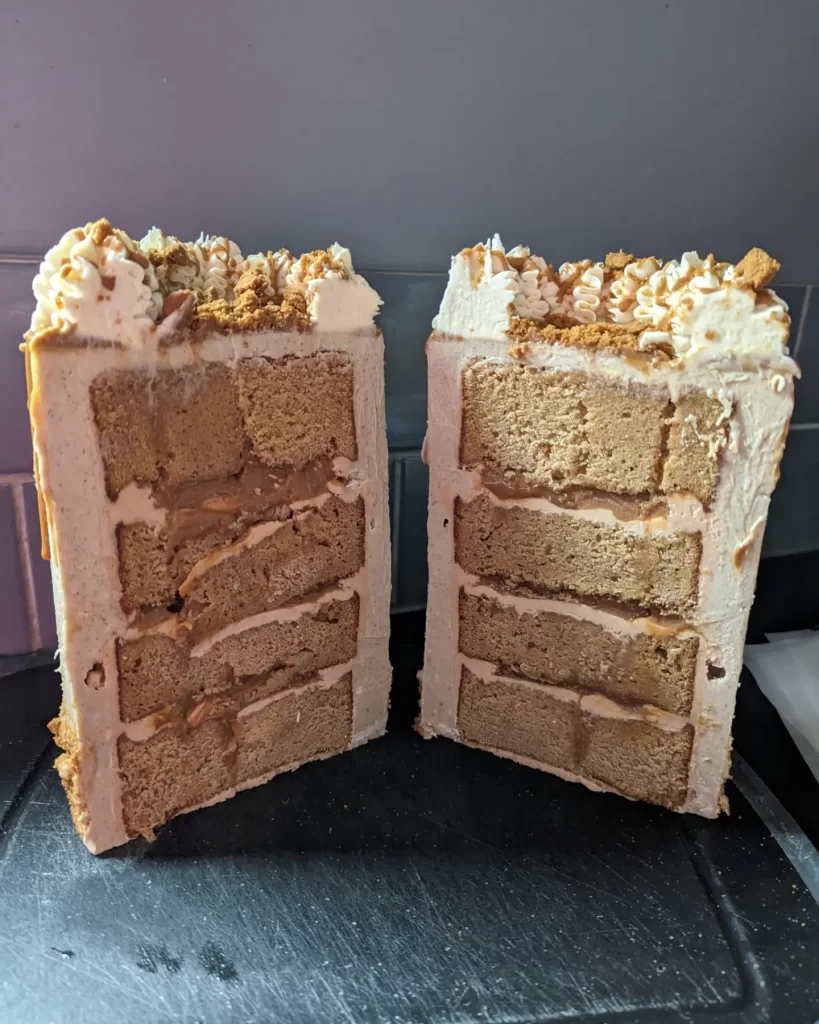
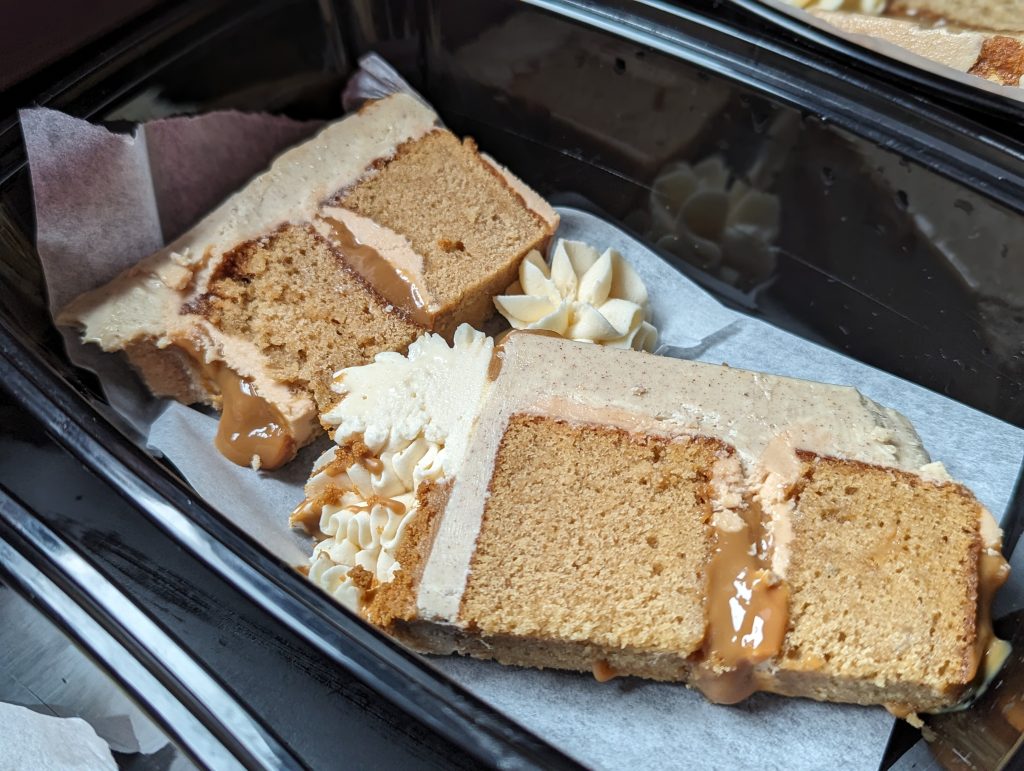
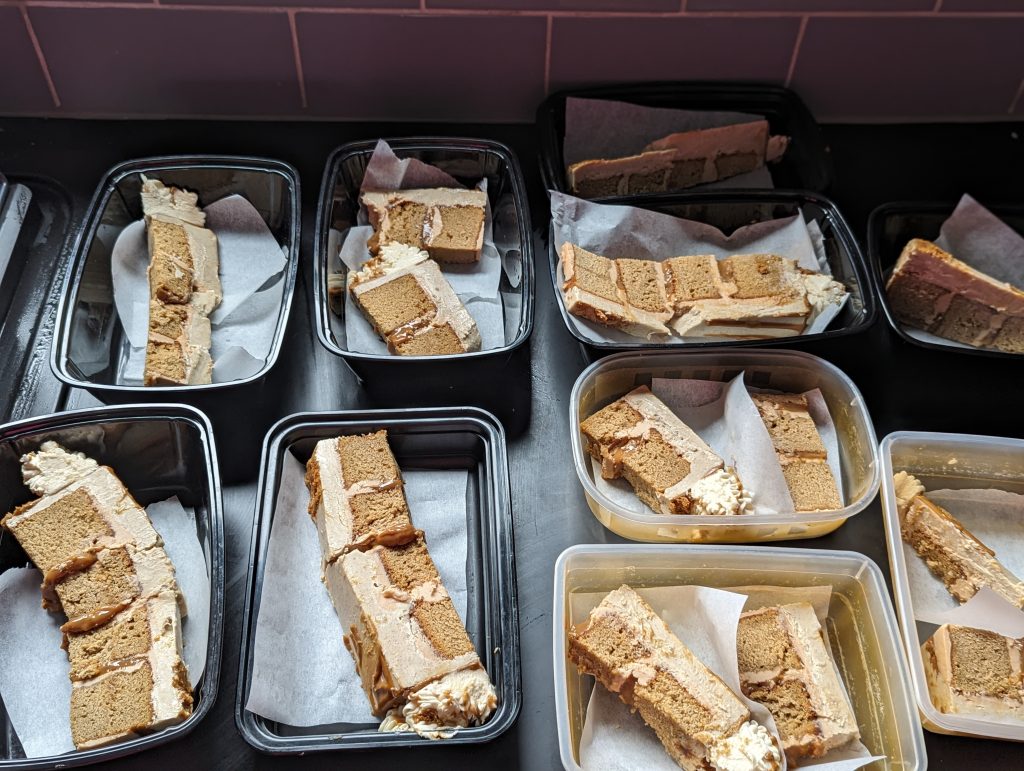
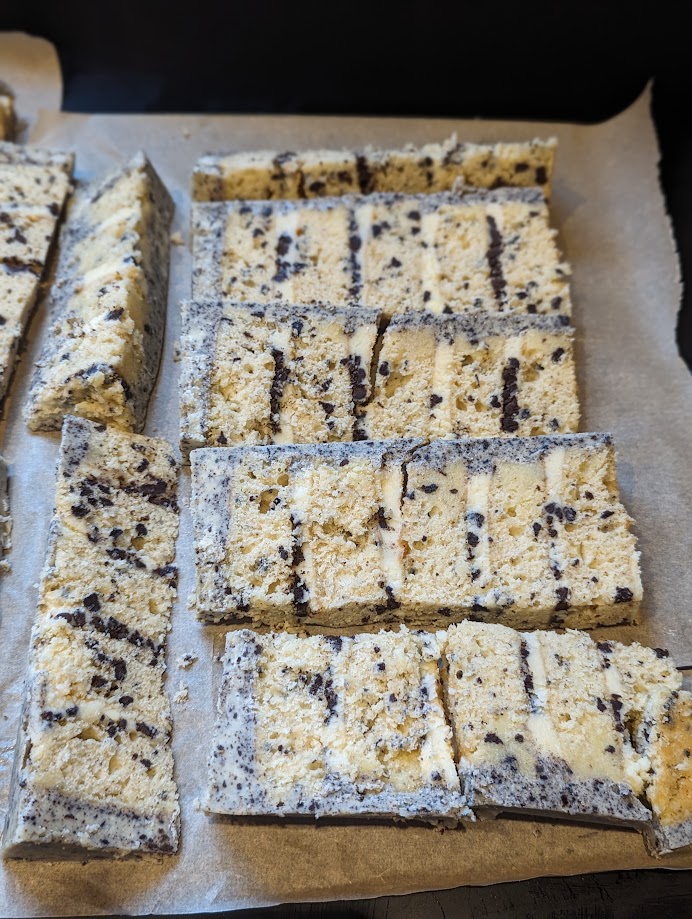
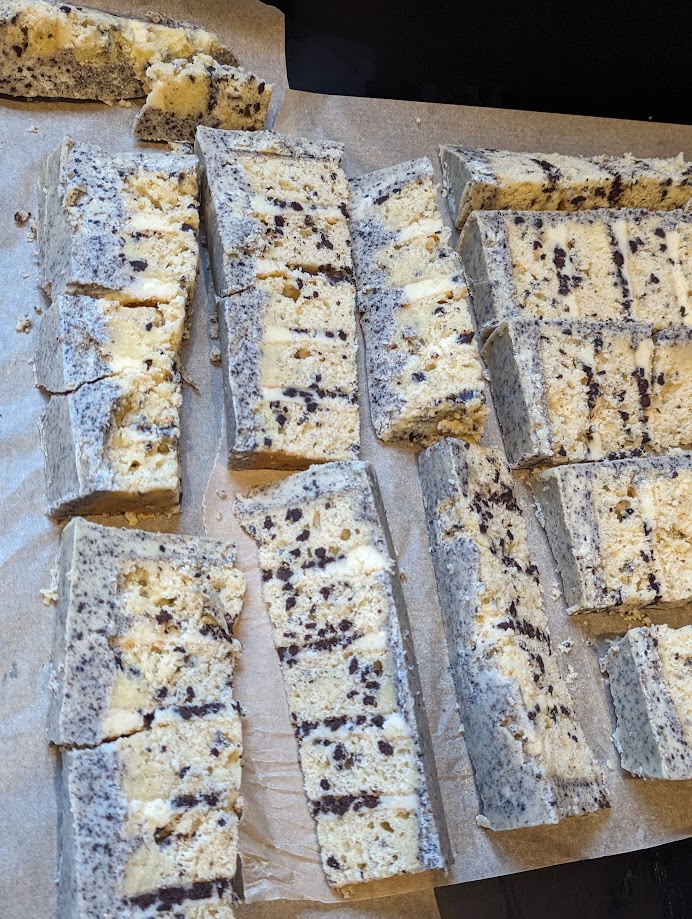
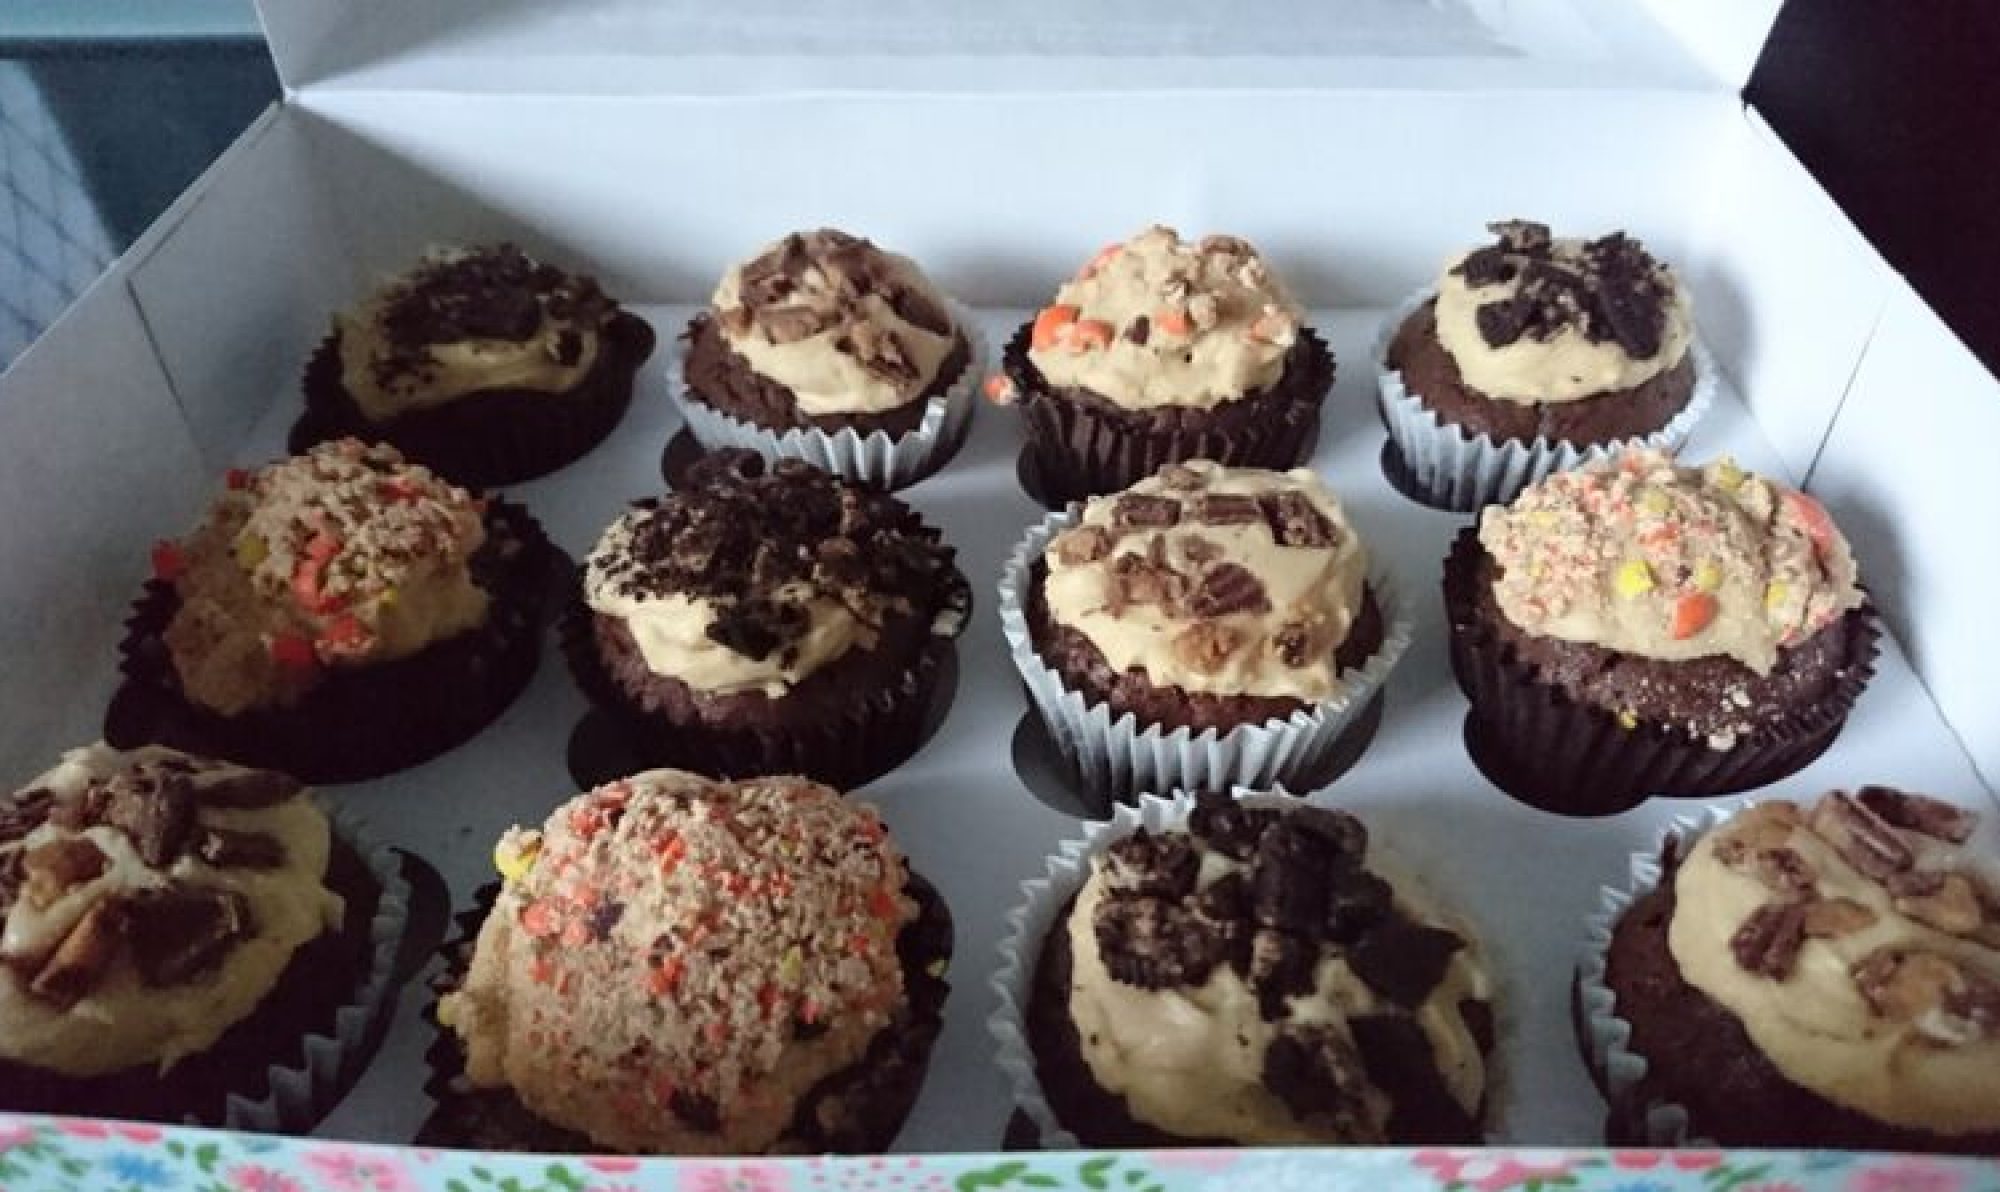
I ended up slicing the logs last week. I boxed some up for friends (alongside the cookie pie slices) and then took the rest to work with me.

Bakewell Cookie Pie

I’m behind trends, but I finally got around to making a Cookie Pie last weekend.

It started by making a cookie dough. I chose to make a white chocolate chunk & funfetti dough. You make the dough, then split into 3 separate portions. The first portion is used as the base of an 8″ pan, and the second portion is used to coat the sides of the pan:

I chose to fill my pie with a variety of things – the first being homemade white chocolate ganache. I coloured some of it pink (with an oil-based colouring) and added some cherry flavour to the pink ganache. I spooned some of this into the bottom of the pie:

Next up was adding some fillings. The picture shows bakewell slices, but I also added cherries, jammy dodger biscuits, and a hazelnut spread:

I added more ganache to finish the pie filling, then chilled it for an hour to allow the contents to set.

After chilling, I added the top of the cookie to the pie:

I froze the pie for another hour, then baked it for 30 minutes. I did have an accident in that the cookie lid overflowed, but I saved it & cut the excess off once it was out of the oven

In hindsight – I should have used a springform pan, as it took quite a bit of effort to release the pie from the loose-bottomed tin!

The next step was to cut the pie… and it was a BEAST!

I cut the pie into 12 portions, and gave most away to workmates and friends (I did eat one myself though – it was beautifully wrong!!

Birthday Blondies

Another 40th birthday, and this time I opted to make some blondies with a loving message on the top.

I made the letters for the top and kept them in the freezer until ready. They were literally just made by melting white chocolate and using a silicon letter mold.

The blondie recipe is from Jane’s Patisserie, but I mixed the chocolate chunks instead of just white chocolate. Mine have milk, dark and blonde chocolate chunks as well as some Biscoff biscuits.

You can see the mix-ins in this picture:

I topped the blondies with a ganache made from Blonde chocolate and double cream (3:1 ratio). I made around 420g of ganache so weighed out into 70g portions and coloured them with oil-based colours.

I piped rough stripes diagonally across the blondies whilst still in the pan and allowed to set slightly before adding the lettering.

I liked how the lines ended up – very trippy!

I finished the blondies with edible glittery.

The recipient took this picture of the sliced blondie this morning – and it looks great if I do say so myself!

Giraffe Birthday Cake

I have the pleasure to occasionally dog-sit for Betty the Bulldog. This is a picture of Betty a few years back on her birthday when I made her pupcakes…

Anyway, Betty’s owner asked me if I could make a cake for her grandson’s first birthday. I was given a picture as inspiration, but she lets me go with my own design.

This was what I made:

It is 5 layers of vanilla cake sandwiched with vanilla buttercream and strawberry jam.

Because the weather was warmer last week, I decided to coat the cake with a white chocolate coating instead of buttercream as I figured it would be more stable during the warmer weather.

I made the topper from fondant, following this guide online

and I kept the cake in my fridge until collected to ensure it was as fresh as possible (I made it the day before collection). Here it is sharing a shelf with my cold brew:

The balls were only decorative and bought online – I don’t have the skill to make my own!

Birthday Brownies

I’m at the age where all my friends are turning 40, and I decided to make another brownie slab to celebrate.

I used the recipe from George’s Bakery “Rebel Bakes” again for triple chocolate brownies.

The message on top was inspired by a birthday card I saw on Thortful. The letters were made using white chocolate candy melts (some coloured red) and sprinkles from Get Baked which are the best rainbow sprinkles you can buy in the UK.

The topping was made by melting more candy melts and Biscoff spread, and swirling it around the pan.

Once the topping had set, I removed the slab from the pan and wrapped it in baking paper ready for gifting.

Birthday Bunny Cake

The youngest niece asked for a bunny cake for her birthday…

She is always quite indecisive when it comes to what she wants, though my husband had a conversation with her on video the other week that went something like:

“What cake do you want?”

“A Bunny Cake”

“What Colour?”

“Orange”

“What Flavour”

“Erm, Chocolate”

So I at least had the guidelines of what to aim for with this one (though the end product was more of a browny-orange than actual orange).

I started by baking 5 layers of chocolate cake, and making a chocolate buttercream:

After that wa stacked, I wrapped it in cling film until I needed it and put it in the freezer. In the mean time, I made fondant cut-outs for the bunny’s face / ears:

I had decided to pipe the fur on (vanilla buttercream) using a nozzle that frustrated me loads as it keps pushing through the piping bags due to its shape. Thankfully I got through it though after 6 piping bags.

The top of the cake had a “crown” of various colours (again, asked for by the birthday girl” and I put the cake in the fridge overnight until her party. The ears had to wait until the party itself as they were too tall for any of my fridge shelves, and I couldn’t be bothered to re-jig the shelving.

I usually write “Happy Birthday” using fondant on the cake board, but I’ve been using a silicon mold with chocolate recently for brownie slabs. I did the same for this cake, though they nearly didn’t fit on the board due to them being bigger than my fondant cutters.

I added sprinkes first (Easter-themed ones) then melted chocolate and allowed them to set

The party was yesterday, and the cake was cut – and it was decadent!! Very rich chocolate cake and buttercream. The funny thing is, although I LOVE cake, I don’t really like chocolate cake that much and so I didn’t bother having any myself:

We cut the slices to half height because people were VERY full of sugar and food already!

Attempting Macarons

Practice, practice, practice.

I have tried making macarons in the past with varying results, but I wanted to try again as it is something that I have far from mastered. Practice is the only way to get better, so I gave it a go.

I decided to make some lemon macarons, following this recipe from Chelsweets. In my first attempt, all was going well until I added my sugar and food colouring. The eggs suddenly went too liquidy to use so I gave up and started again.

The second attempt went better. This time I added the sugar a spoonful at a time, and omitted the food colouring to be on the safe side.

I piped three trays of macarons in various sizes, choosing not to use a template as it was all practice. I baked the first tray at 155c (Chelsweets recipe says to bake at 315f which is 157c) but they browned too much and didn’t have the chewy texture at all – I assume they were over-baked. I still filled them though as I didn’t want to waste more ingredients.

The second tray I attempted were larger shells, and this time I baked at 140c. The shells still browned, but this time around kept the chewy texture you’d associate with macarons. I think I should have piped these thicker though.

My third tray were mini ones again, this time I baked at 130c and took them out before they were too brown. These were the best of the 3 – crisp shell and chewy insides. I’d say this bodes well for future attempts.

No doubt I’ll try again in the coming months, but for now these are going in the freezer until I find people to give them to. Next time I’ll try colouring the mixture again.

UPDATE!!

I’m pleased to report that the “overbaked” shells are actually pretty decent now they’ve been filled and in the freezer a few days. They have softened up so you can’t actually tell they were crisp to start off.

I’ve boxed up some of the better ones with a cake puck and cake heart to give to people this weekend.

50th Birthday Cake

I got asked to make a 50th Birthday cake that was maybe lemon flavour as it’s for a spring / summery birthday. Aside from that, it was creative licensing all around. I had an idea in mind that I roughly doodled using instagram stickers and the end result was this:

Bottom tier (coloured yellow):
– Lemon sponge cake
– Lemon curd
– Lemon buttercream
– White chocolate mock ganache coating

Top tier (left white):
– Vanilla sponge cake
– Strawberry jam
– Vanilla buttercream
– White chocolate mock ganache coating

The Process

This was the original “doodle” against what I actually made – pretty much as I imagined it!

I made the cake tiers in advance, cling wrapped them and kept them in the freezer for nearly 2 weeks. When it was time to make the cake, I took them out of the freezer 24 hours before & moved them to the fridge to defrost.

To ensure that they lasted as long as possible after being picked up, I stacked the cakes using a variety of strong straws to act as cake dowels to keep the cake sturdy.

The finishing touches were store-bought decorations:
– Yellow, white, gold & cream decorative balls
– Fake sunflowers
– “Happy Birthday” cake topper
– “50” number for front of cake

As with all my cakes, once it was decorated, I gave it a quick photoshoot in my photo box so that it really stands out againg the black background:

I did laugh at my creativity for making the cake box taller. The cake itself would have fit OK, but once the toppers were added the box was not tall enough. In came the kebab sticks & clingfilm…

Added Extras:

To go with the main cake, there was also 2 boxes of vegan cupcakes so that I had catered for as many people as I could. These were made with chia seeds instead of egg, vegan “butter” instead of butter, and oatmilk in place of dairy milk. I did 6 each:

  • Lemon Cupcakes with homemade lemon curd & vegan lemon “buttercream”.
  • Vanilla Cupcakes with strawberry jam & vegan vanilla “buttercream”.

I used this recipe for the lemon curd if you wanted to make your own.

The finishing touch:

I decided for this cake to also provide some “cake care cards” to advise how best to transport and store the cakes, along with cutting instructions and information on ingredients for anyone who needed to know.

I like the idea of these cards & will likely do them again in future for other cake events.

Happy Birthday to Me

I don’t usually make myself a birthdy cake, but I had an idea for a cake and decided to use my birthday as an excuse to make it:

It started by making 4 x 4″ layers of “brown butter” sponges:

They were then filled with a biscoff buttercream and caramel:

I stacked them using a kebab stick to hold them central (and then added more when chilling):

After allowing to chill / set up a bit, I coated in a ganache made from White chocolate, White chocolate hazelnut spread, and cinnamon:

the cake was then coated with crumbled Biscoff biscuits, drizzled with melted Biscoff spread, and topped with more buttercream and crumbled cookies.

Because the cake was so soft, it had started to lean when I had stacked it and to counter this I ended up coating it in extra thick ganache – this shows on the cut through picture above!

I cut the cake into as many portions as I could and have been giving it out to friends and family the last couple of days.

I tried to be sensible and have limited myself to one BIG slice, but honestly that’s the most I think I can manage 🤤

Ganaching Kit / Cookies and Cream Cake

I have been eyeing up the Frost Form Kit for a while now, but I just couldn’t spend that much money for it as a novice / home baker. The 6” kit is currently selling for £66 which for me is a lot. That’s not saying it’s not worth it, just that it wasn’t something I was willing to invest in.

Last month, I stumbled across a similar product called “Brigid’s Ganaching Kit” which to me looked very similar. The 6” kit was on offer on Cake Cabinet for £19, so I took a punt and ordered one last month. I realised you can order direct from the company who make them though, so check out Brigid’s Cake Room

 Frost FormBrigid’s Ganaching Kit
Clear Form / TinYESNO
BaseYESNO
Base linerYESYES
Crumb CutterYESNO
LinerYESYES
BottleNOYES

You don’t get as much in the Brigid’s kit, but the things I was missing I already had – I have a 6” cake pan with detachable base. I have a 5” crumb cutter to trim my cake layers, so I figured I’d have everything I need.

I made a cake yesterday with no purpose other than testing the kit out. I baked 5 layers of vanilla cake with Oreo crumb, allowed them to cool, then trimmed them with my crumb cutter. I set up the Ganaching kit as per instructions, and began to build my cake*

I had 5 layers of cake, with vanilla buttercream and Oreo crumbles in each layer.

Once it was stacked, I made a white chocolate butter ganache mixed with Oreo powder. I added it to the bottle, then realised it wouldn’t come out of the spout due to the crumbs inside, so I just poured it over the cake instead.

I put the cake in the freezer for an hour to set, and then came the reveal

There was a tear in the ganache, but this was entirely my fault as the cake was pretty much touching the liner at this part & I hadn’t realised. I was ecstatic with the result though for a first go!

What you can see when I cut the cake is that the ganache is a lot thicker on some slices than others. Again, this was entirely down to me stacking the cakes slanted without realising.

*I should have been more careful in building the cake as it ended up leaning to the side. This was entirely my fault and I reckon I could have added ganache around the edging as I added each layer to keep it more in line.

My next test will be a buttercream coated cake.