I got to do something new over this last week – Gender Reveal Cakesicles
My friends are having a baby (expected towards the end of next month) and asked me if I’d be willing to make some cake-pops for them to have a gender reveal party. I have mini popsicle molds, so I asked if I could do those as I’m not the best as free-shaping cake-pops. Funny enough, this was deemed to be OK.
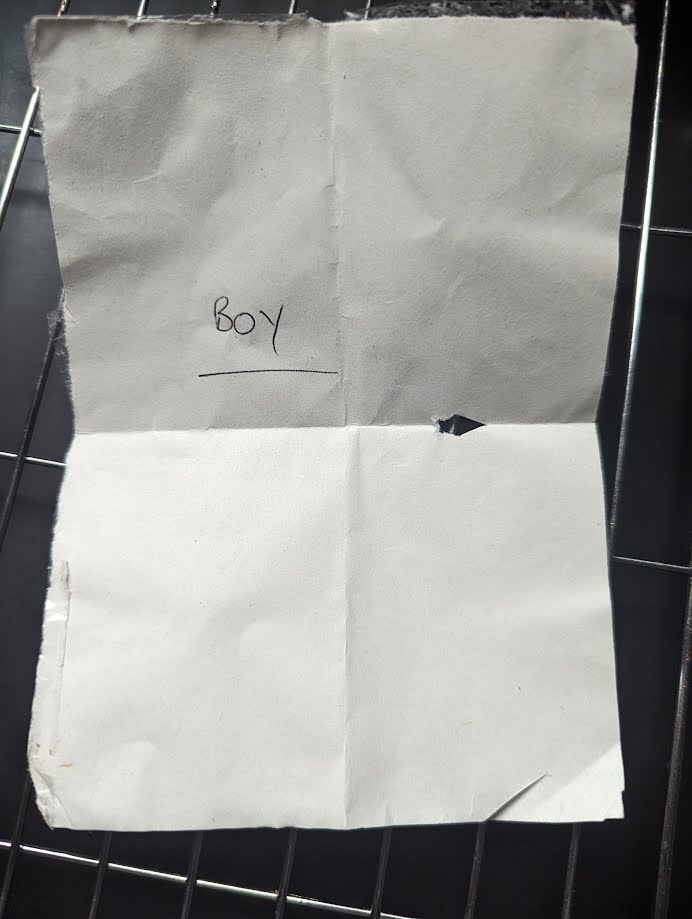
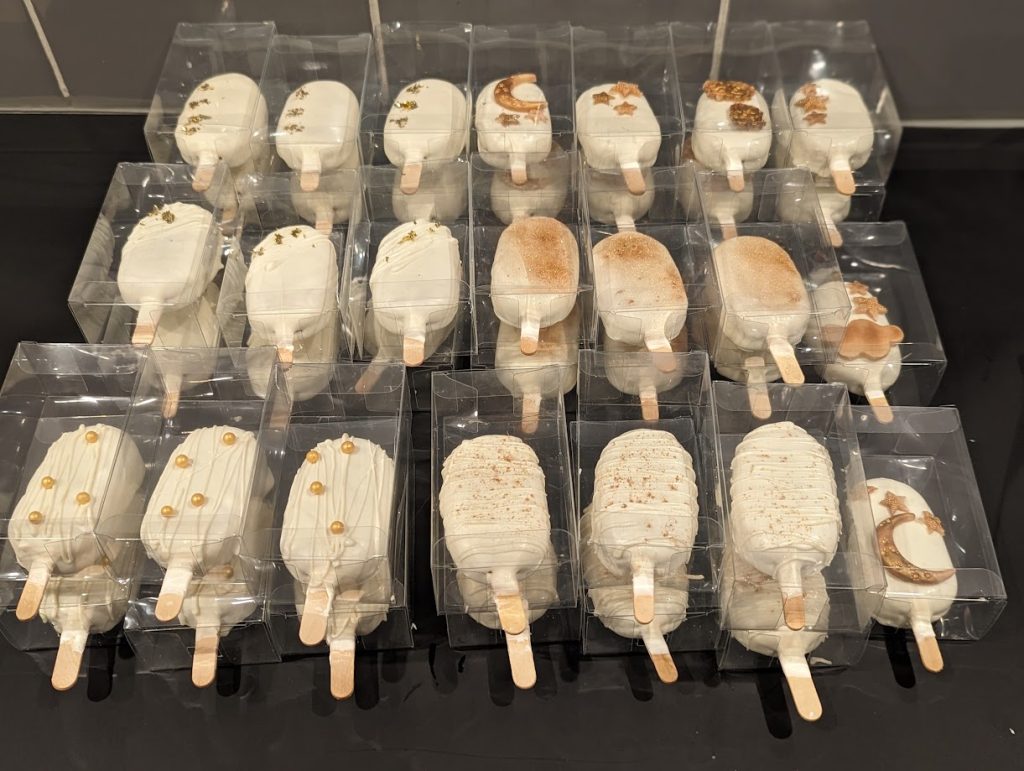
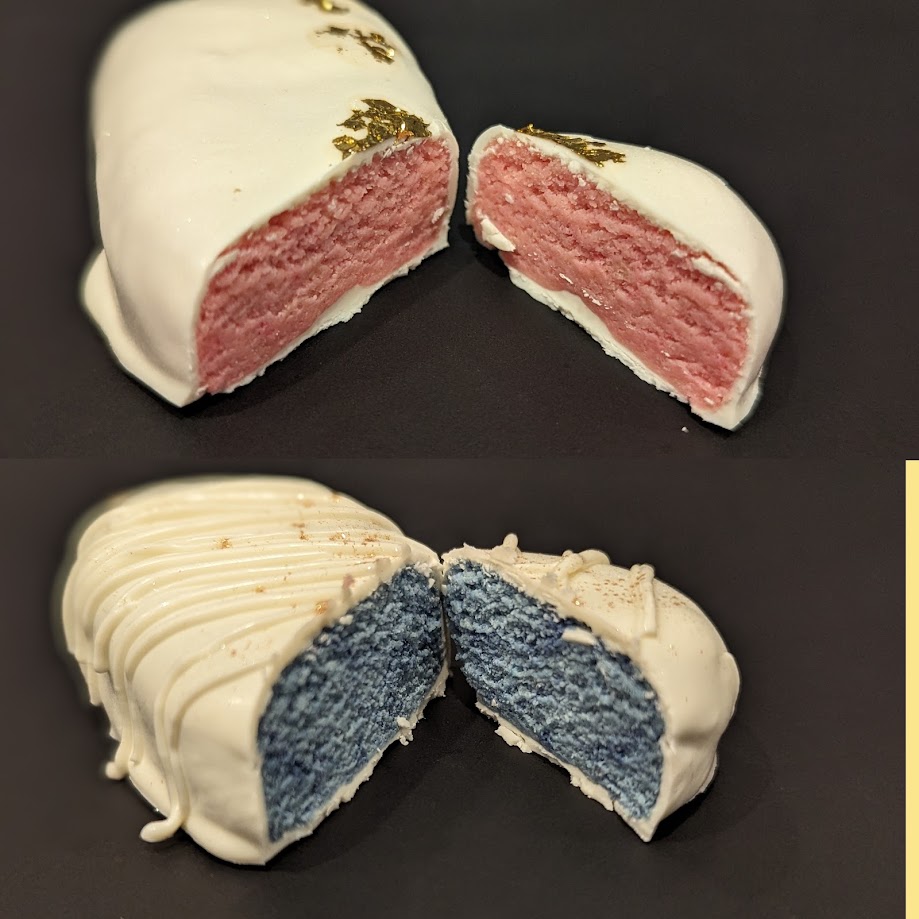
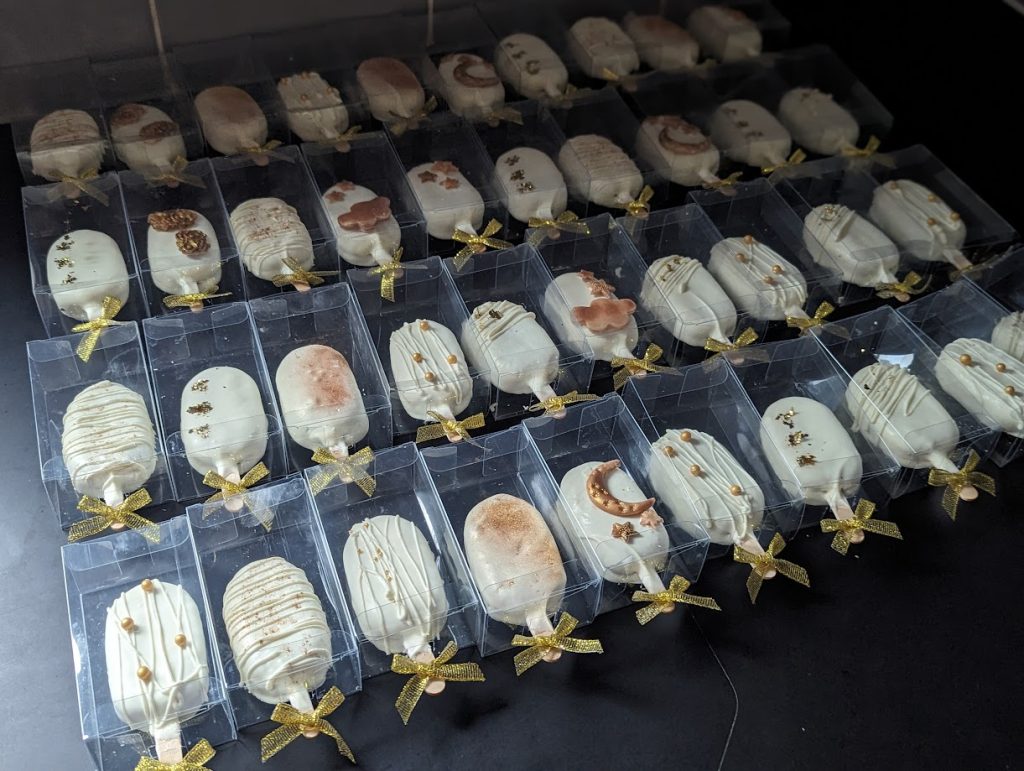
The request was for 40 cakesicles to be made, but only one of to have the colour reveal inside. I was given the sealed paper with the baby’s gender on it, and neither parent knew what it said. I was literally the only person other than the doctors / nurses to know! My husband didn’t want to know either, so to try keep everything secret, I made both pink and blue cake fillings to ensure the mystery remained.

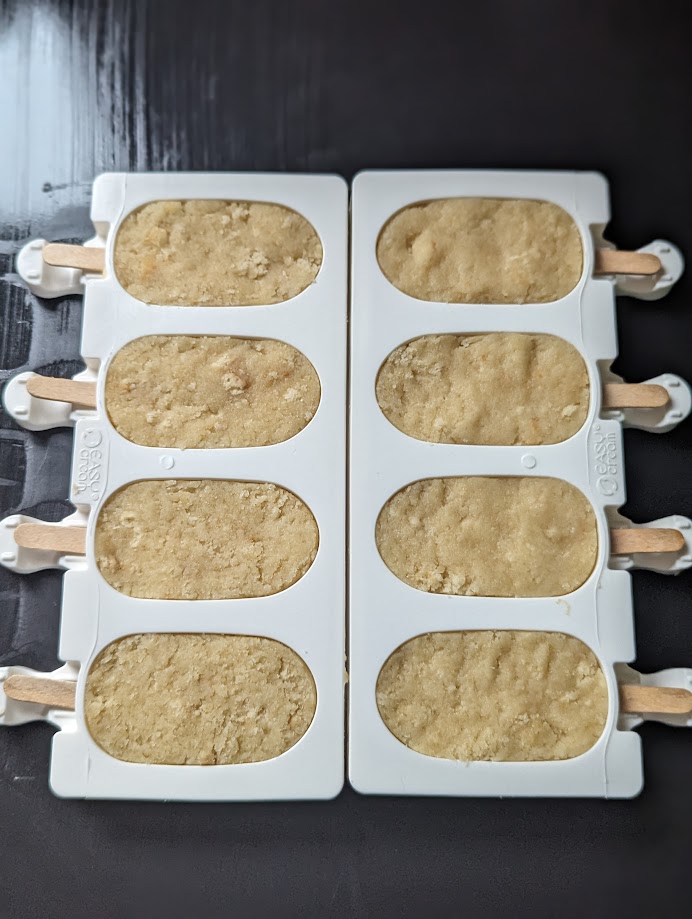
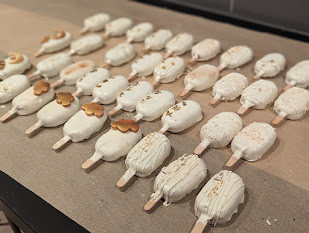
I made the cake and cakesicles on the Sunday. I have 2 molds, so shaped 8 at a time.
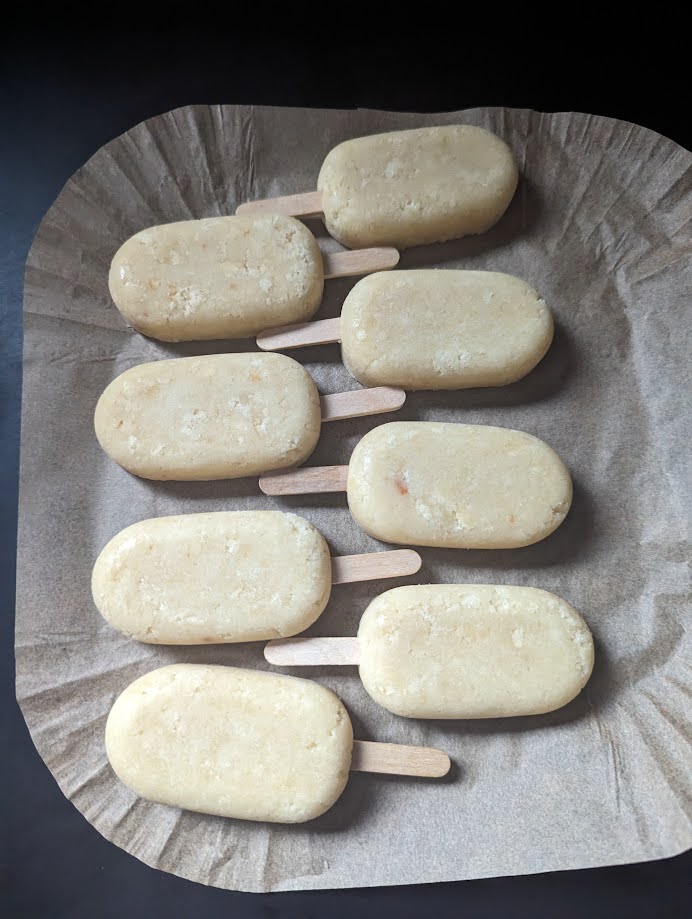

I wrapped them in greaseproof paper and put them in zip-lock bags until later in the week. The day I did this I wasn’t fully paying attention and ended up making far more cakesicles than we’d actually need. Plus side – this gave me more for practice / errors.
On Thursday, I took the cakesicles out of the freezer to defrost during the day, and then I started working on them Thursday evening.
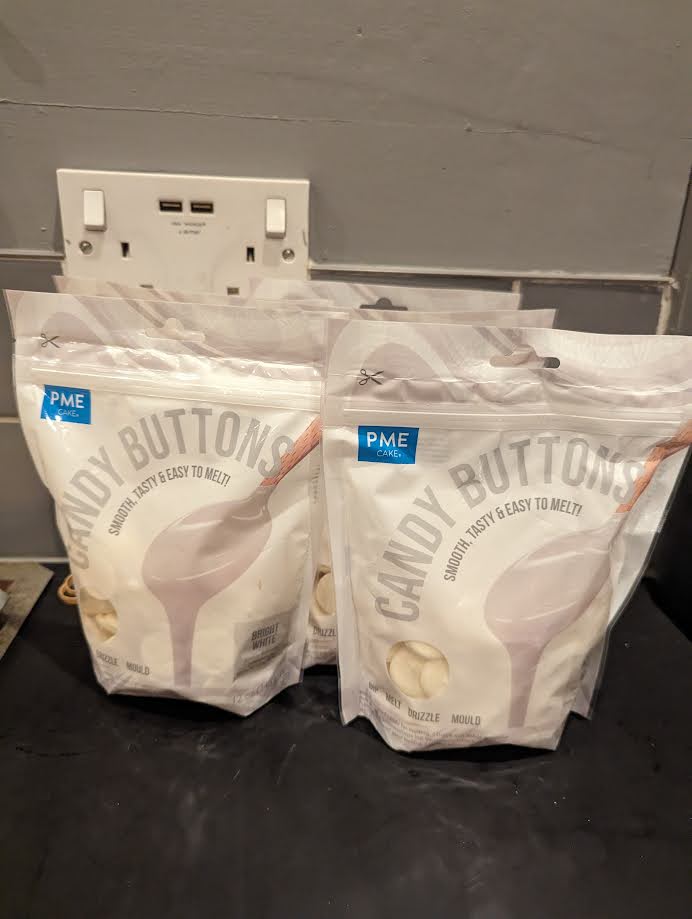
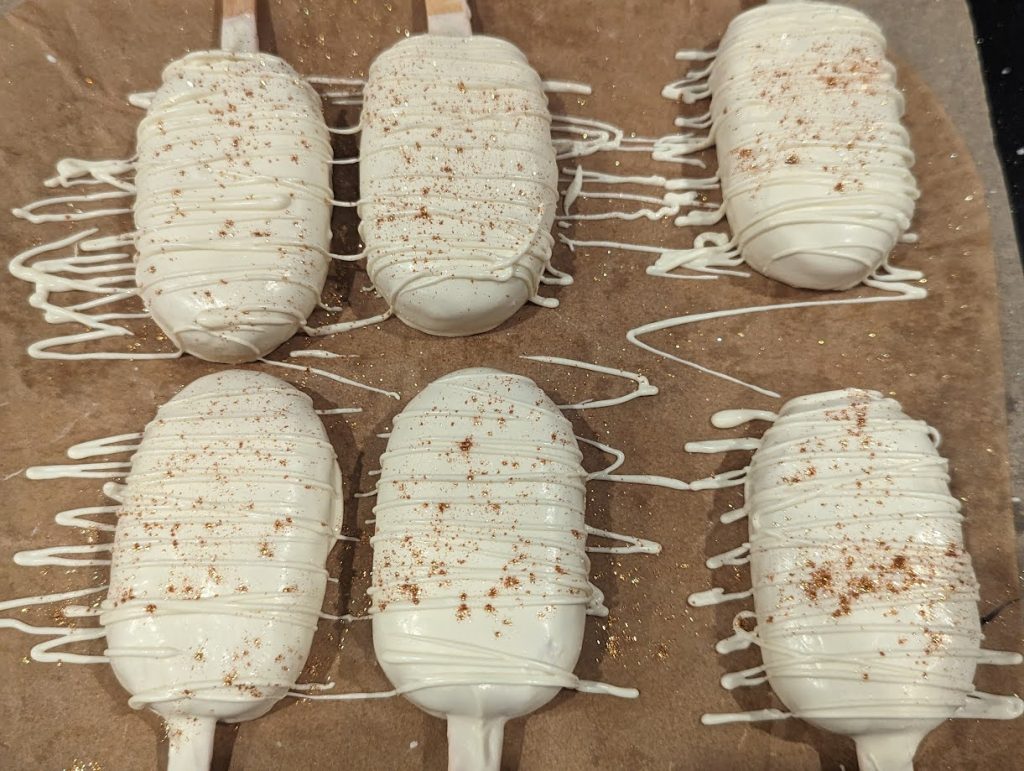
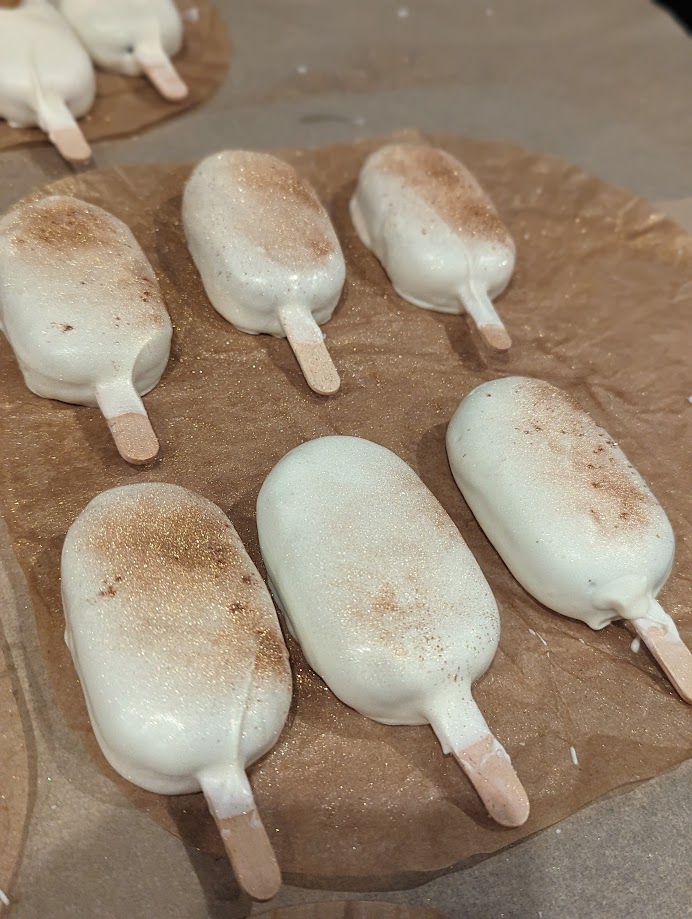
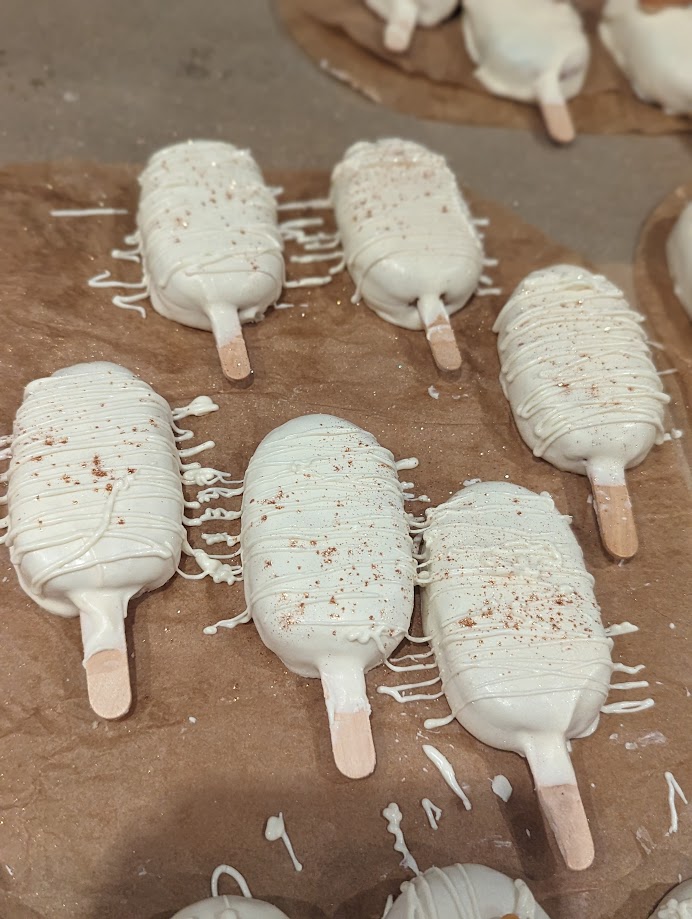
I had bought bags of white candy-coats to use so that I wasn’t trying to colour white chocolate. I melted these a bag at a time, and after adding vegetable shortening I finally got it to a consistency I was happy with for dipping.
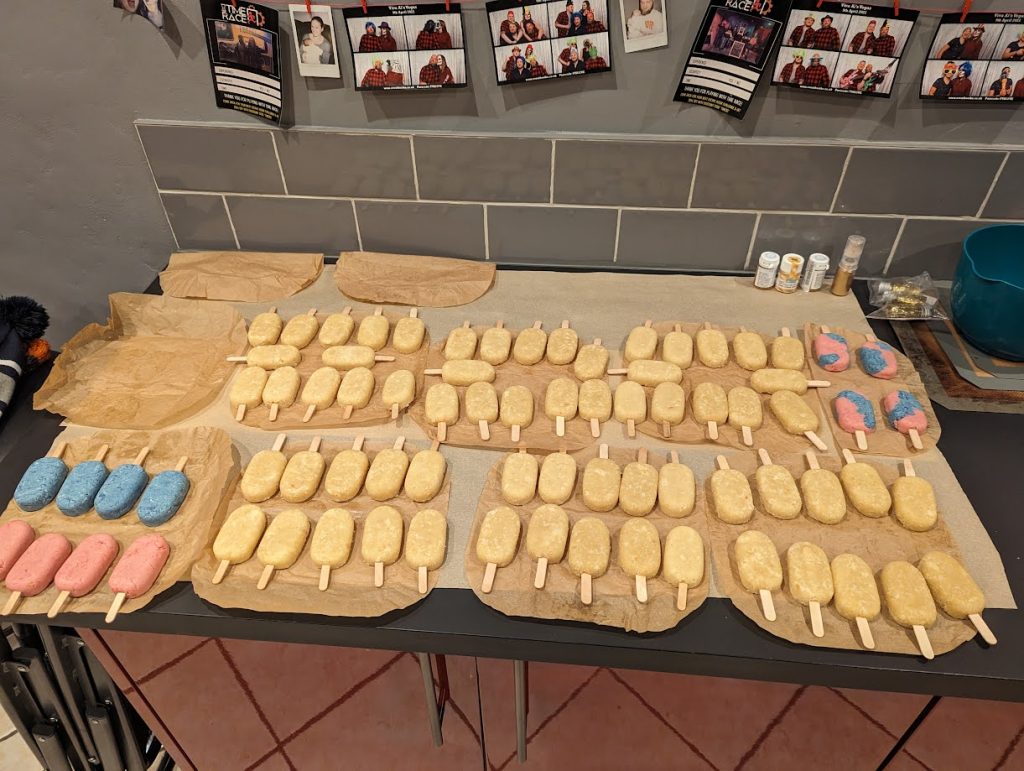
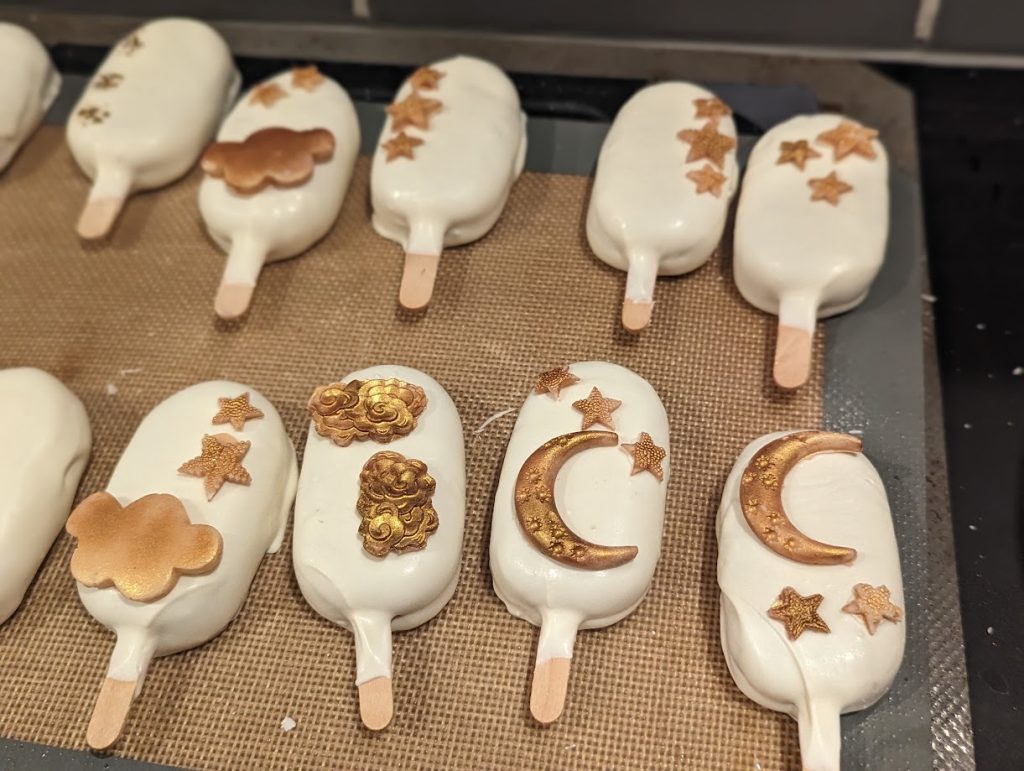
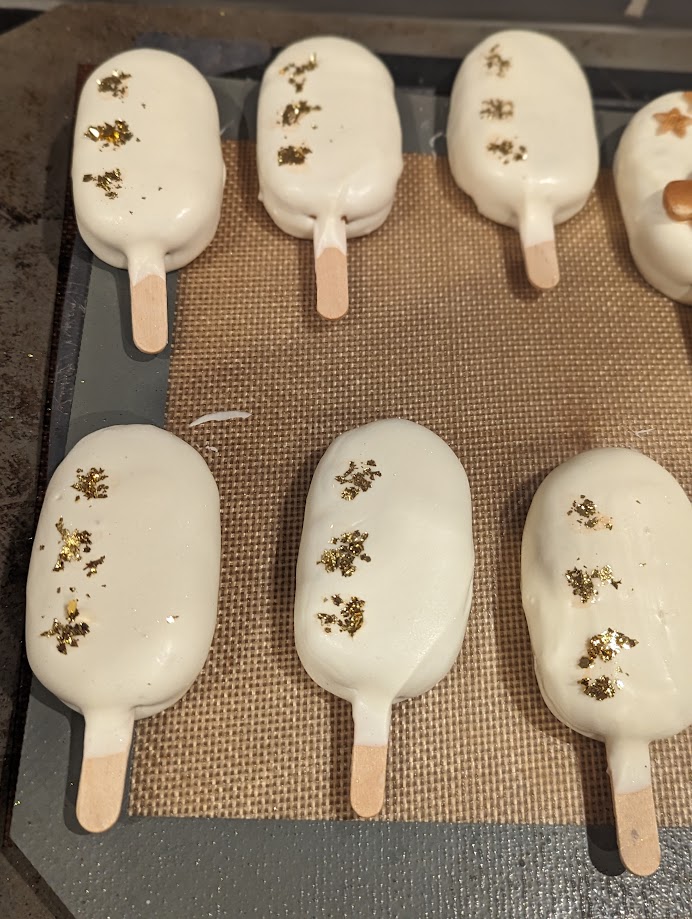
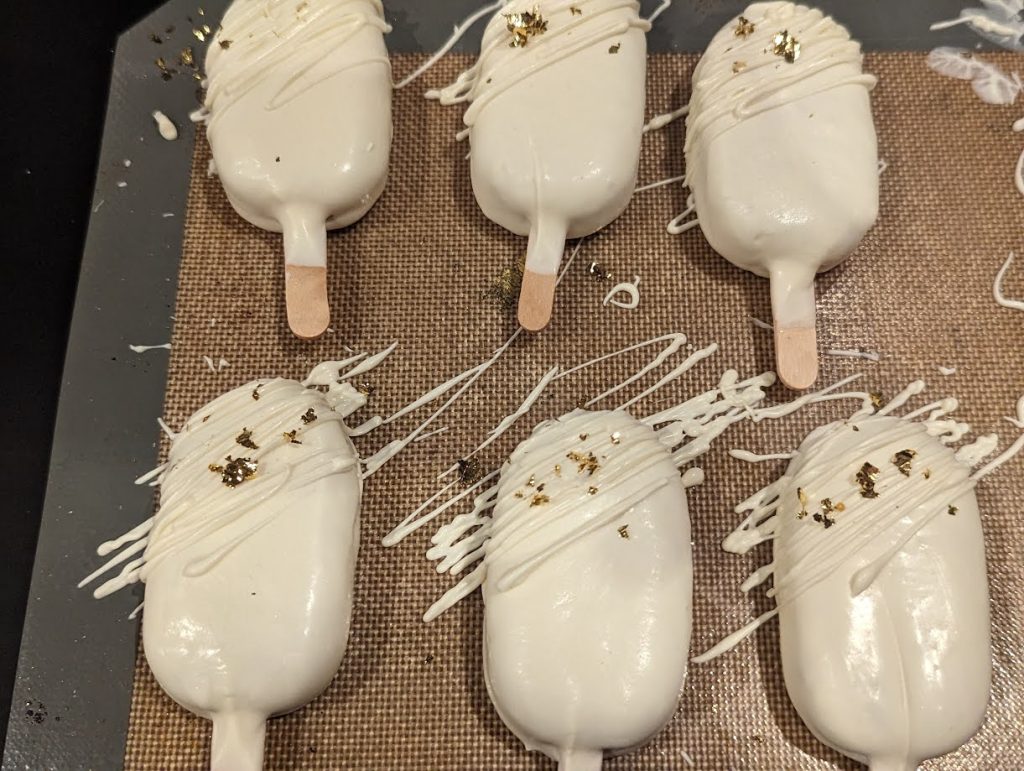
The dipping commenced. I dipped all of the cakesicles and picked the “best” ones for the final 40.

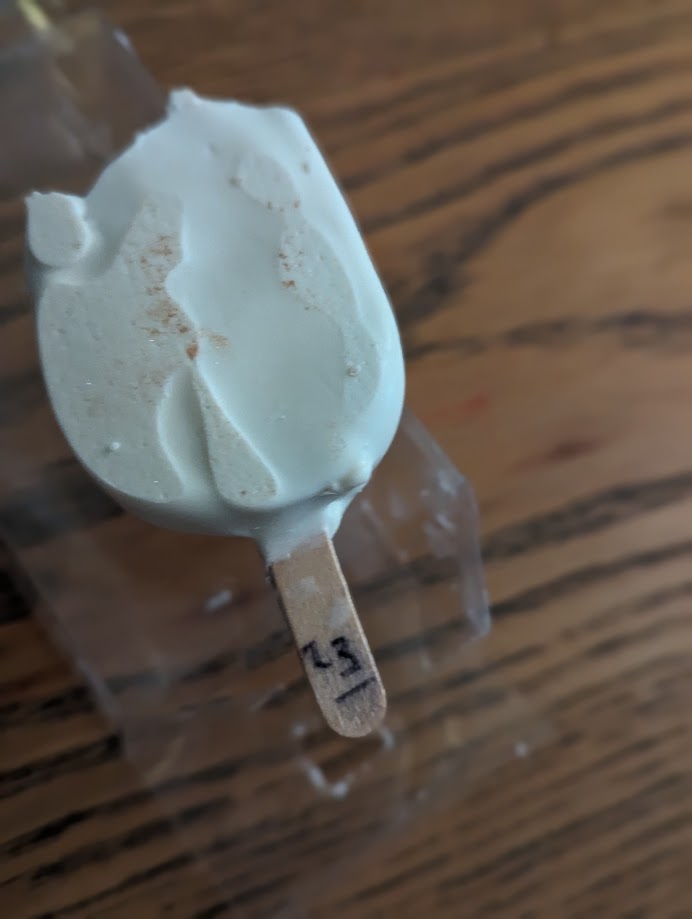
I had numbered the backs of all of the sticks and knew which number was the gender reveal coloured one which made it easier to keep track of for the day.
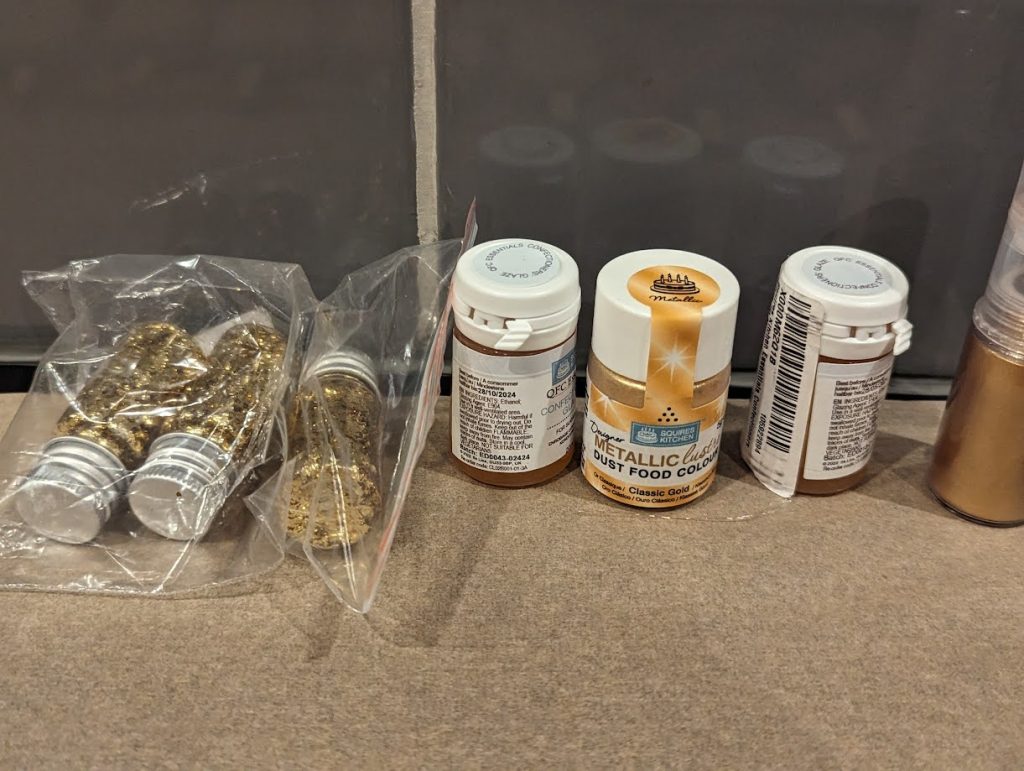
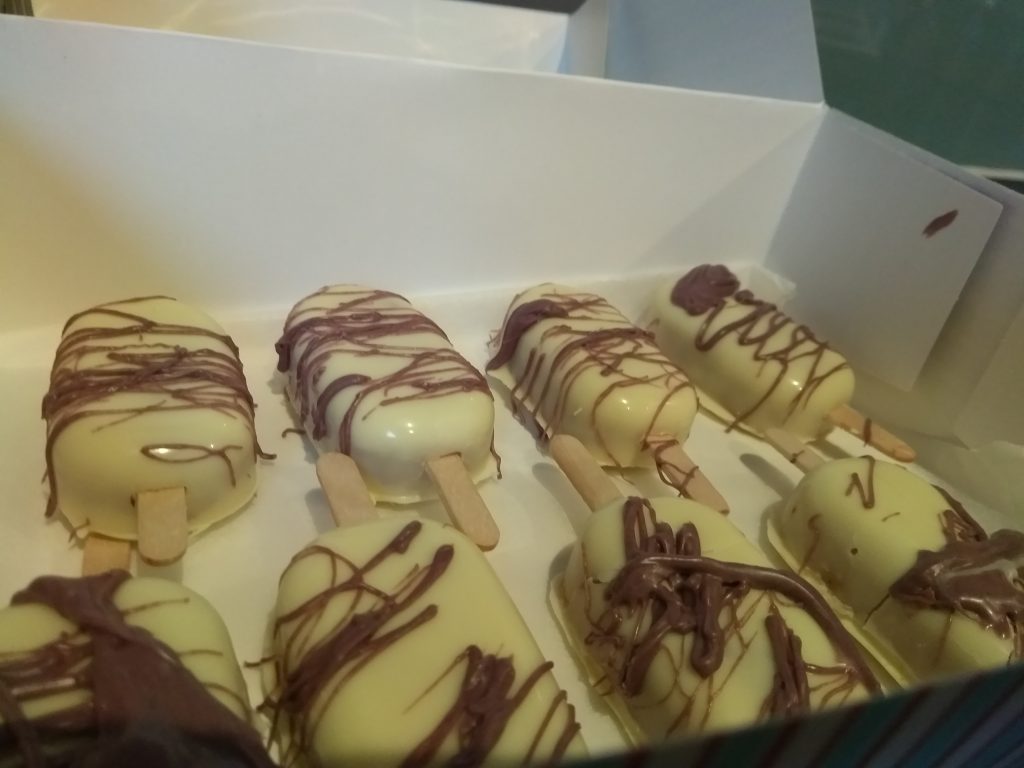
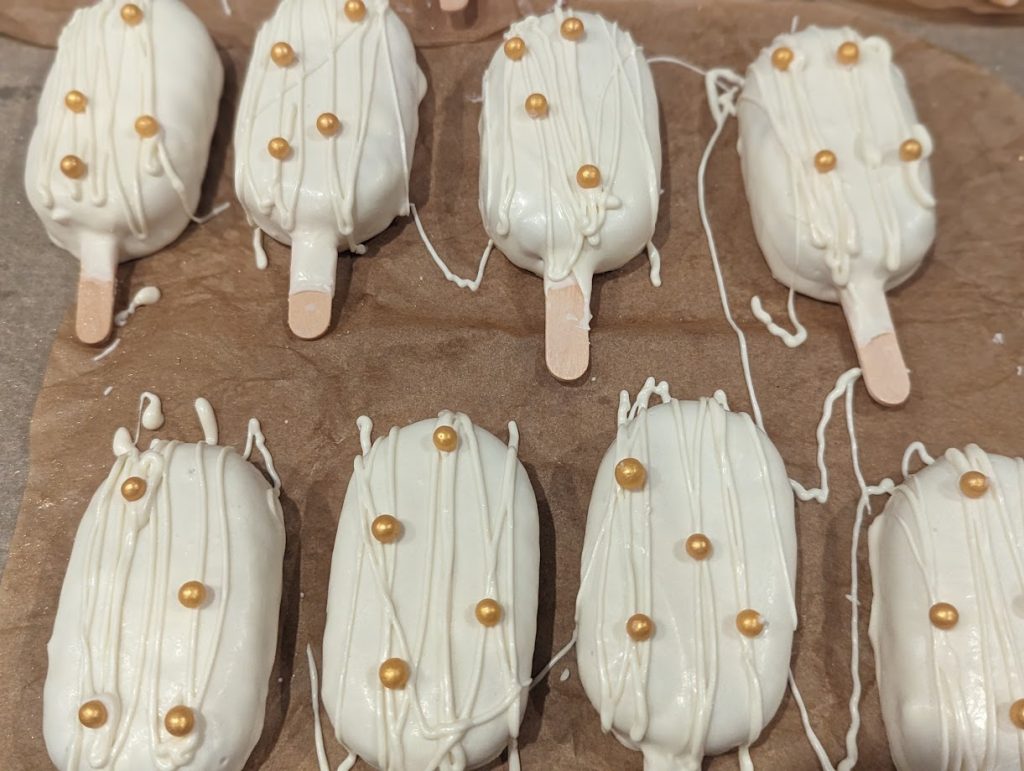
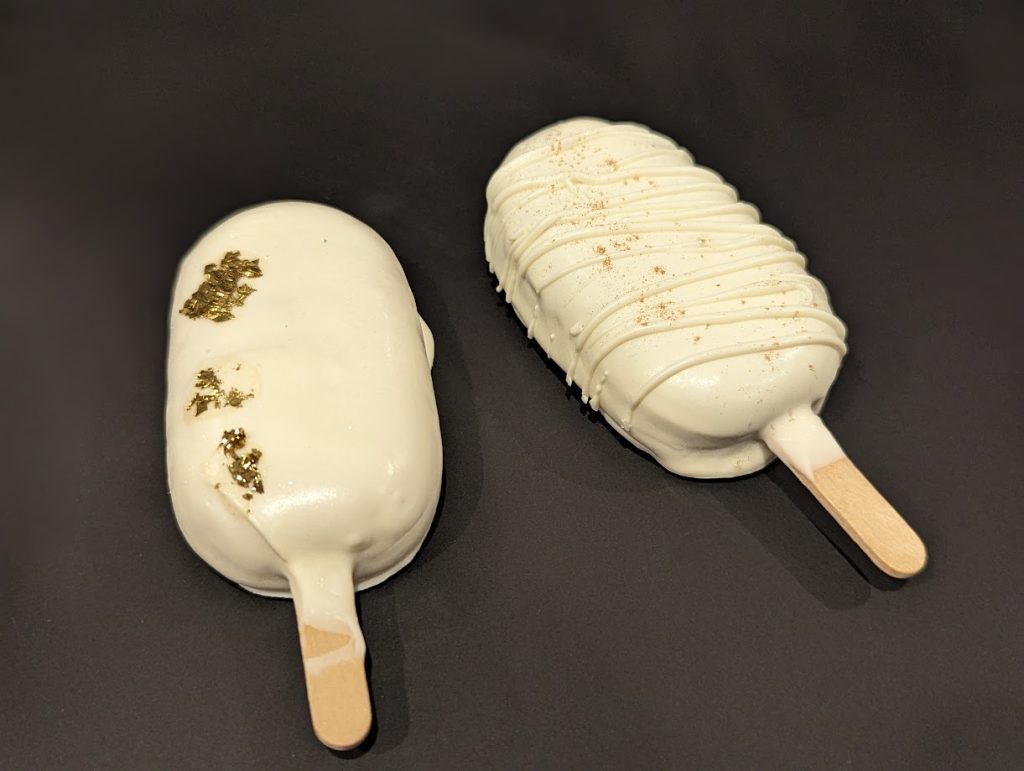
My friend had made some chocolate stars / moons which she had coloured gold, but asked that I just go with whatever I fancied for decorations. I did a collection of gold designs using glitter, gold leaf, and her toppers.
I had bought some clear plastic boxes for cakesicles, so boxed up my favourite 40. I collected these back at the party for re-using to avoid the impact of “single use” plastics.
After boxing up the best ones, I had a LOAD spare. Thankfully, we have plenty of friends and workmates to pass these on to, as well as freezing some for family next weekend (they freeze for a few months).
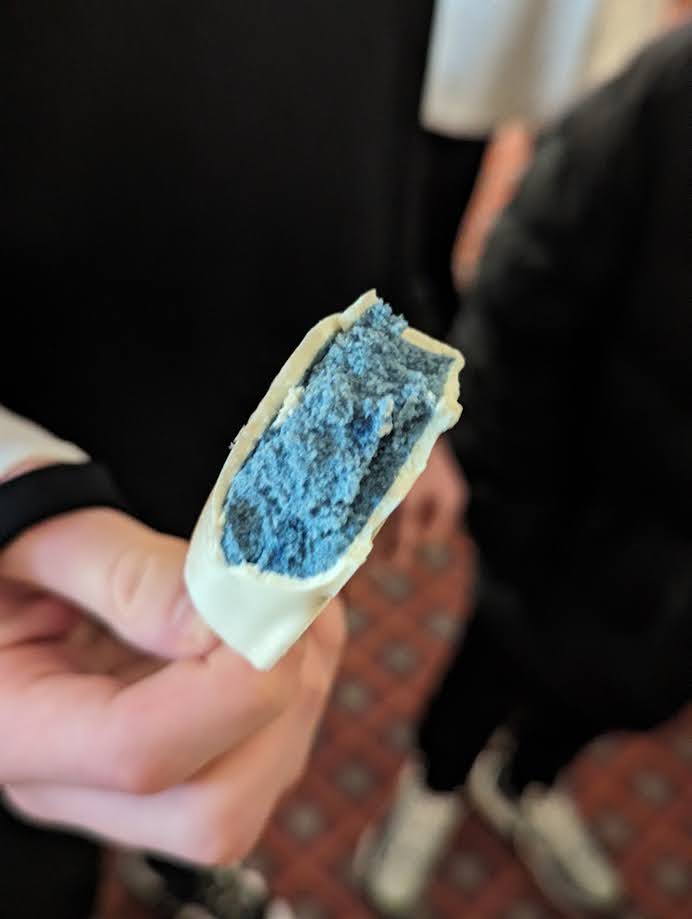
I kept one each of the coloured ones so that I could 1 – test to see if you could see the colour through the chocolate (you couldn’t), and 2 – to take some pictures of the cut cakesicles.
The finishing touch was adding some small gold bows to each stick which I applied with glue dots.
When it came for the actual reveal at the party, the hosts allowed everyone to pick a cakesicles from the table. I kept an eye on who chose the one with the colour in it, and then they had everyone stand in a circle. Starting at the parents to be, each person took turns in biting their cakesicles to see if it contained a colour – to make this last longer we sent the order the longest way around the circle from the person who had the reveal. They got a video of this (2 minutes 20 before the bite revealed a colour).
Oh, they’re having a boy 😊