It is my Nandad’s* 80th birthday next month, but due to holidays and organising everyone, we got together and went to visit him to celebrate early.
*When we were children, we had Grandma and Grandad, so our child logic meant that it was Nanna and Nandad.
There was not set ask for this one, except for “can you make the cake”? I fancied giving a black and gold cake a try.
I know that it can be difficult to get buttercream to be black if you’re not using cocoa powder / chocolate it in. I wanted a vanilla flavour, so figured I’d give Cake Cream a try. It is a Swiss Meringue Buttercream that is pre-made so you just add butter and water. I’d never used it before, and have learnt things for next time around.
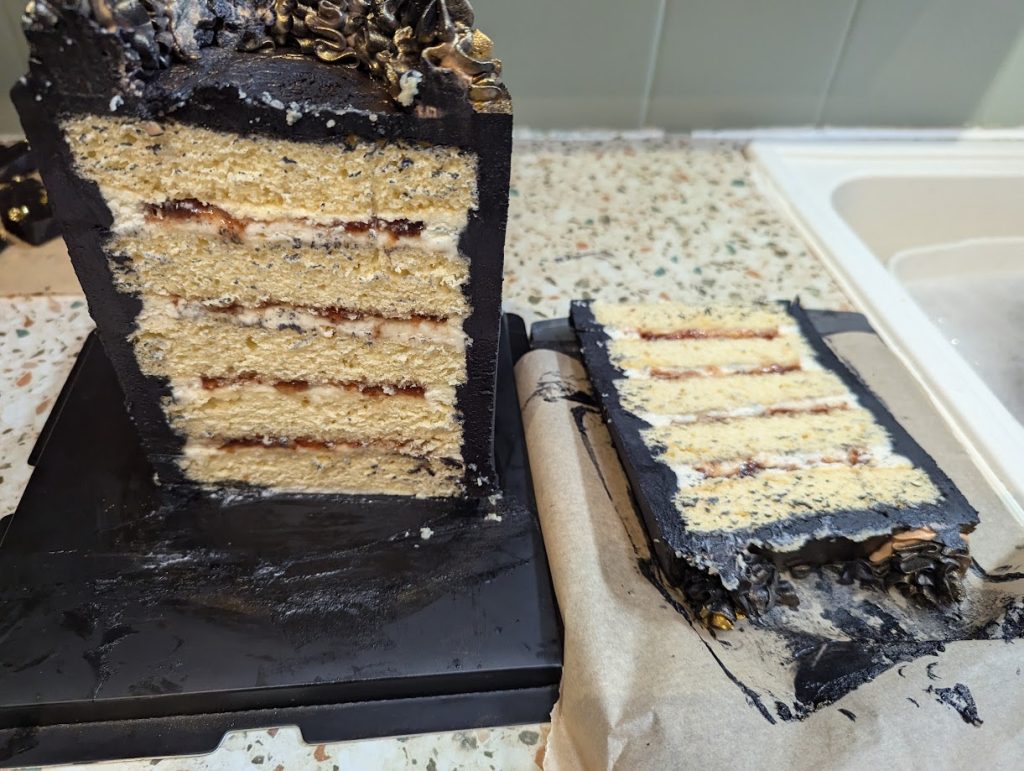
The cake itself was my standard vanilla cake recipe that I filled with vanilla buttercream and a strawberry and tonka bean jam.
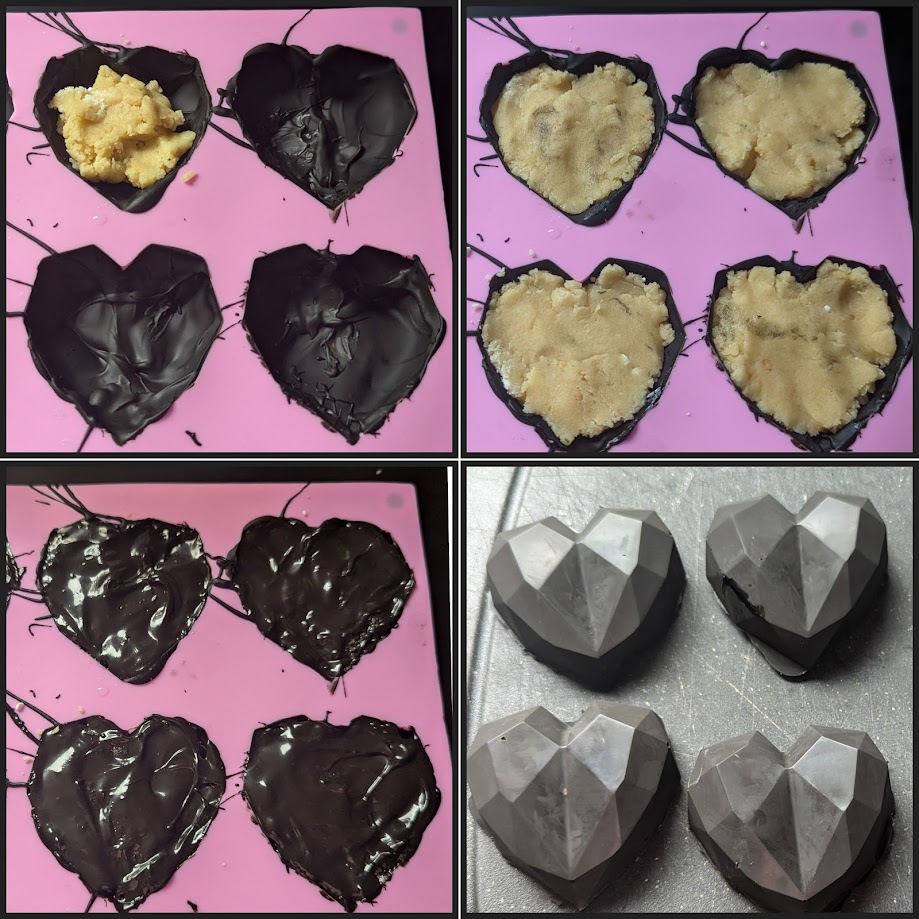
When I had baked the cake layers, I let them cool and then trimmed them. This leaves a load of cake offcuts that I decided to turn into cake truffles. I made some chocolate heart shells and filled them with the cake (mixed with buttercream) to perhaps use for decoration once they cake was completed. I made these in advance and kept them in the freezer until required.
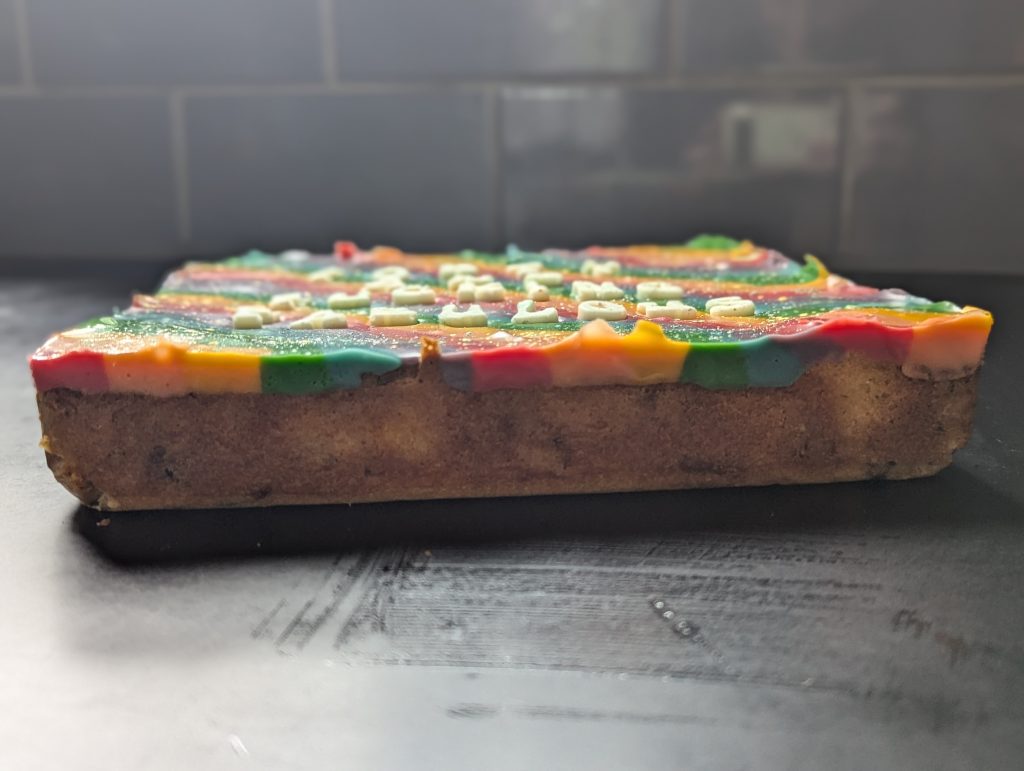
When it was time to make the cake, I decided to use my ganaching kit to try keep the edges sharp. I seem to have more success when building these layer by layer, so this is what I did this time around – added a layer of cake / buttercream / jam and piping the coating around the edges before moving onto the next layer.
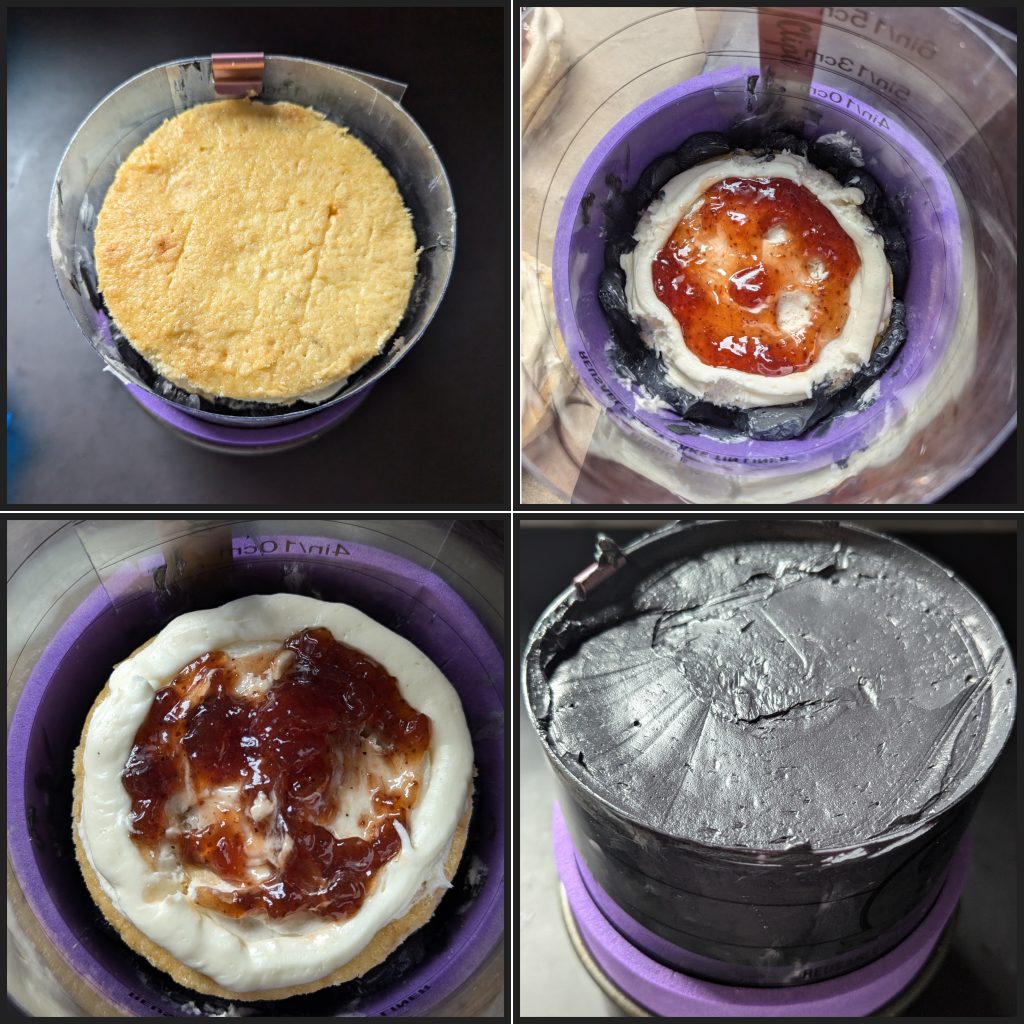
I let the cake set in the fridge overnight before removing the wrap.
I had to patch a couple of bits which was my own fault as I didn’t realise I should warm the Swiss Meringue Buttercream a little to loosen it before piping it in! It wasn’t too many though.
Another lesson for next time – I need to wear gloves as this black cake definitely stained my hands.
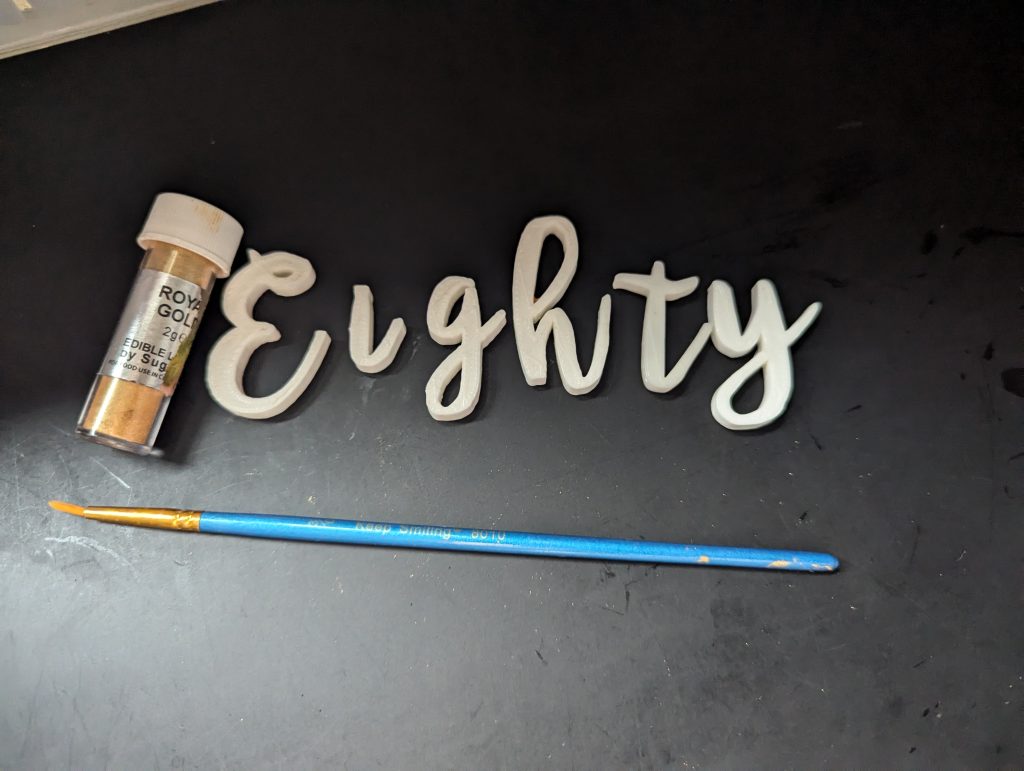
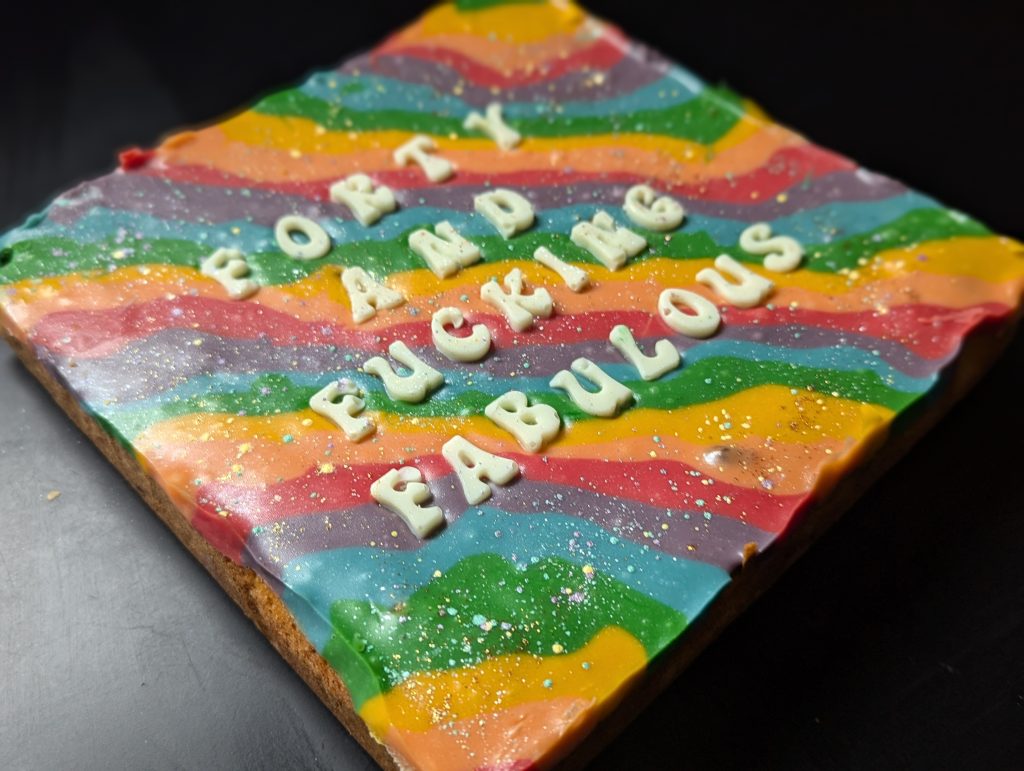
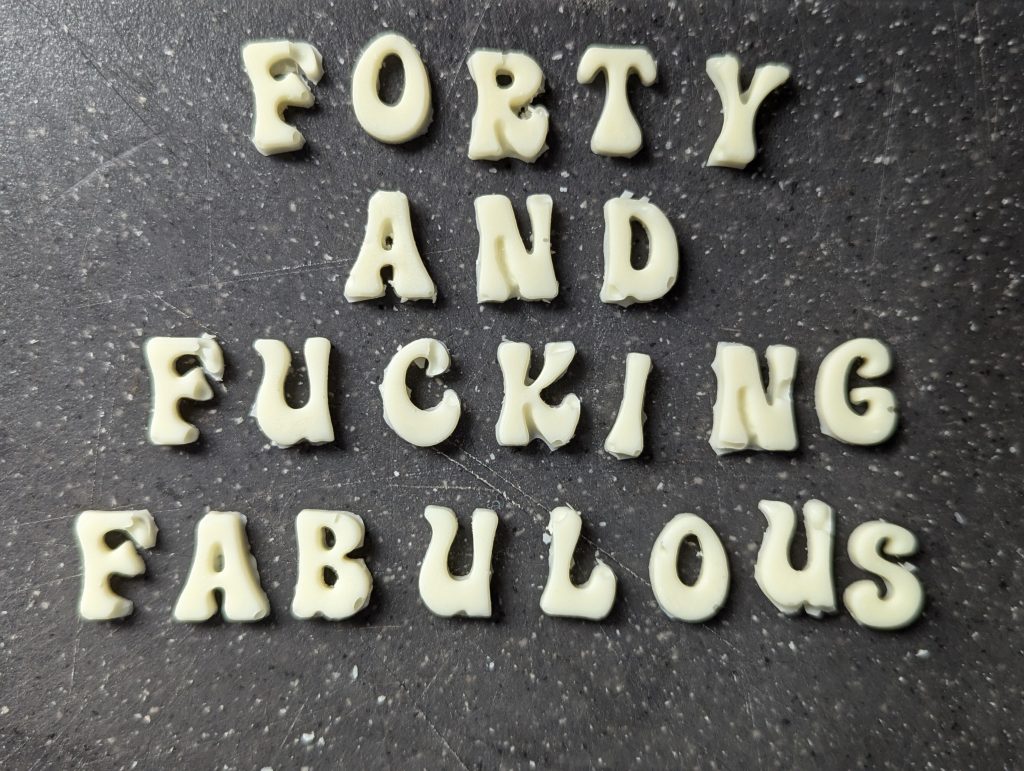
To decorate the cake, I used some cake stamp letters to spell out Eighty, and for the rest of the cake it was a combination of gold dust and gold leaf.

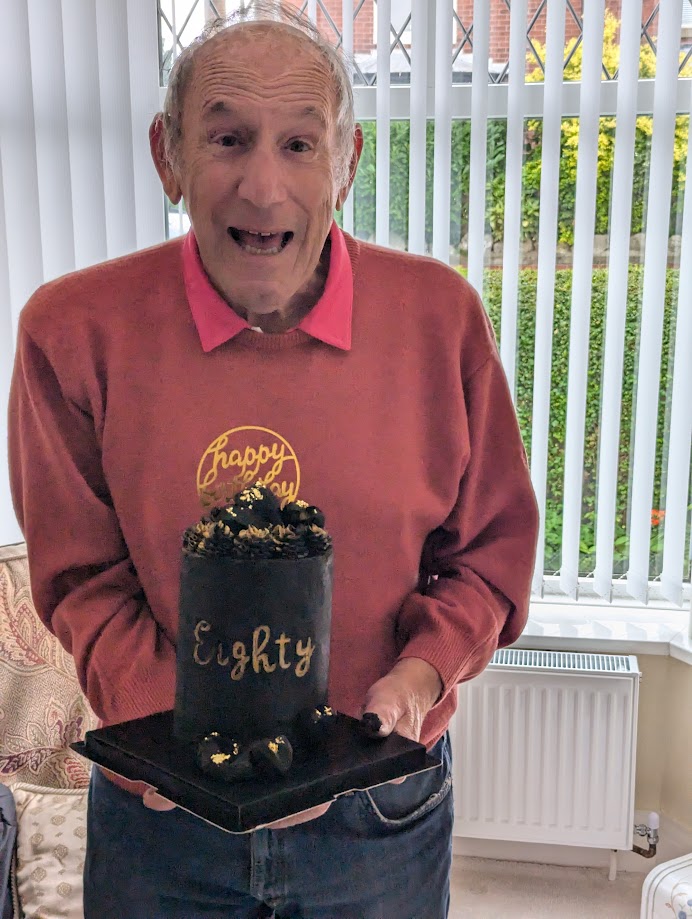
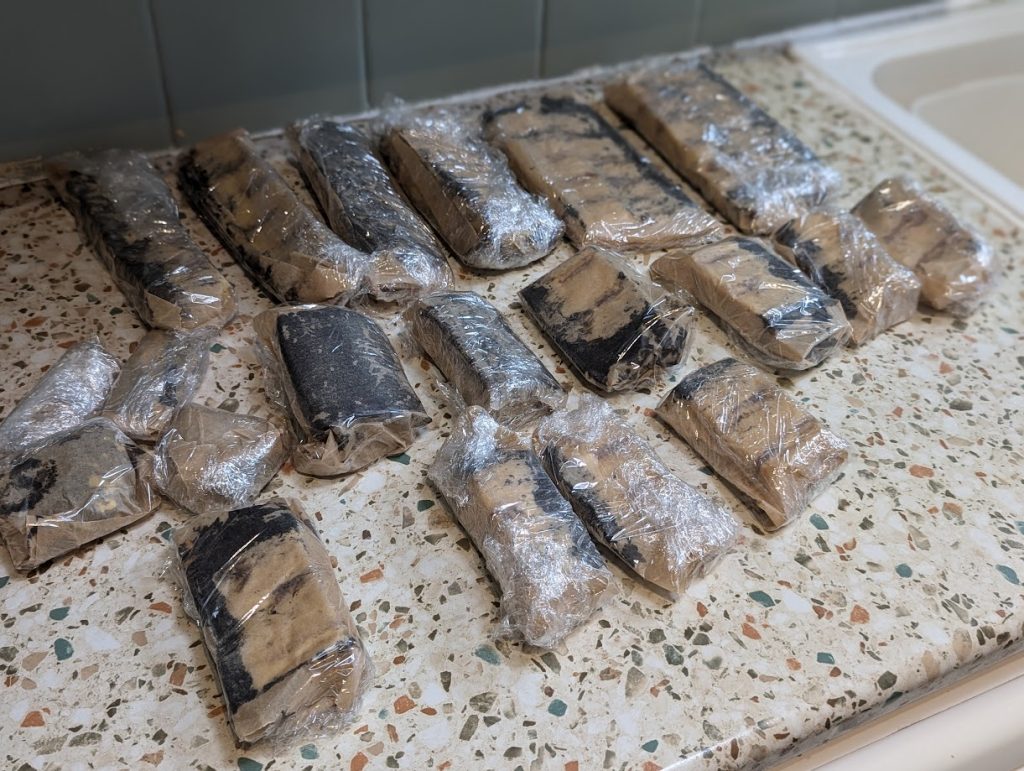
We presented the cake to Nandad after a lunch out with the family! I was then responsible for cutting the cake into portions for eating / freezing for later.
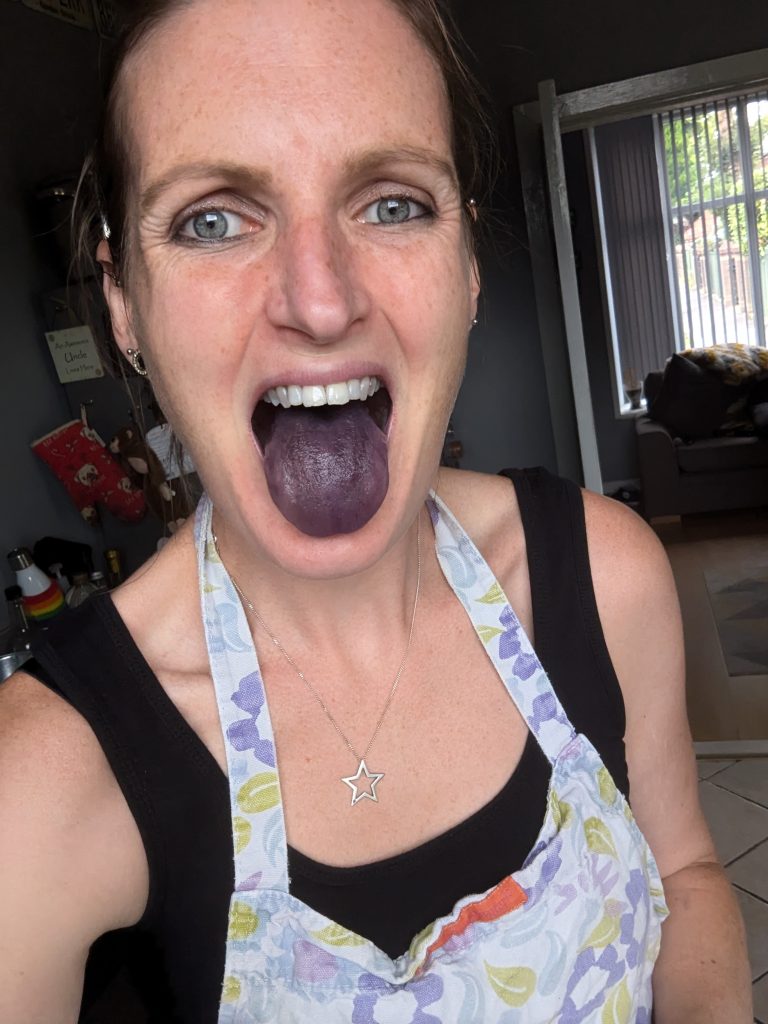
For anyone wondering how badly the cake dyes your mouth;