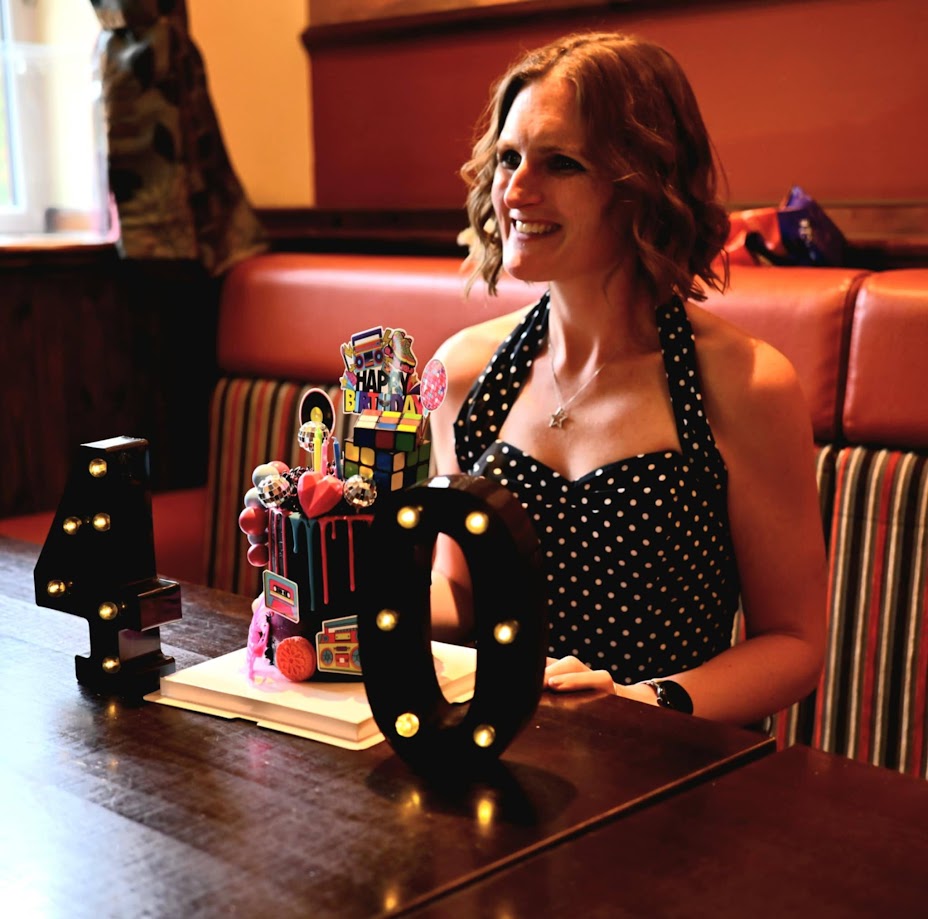
It was my 40th birthday at the weekend. I wanted to do my own 80s themed birthday cake to use up some cake ingredients that I had in the house. We had a few celebrations planned to split out friends and family over the weekend, so naturally I ended up doing 2 cakes.
FAMILY CAKE
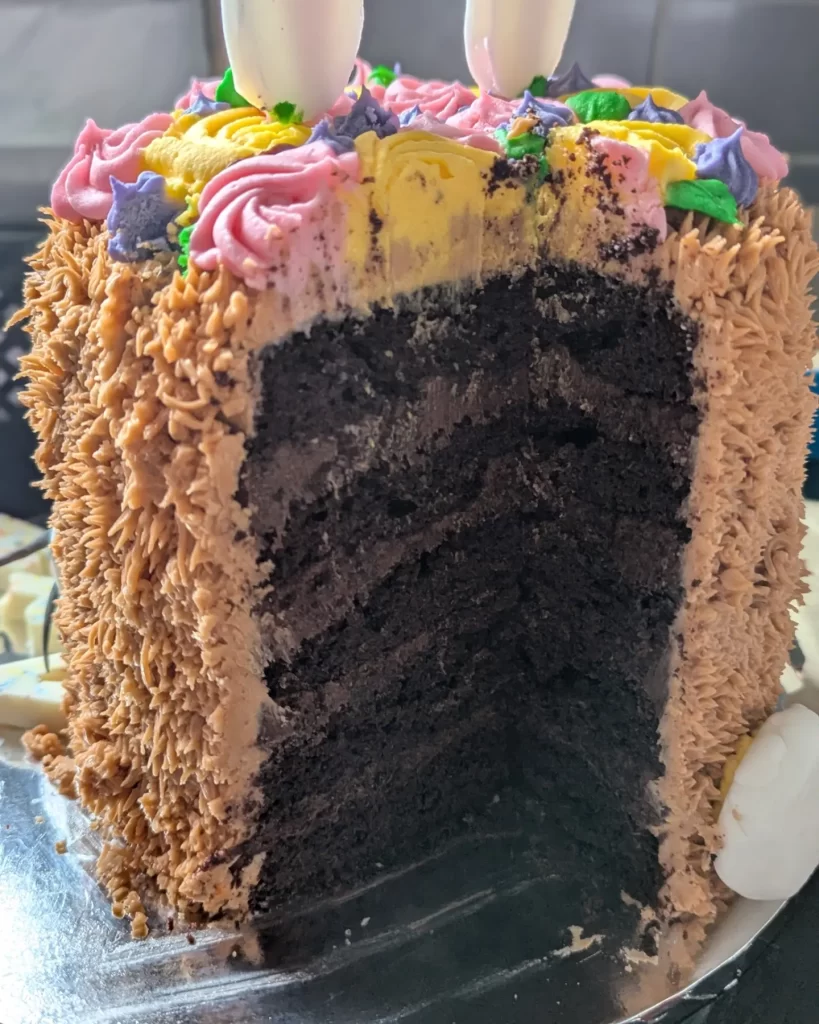
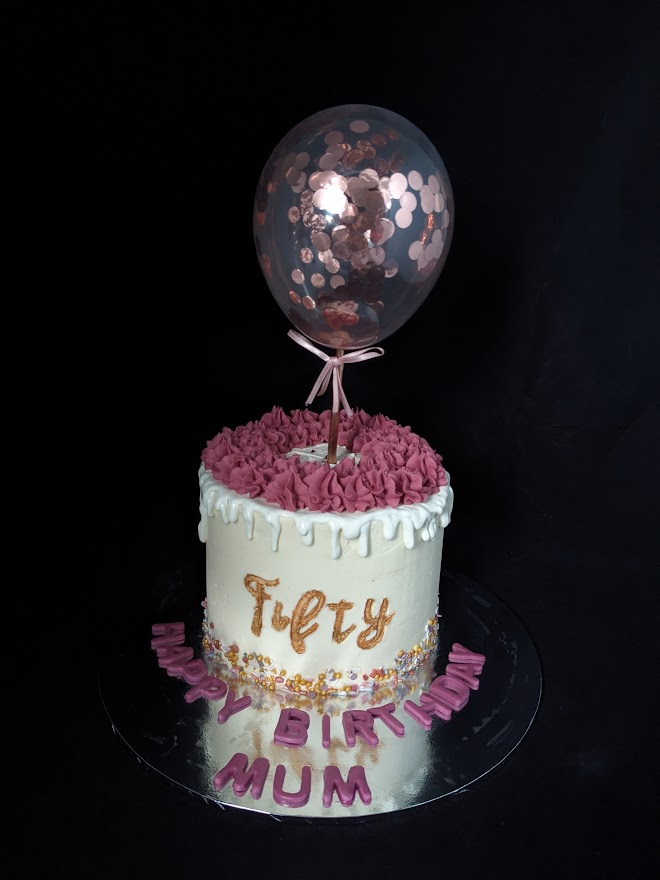
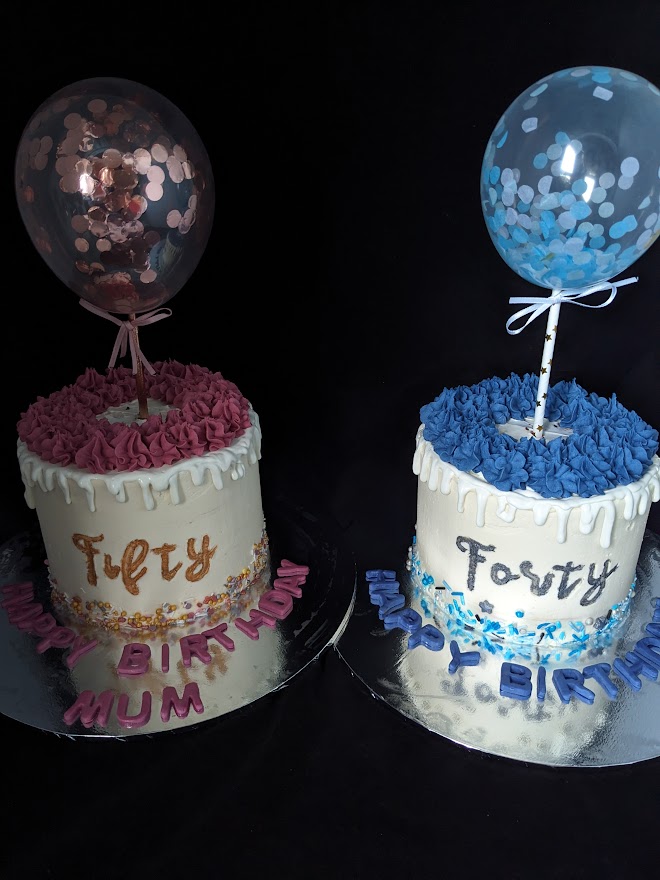
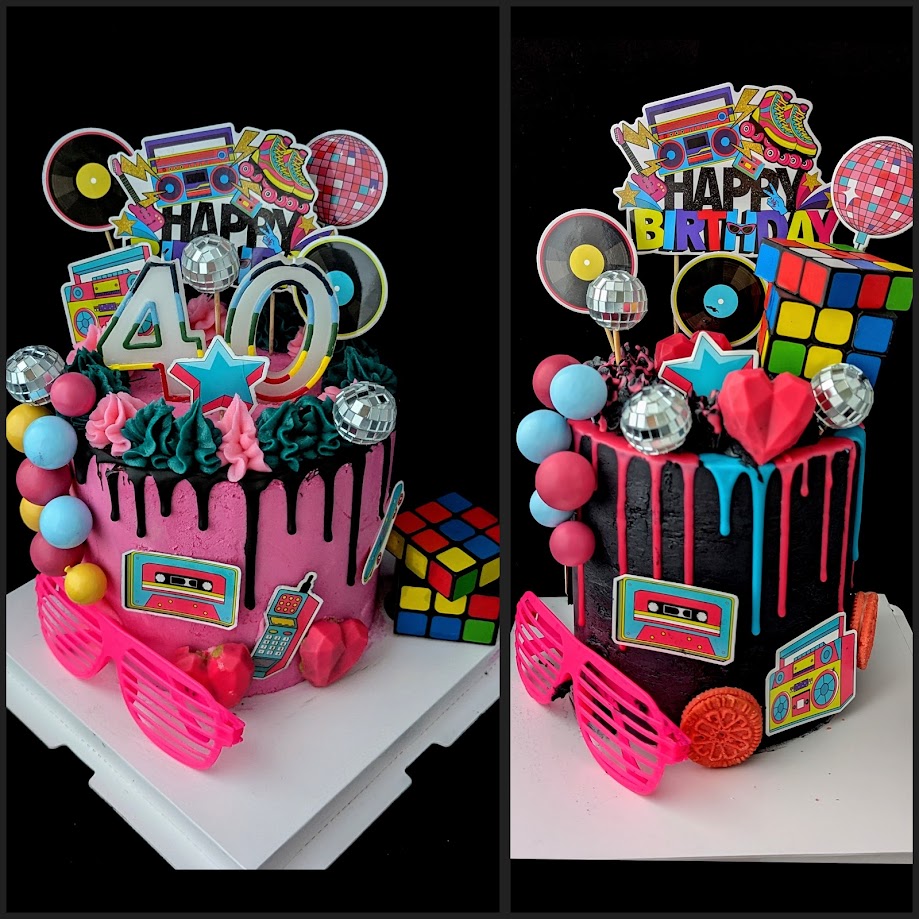
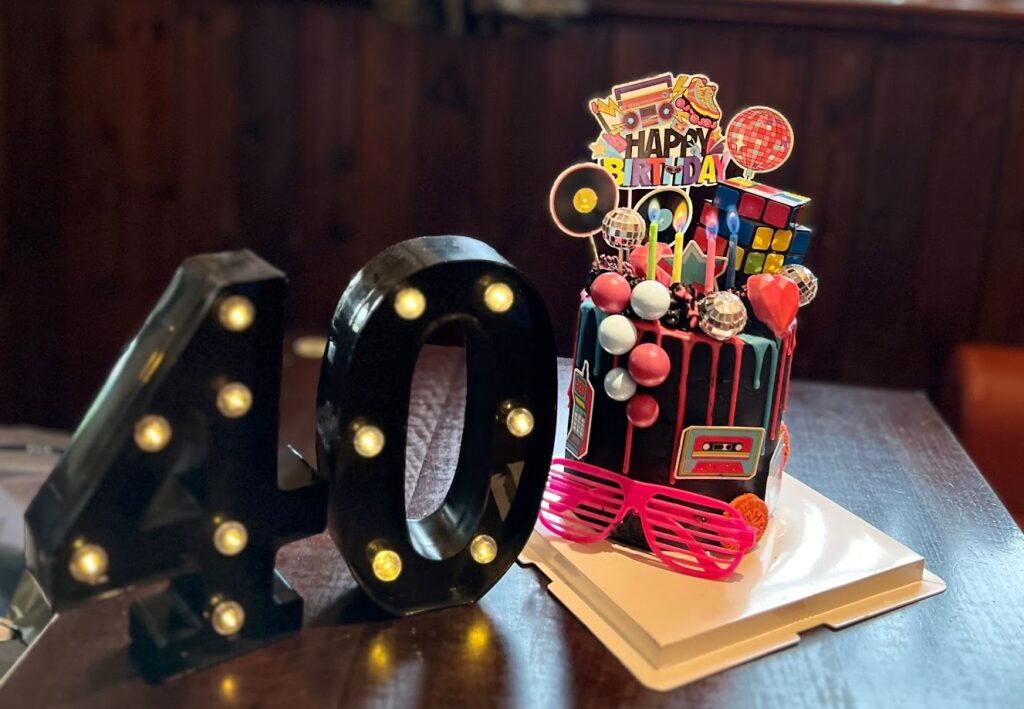
The first event we had was a meal with family on the Friday before my birthday. I had bought 2 packs”Cake Cream” from the Frost Form website last year when making my grandad’s 80th birthday cake and only used the one, so I decided to use that for the first cake and do a black cake again.
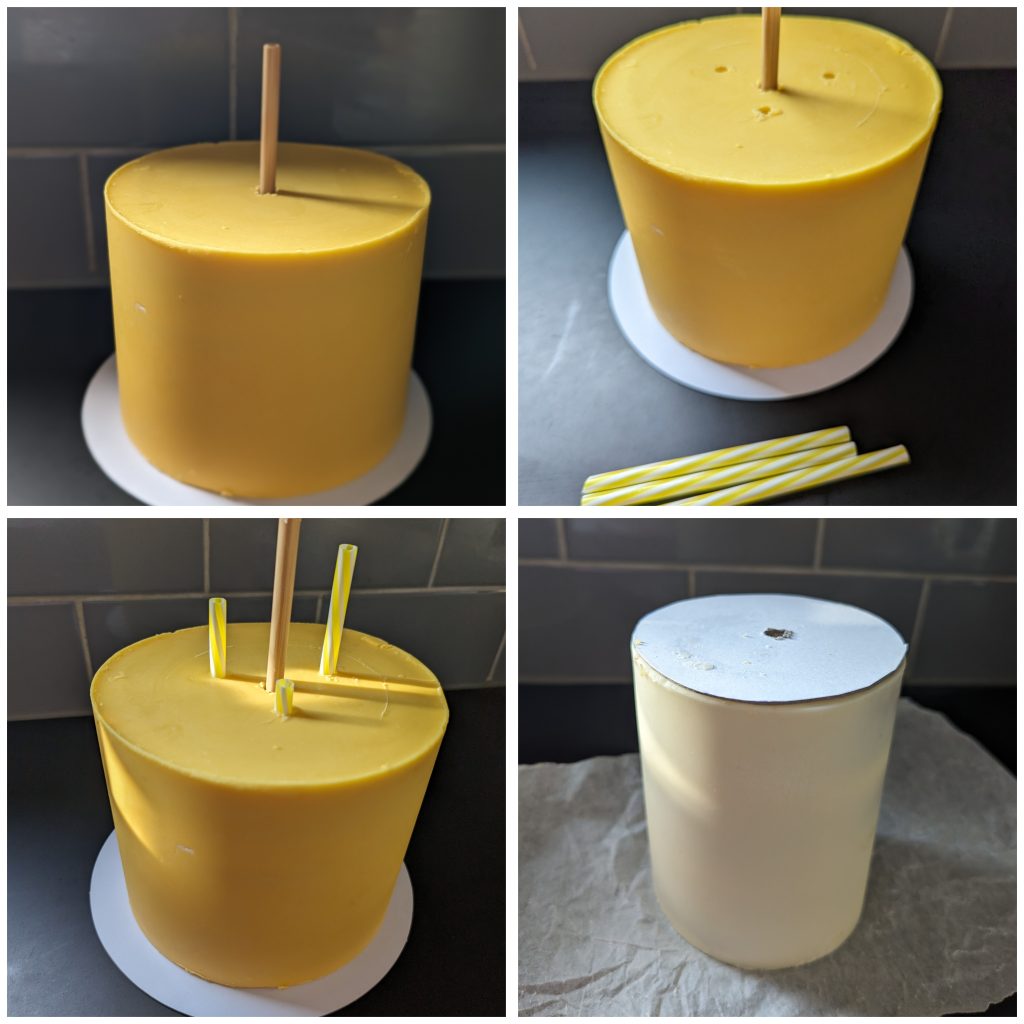
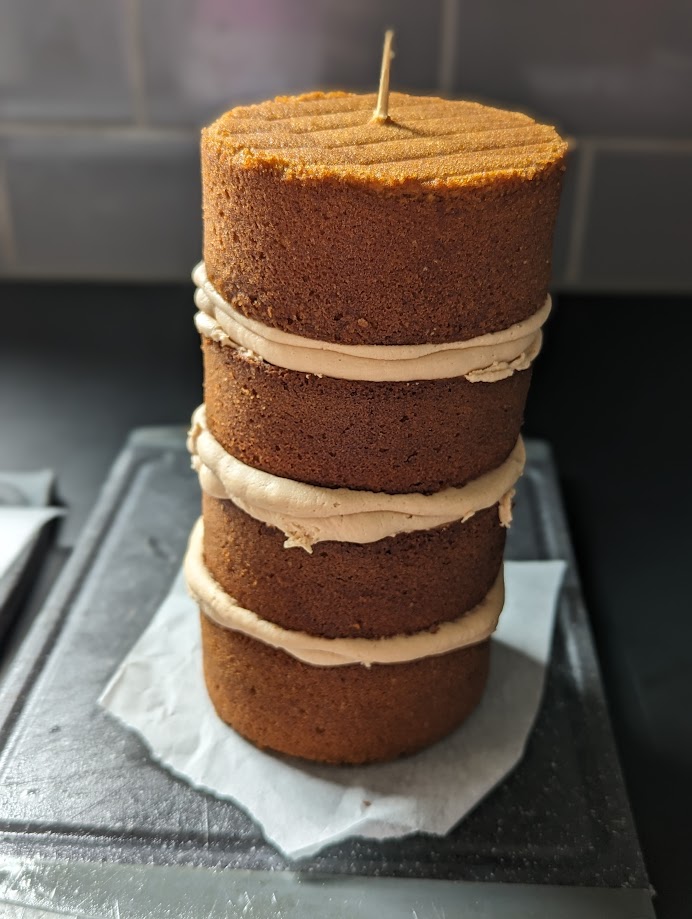
I used my ganache kit from Brigid’s to get the smooth lines on the cake again, but I still managed to layer the cake on a diaganol so one side of the buttercream was thicker than the other.
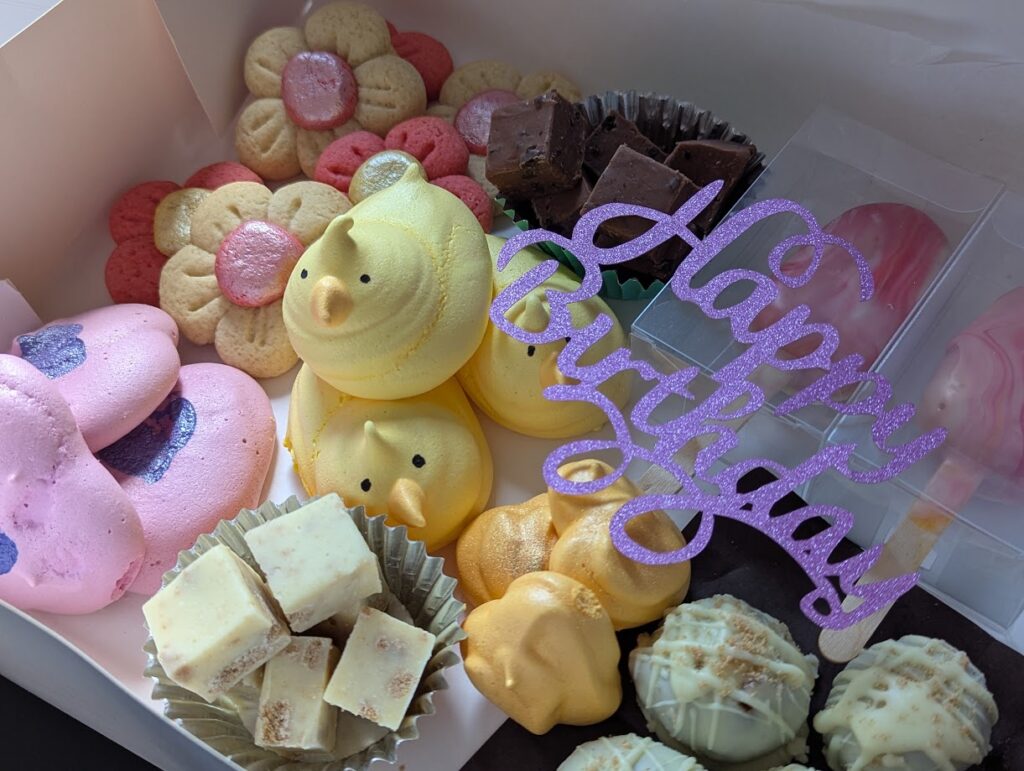
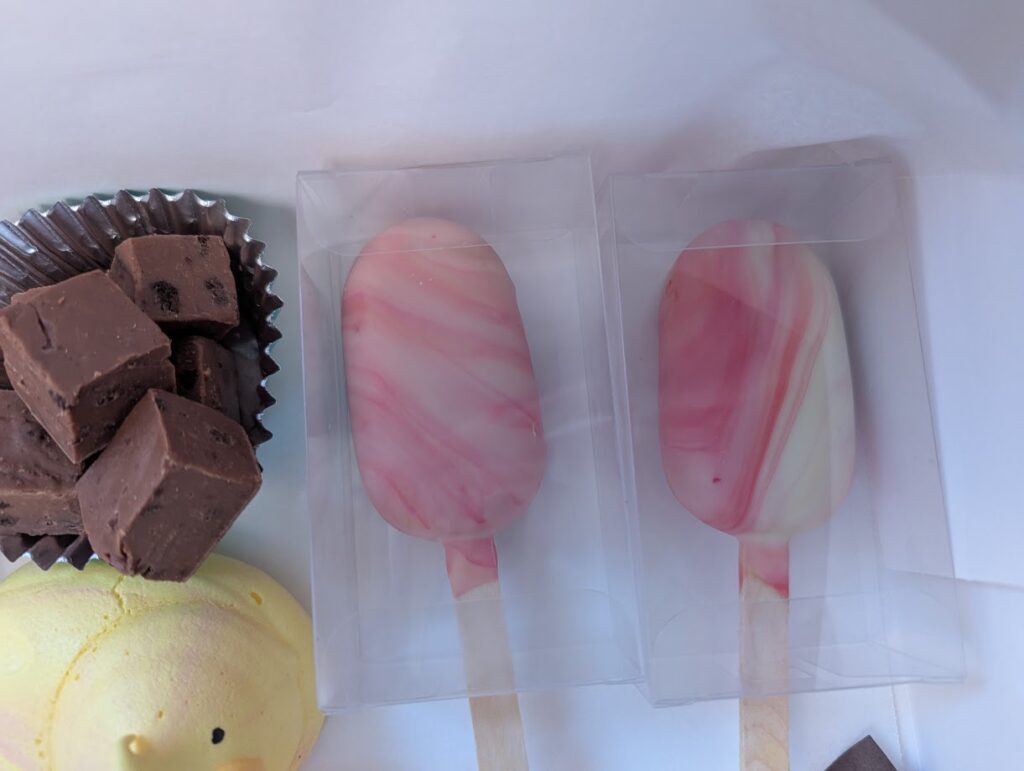
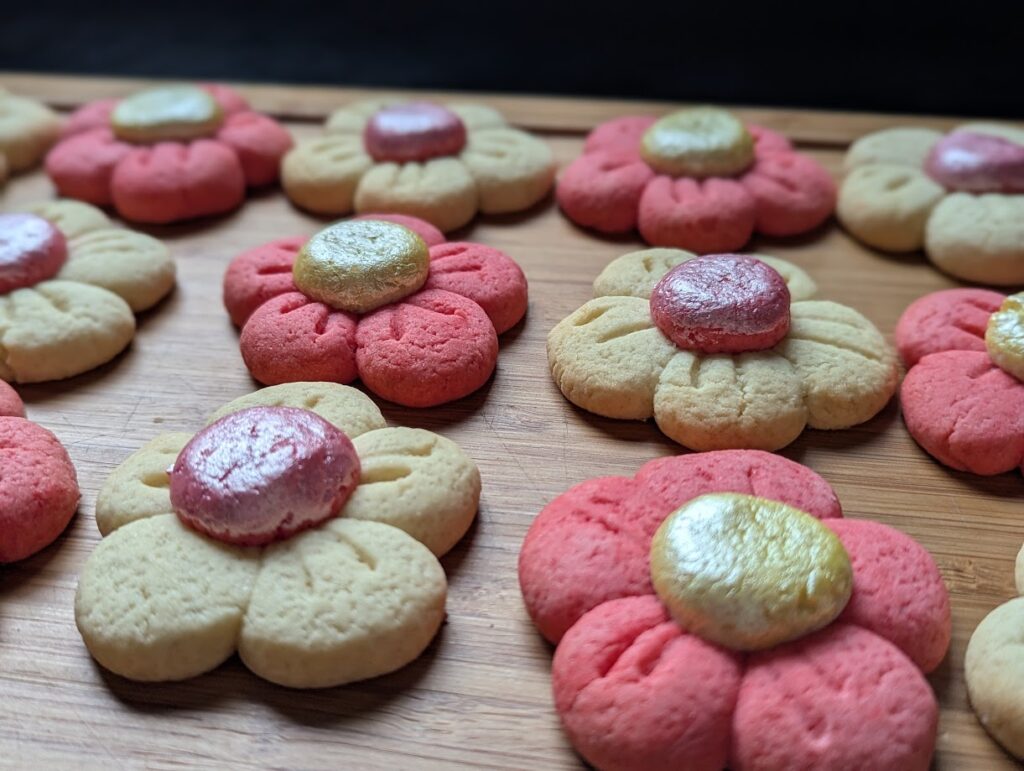
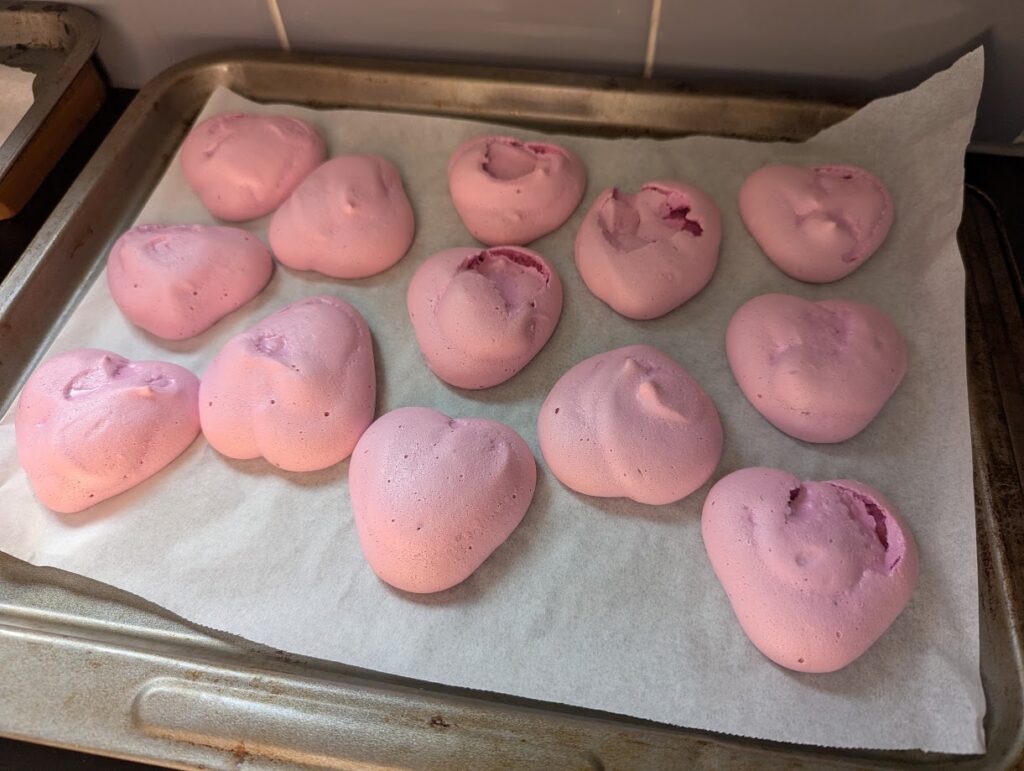
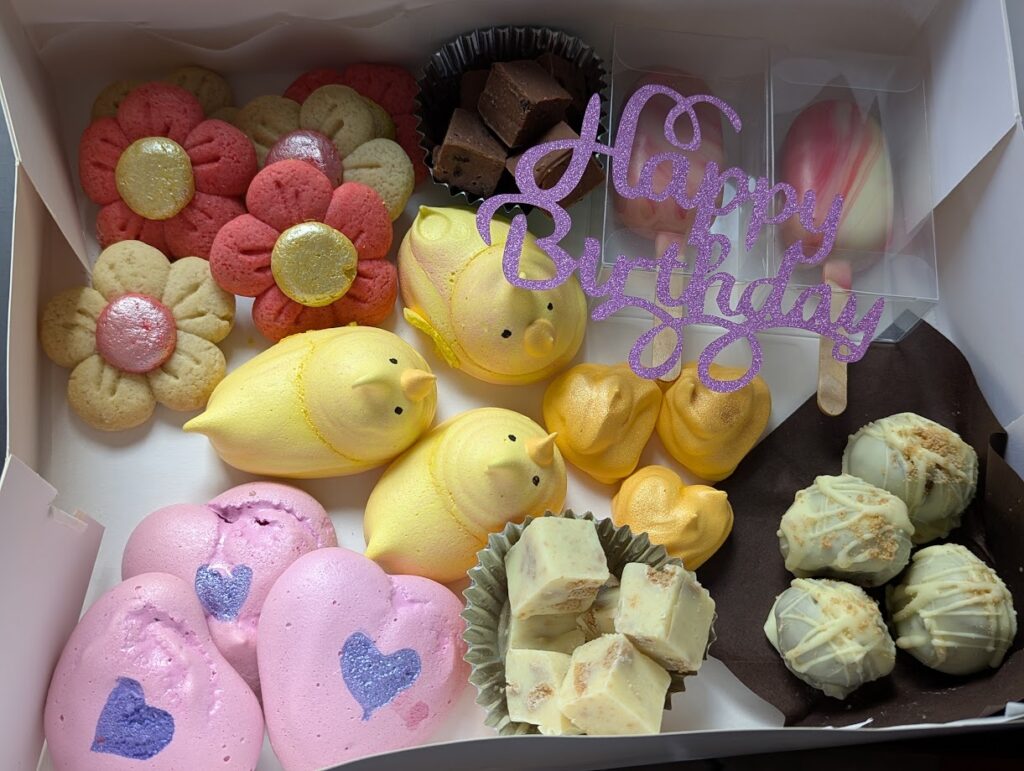
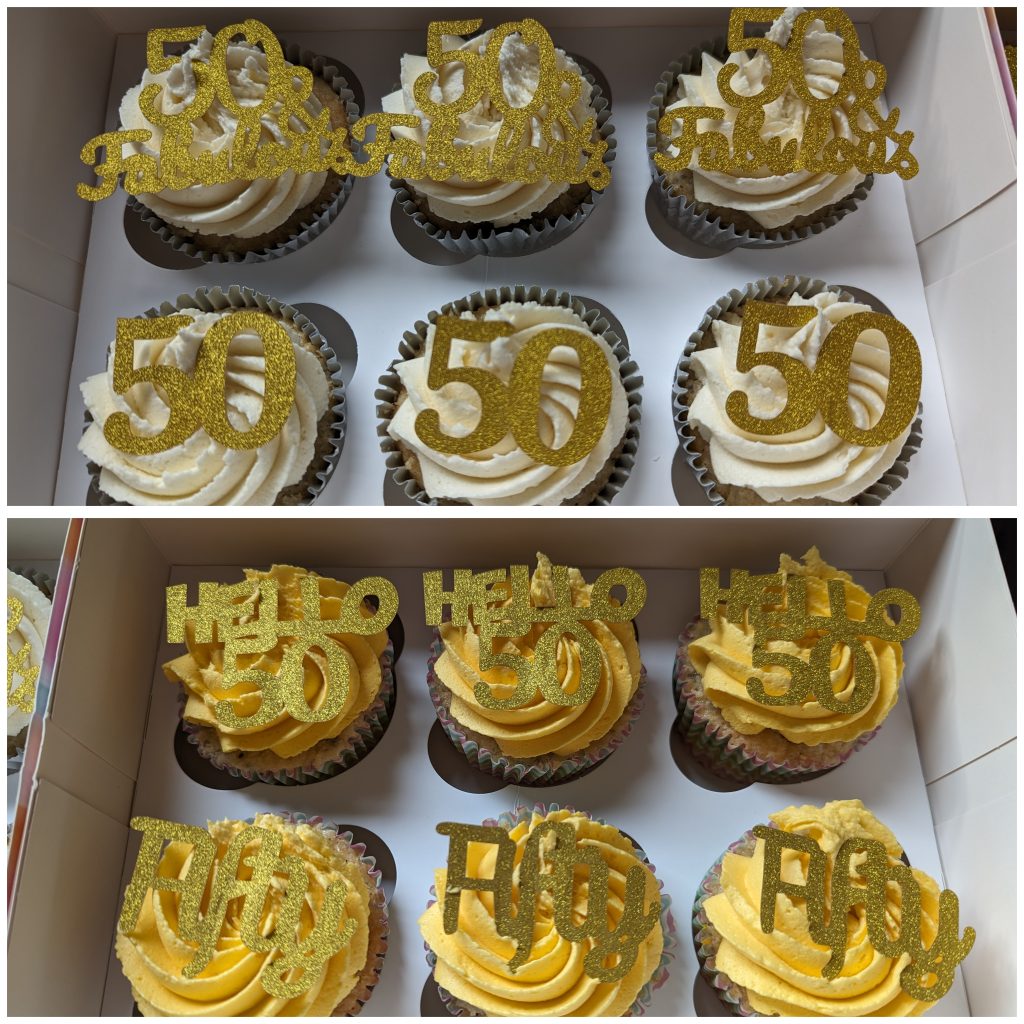
I had also bought some cake toppers to use on the top of the cake, which I cleaned and re-used on the second cake. Some of the decorations were edible (pink cake hearts, pink biscuits) but the rest were not.
CAKE NUMBER 2 – VEGAN FRIENDS
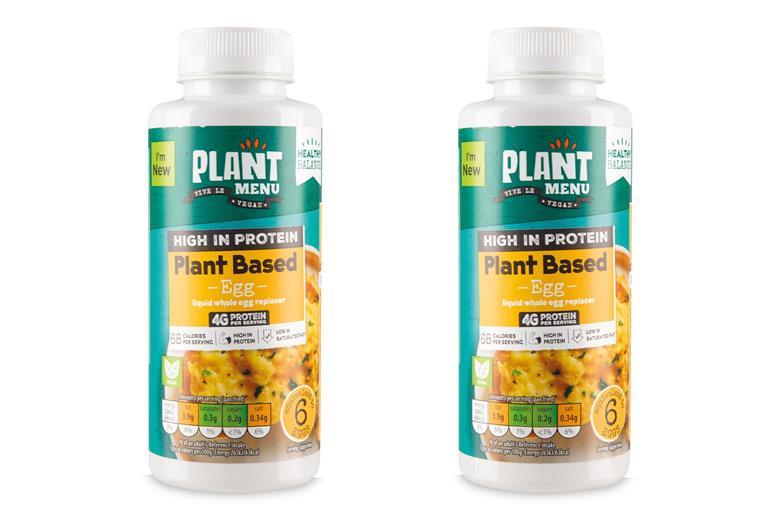
The second cake I made needed to be vegan to include some of my friends who were coming around on Monday. Thankfully, vegan cakes are far nicer than they used to be thanks to all the new ingredients available! This one was done to use some egg replacer that I got from Aldi earlier this year. The egg-stuff was gross as a scrambled egg replacer. Rather than just bin it, I decided to bake some vegan cake layers and freeze them for future use.
I made the full cake vegan by replacing dairy / animal products with vegan equivalent. The above egg replacer instead of eggs, Flora plant butter instead of butter / margarine, and oat milk instead of milk.
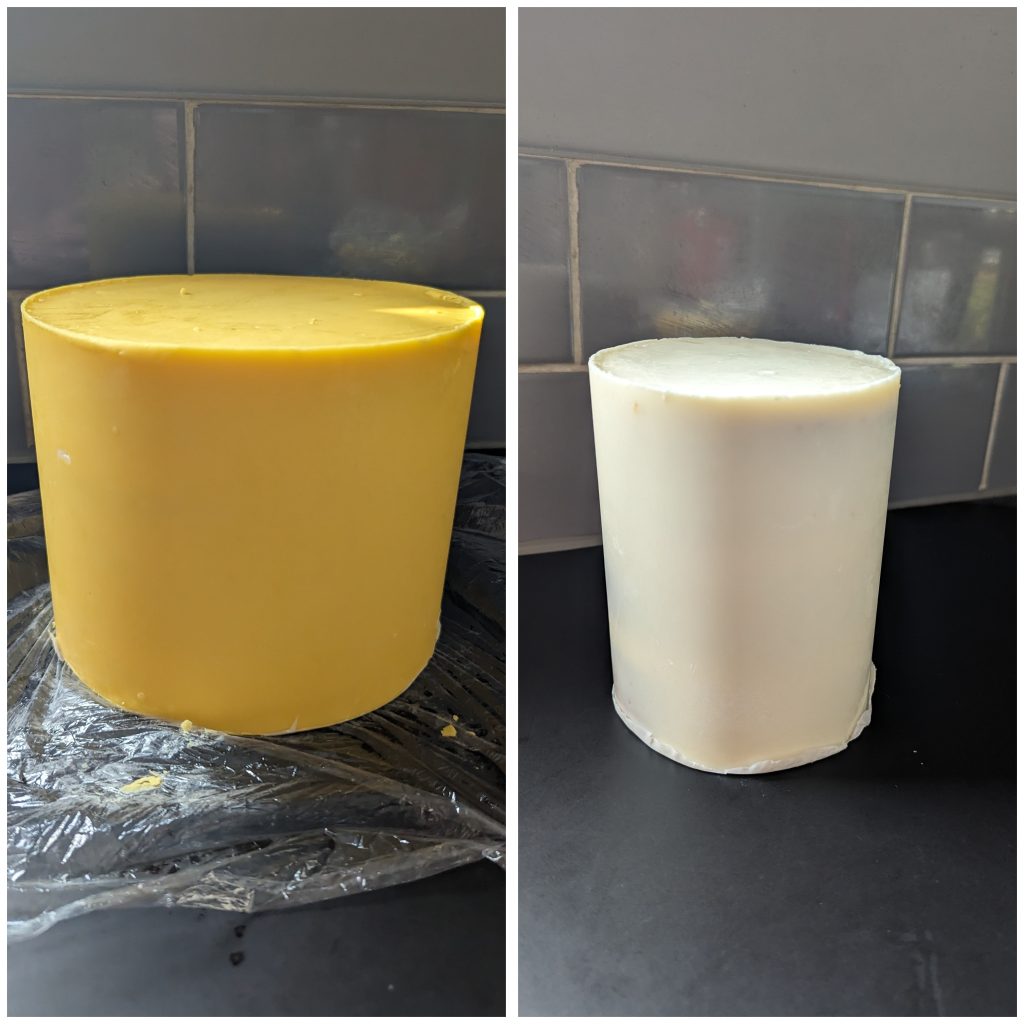
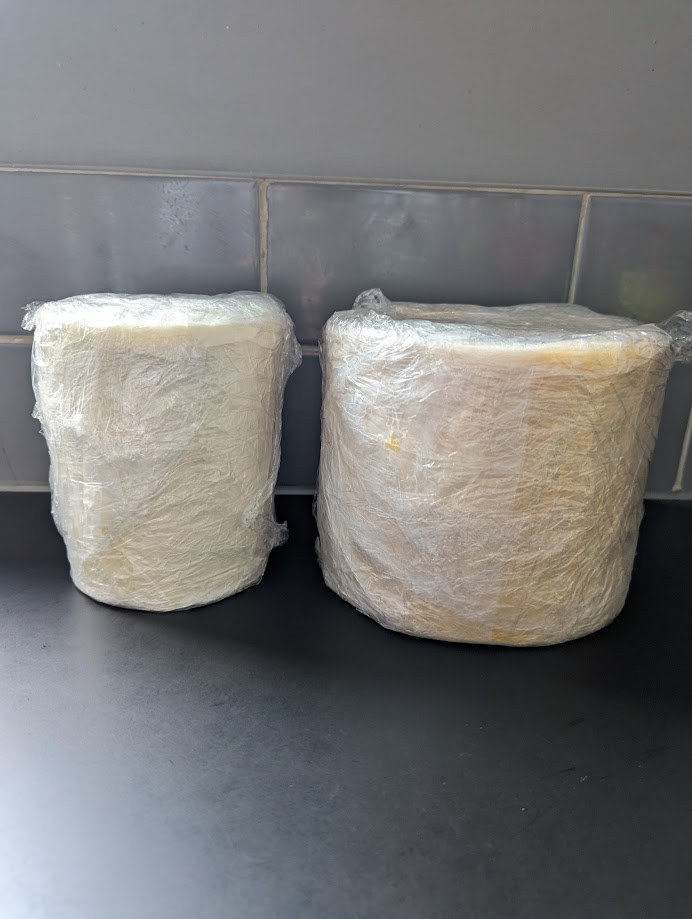
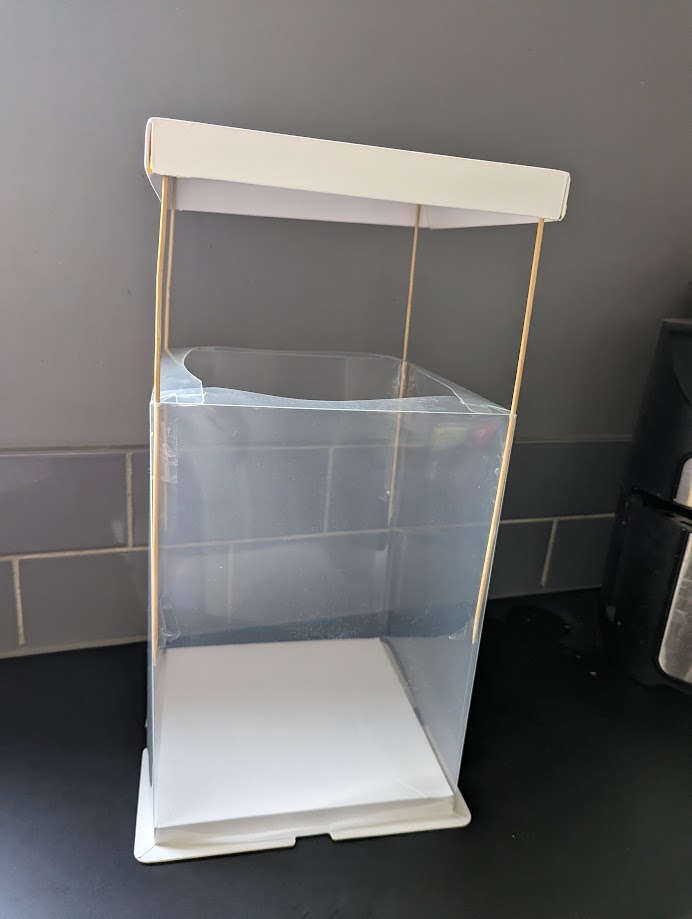
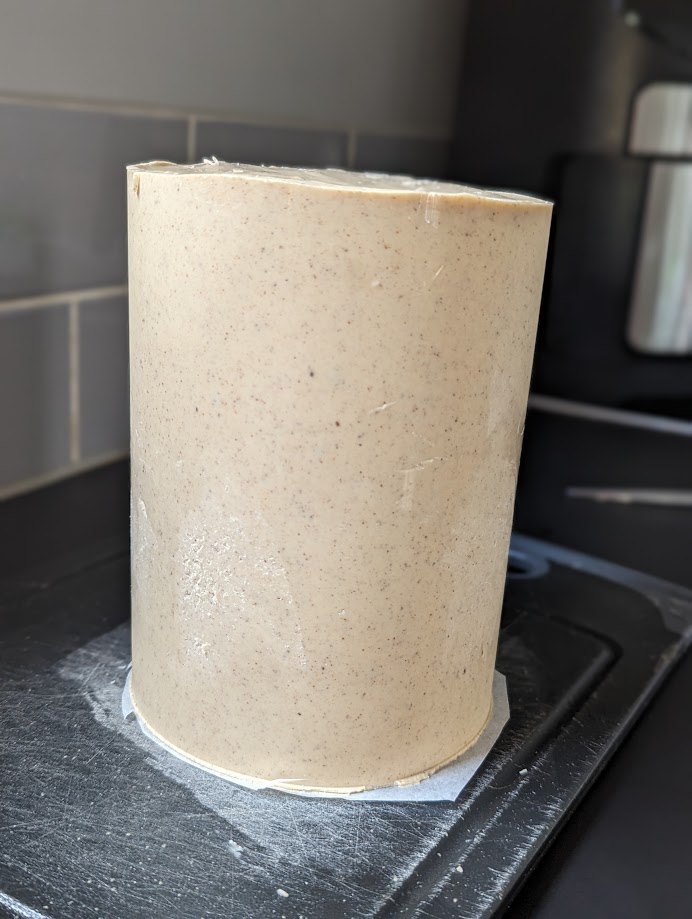
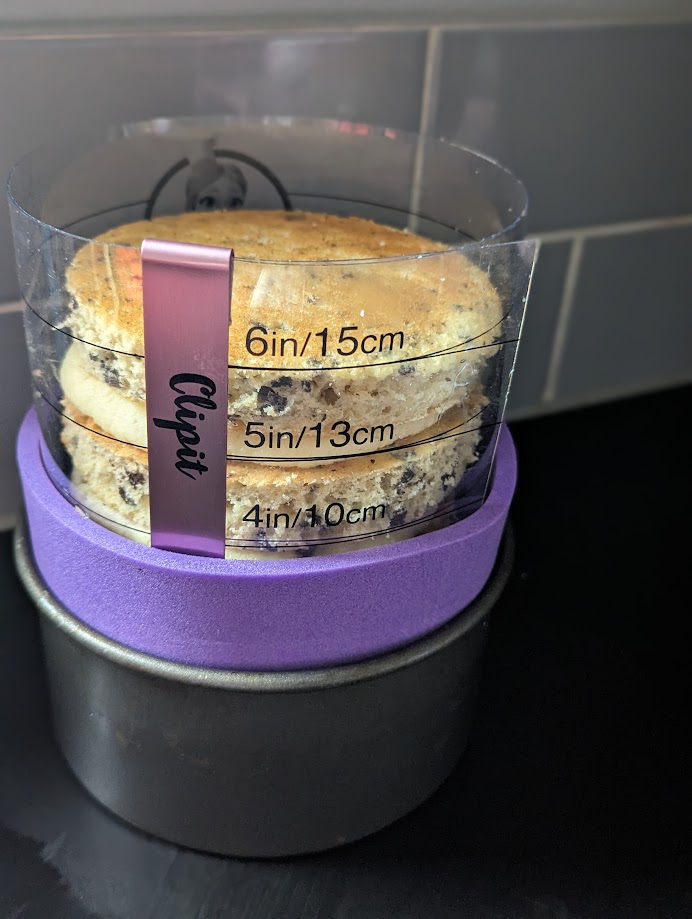
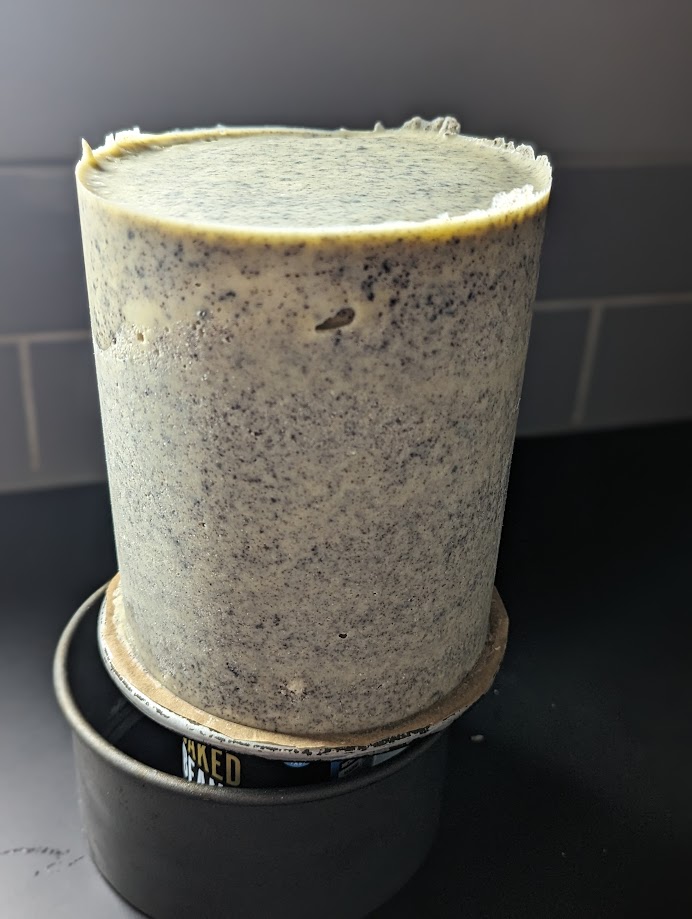
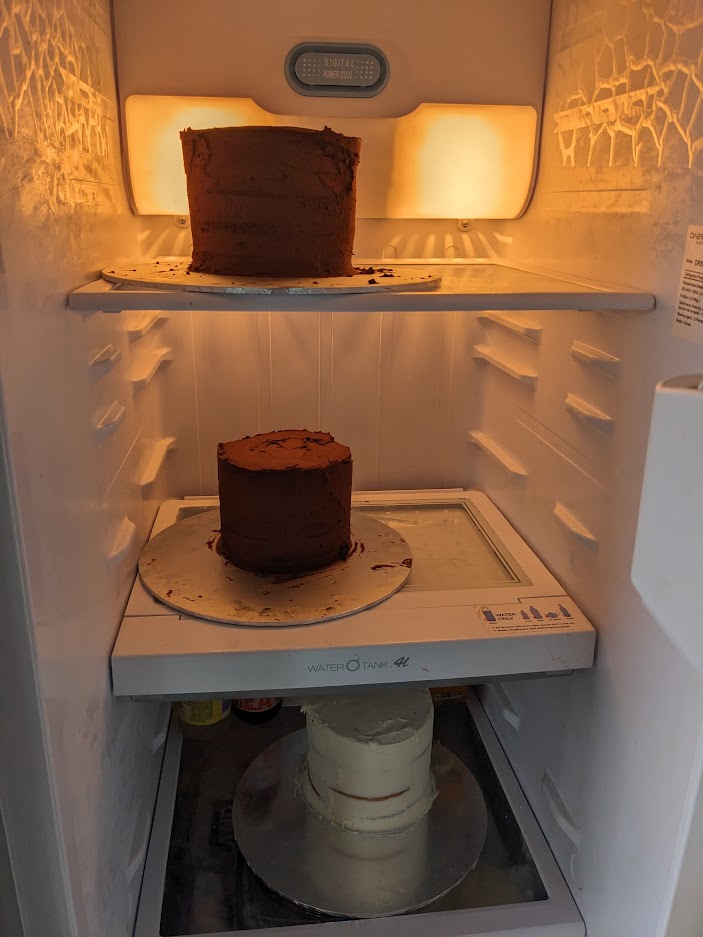
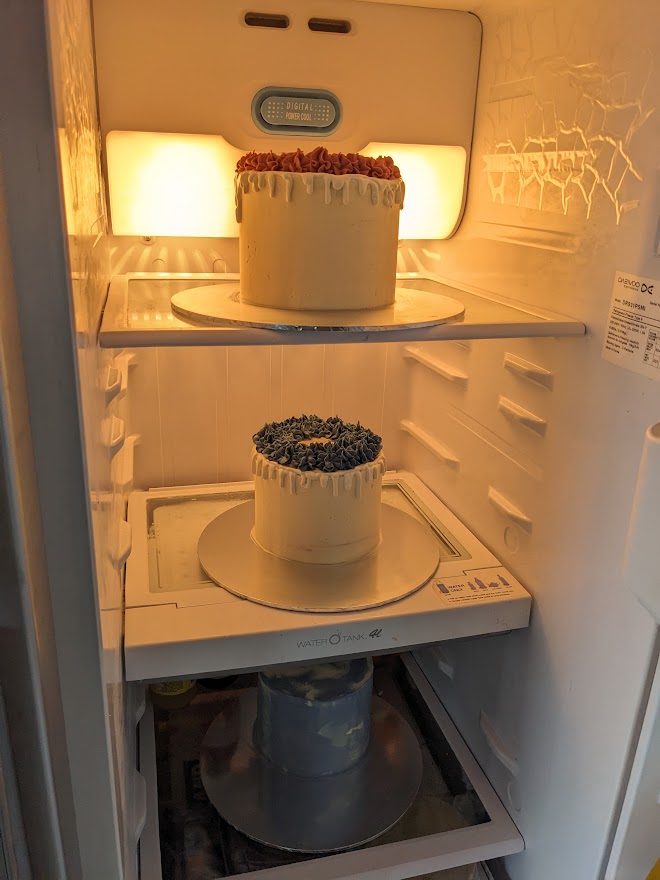
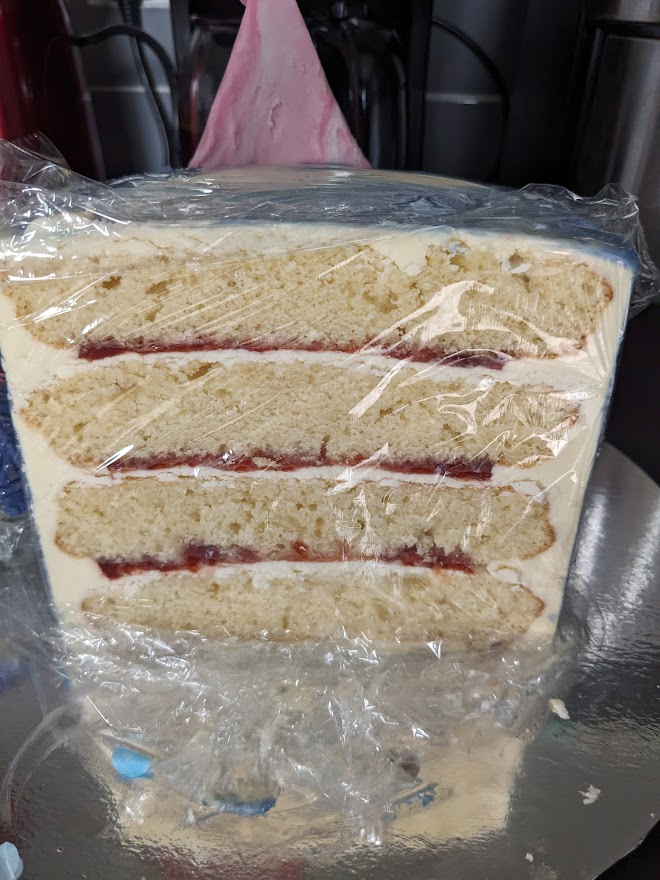
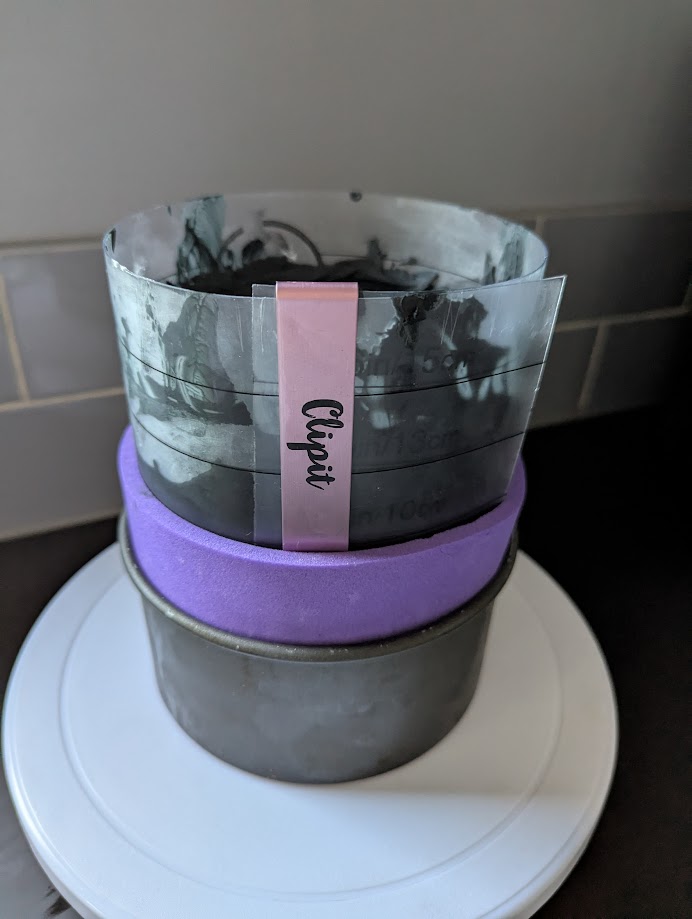
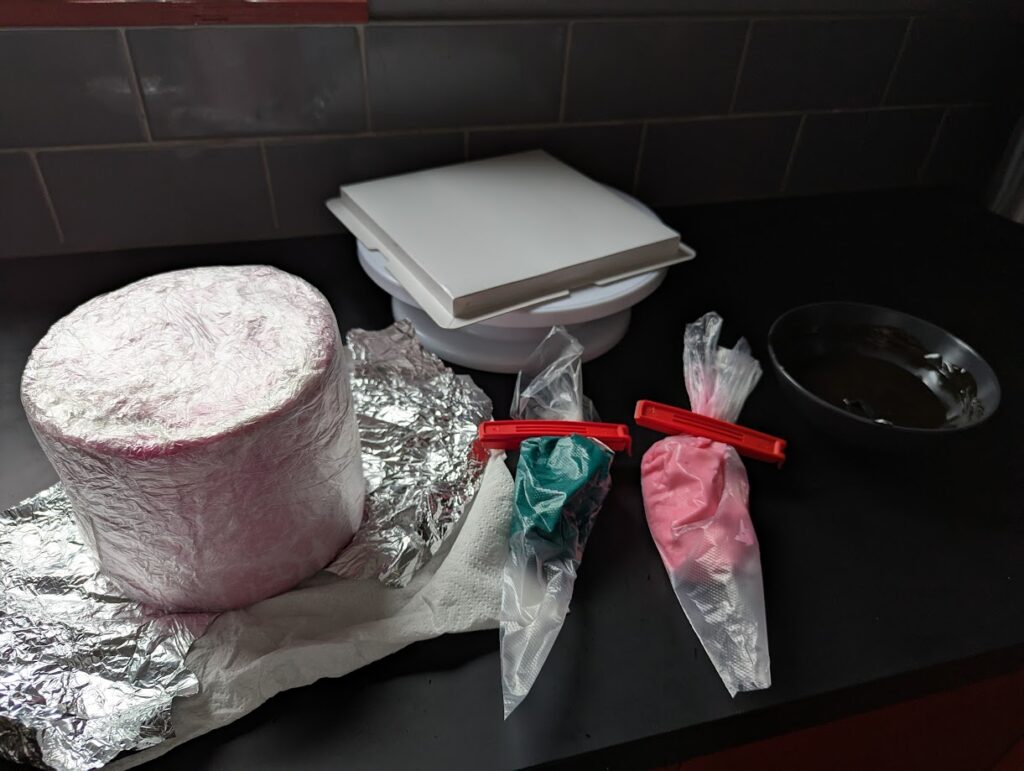
I had iced the cake and fully wrapped it in the freezer to make the baking less stressful on the week of my birthday. This is the “here’s one I made earlier” picture just before I decorated the cake. I wrapped the cake in baking paper, then cling wrap, then tin foil to keep it as air-tight as possible in the freezer,
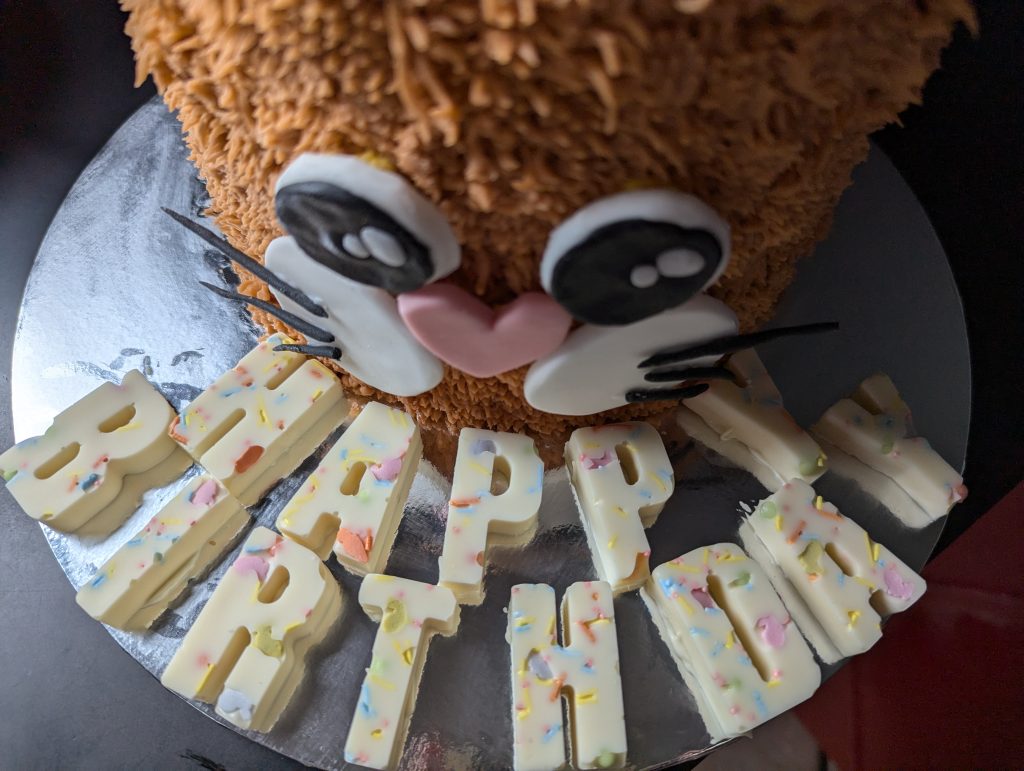
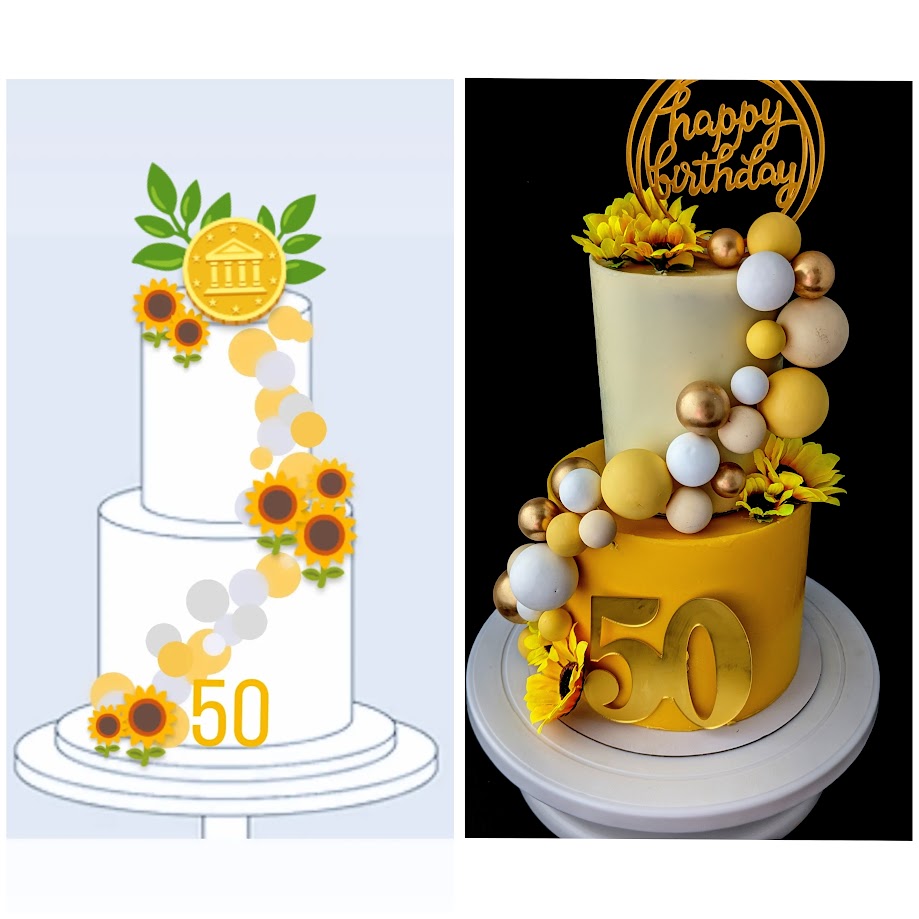
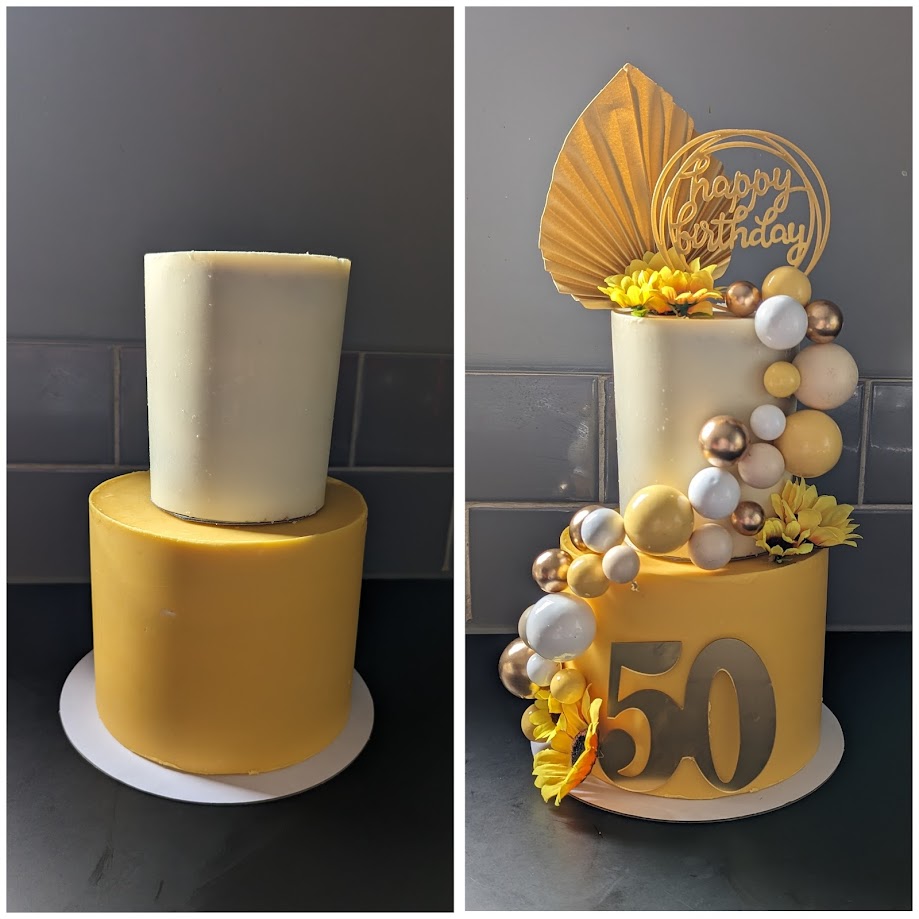
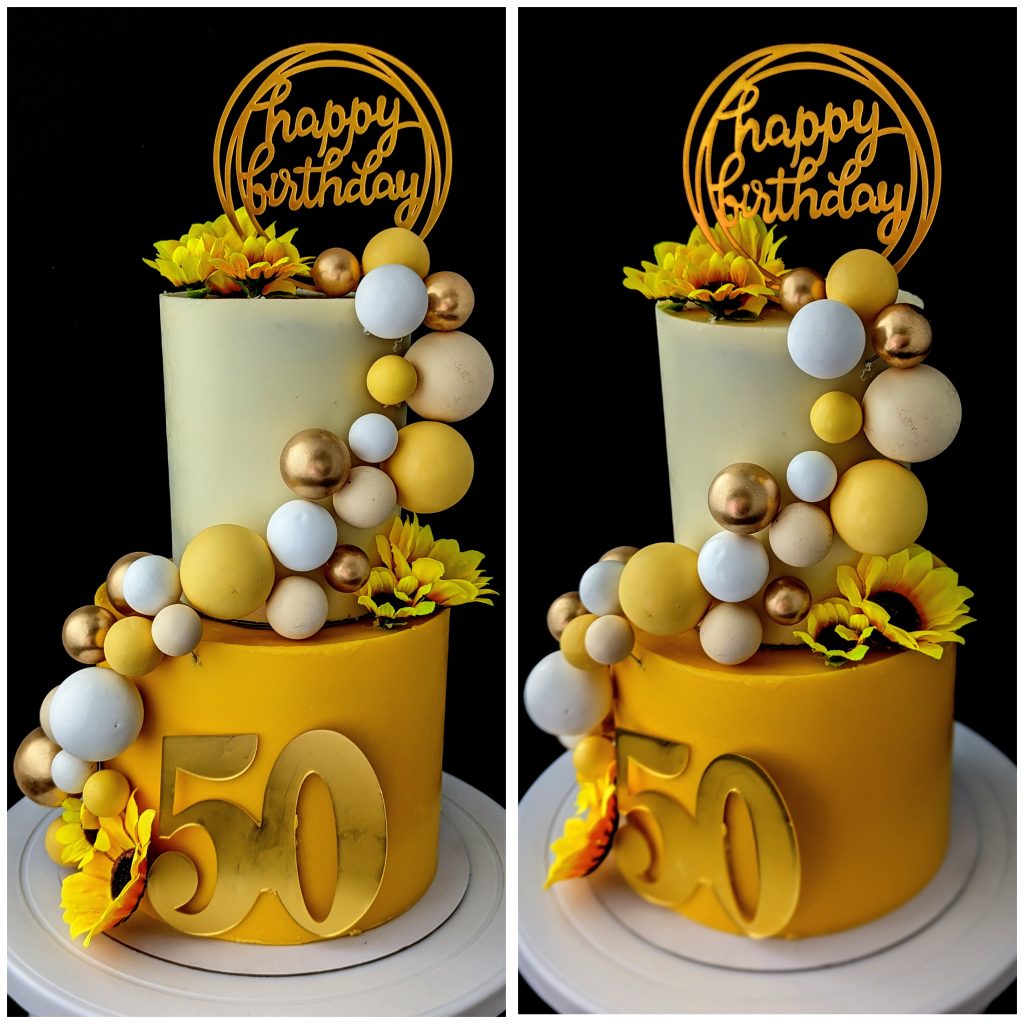
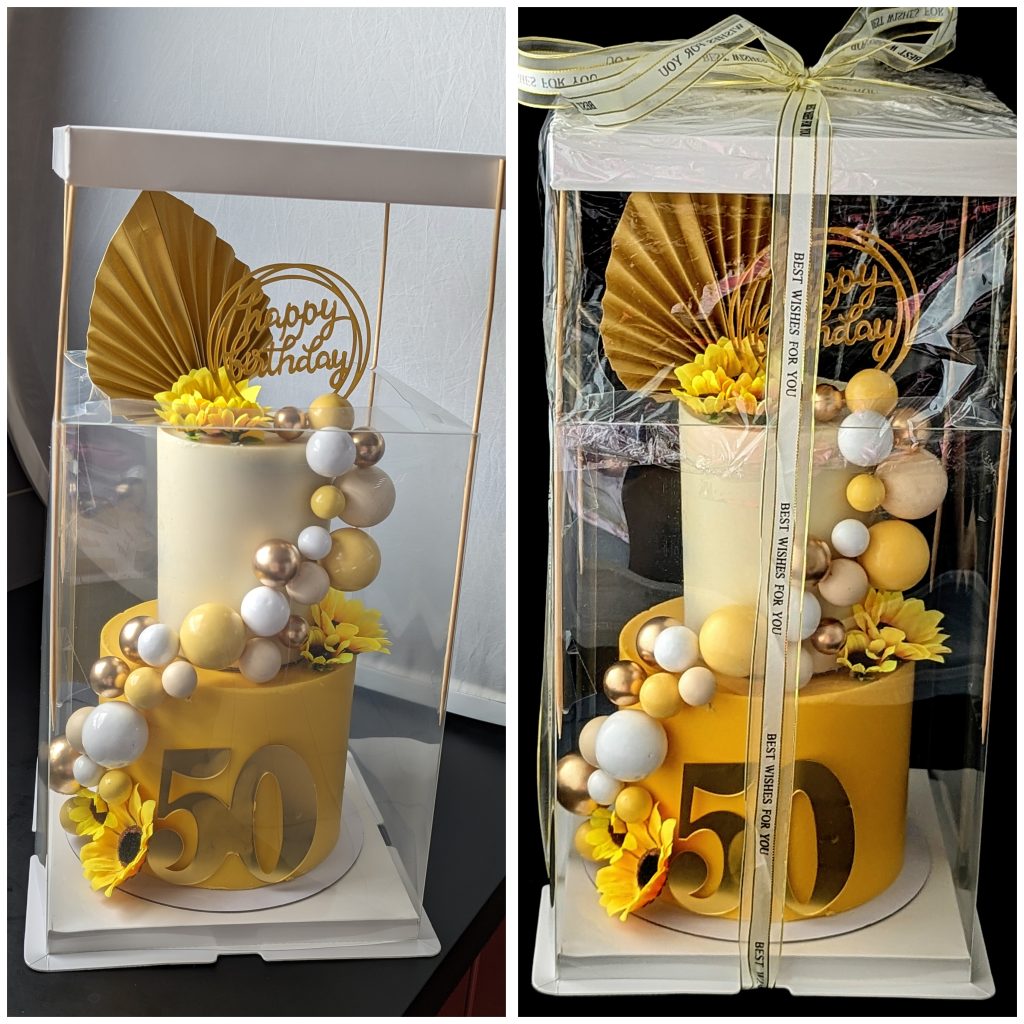
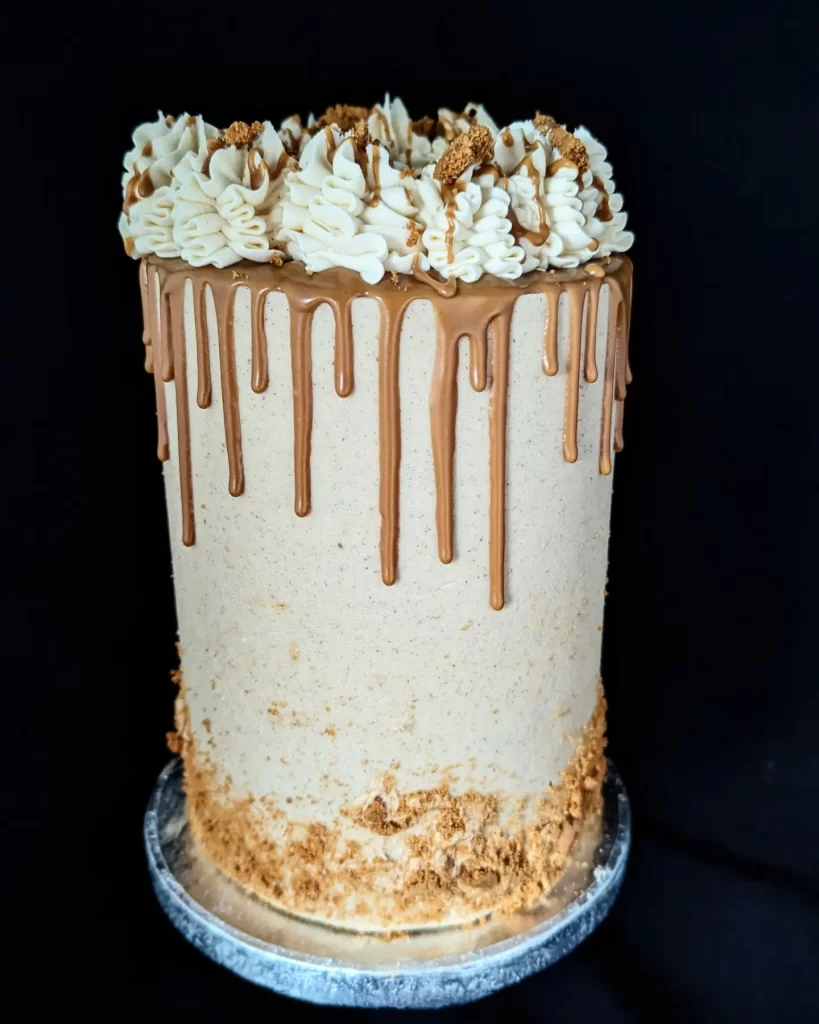
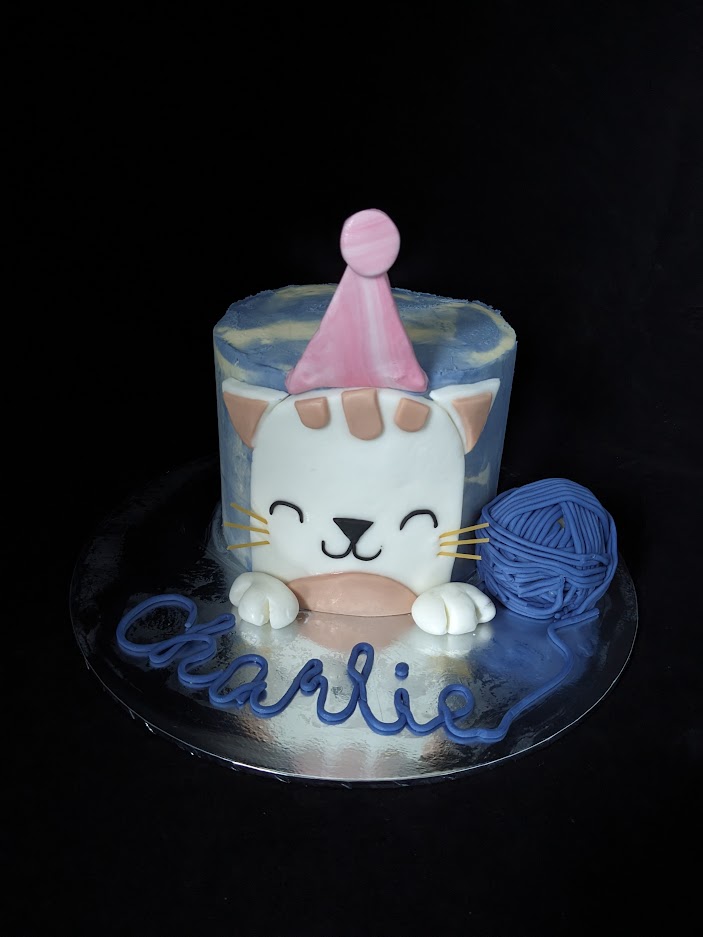
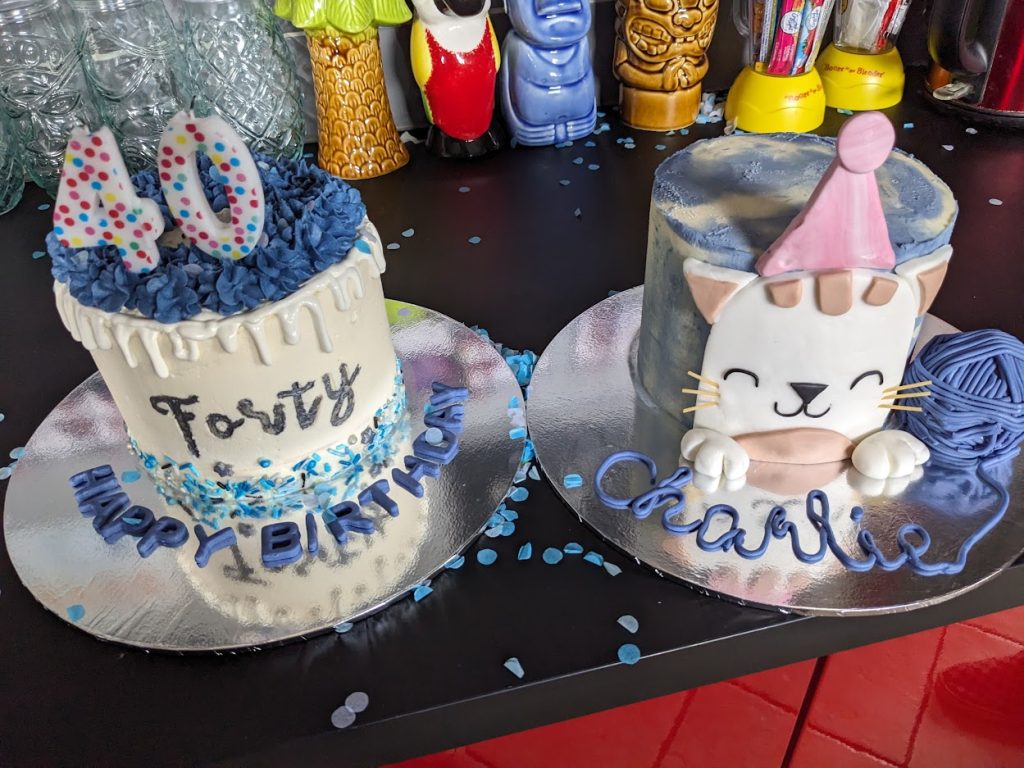
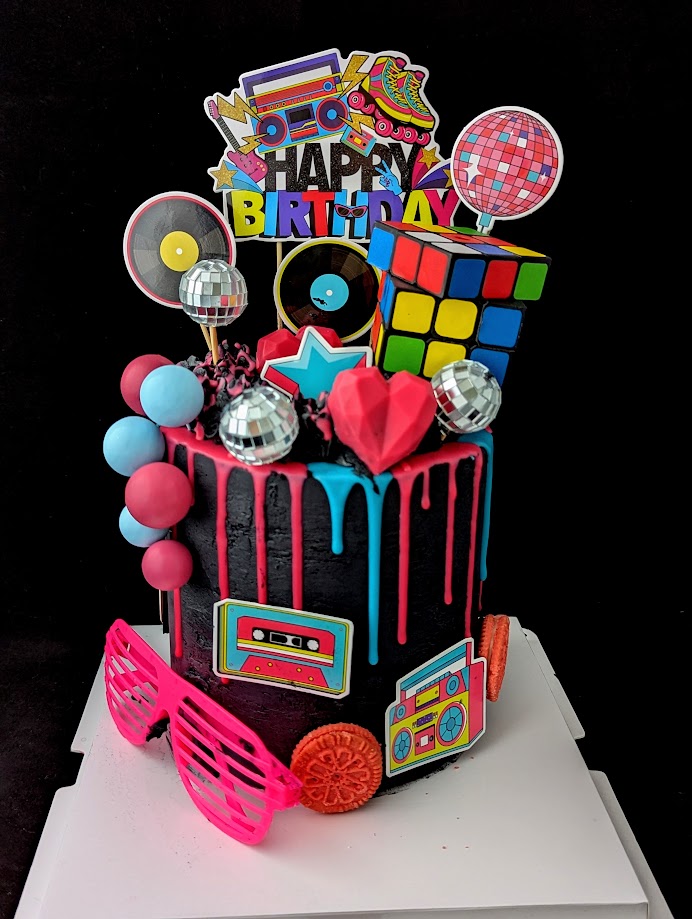
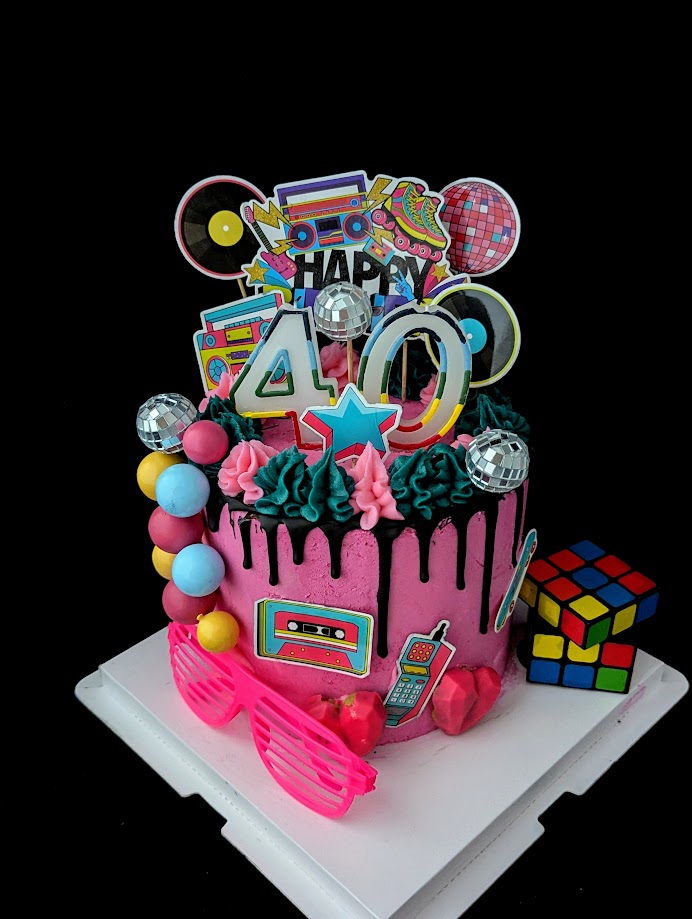
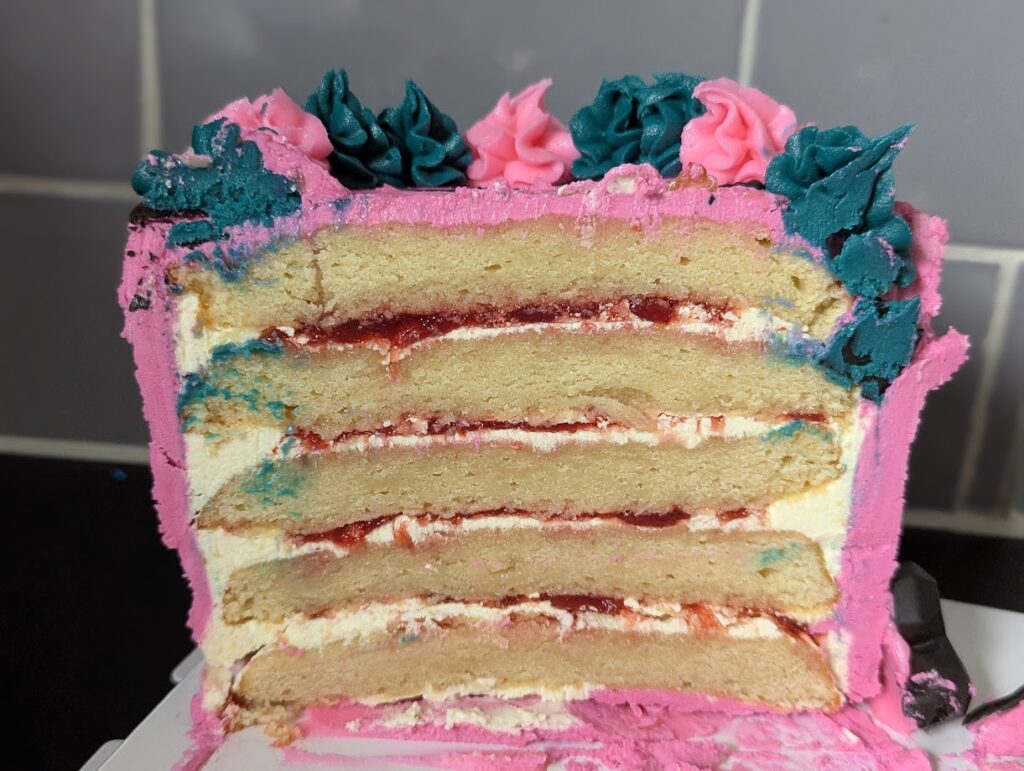
And this is the finished version once I added the re-used decorations from the cake on Friday:
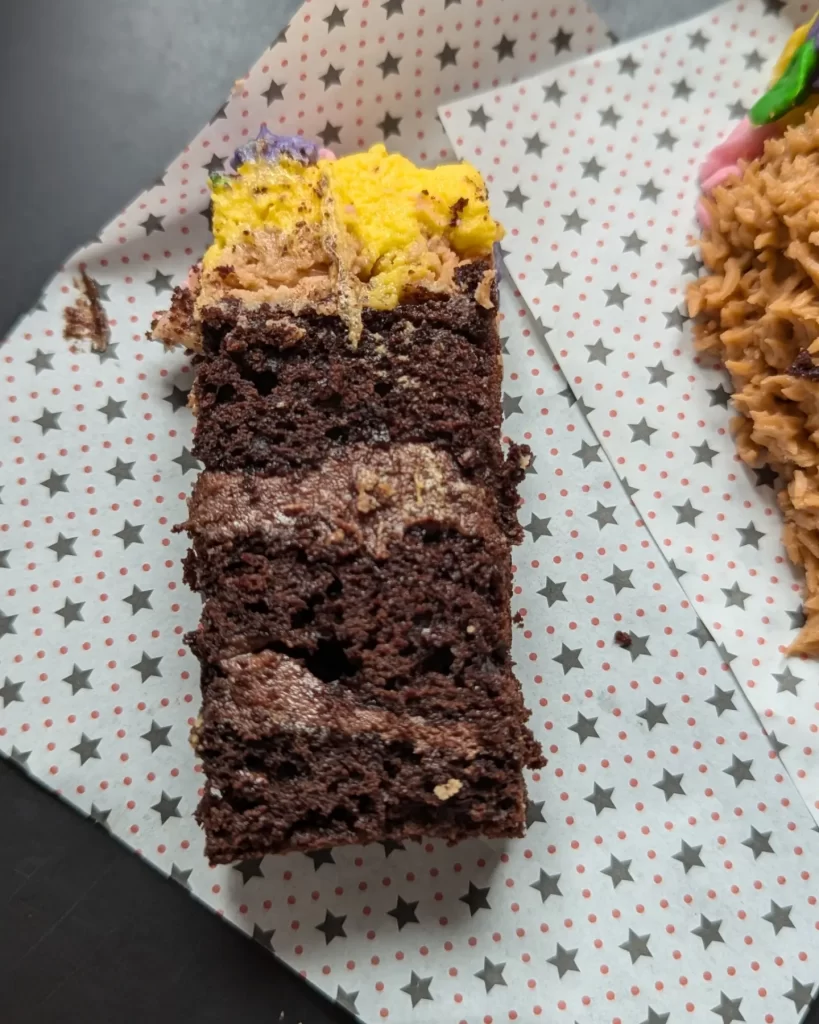
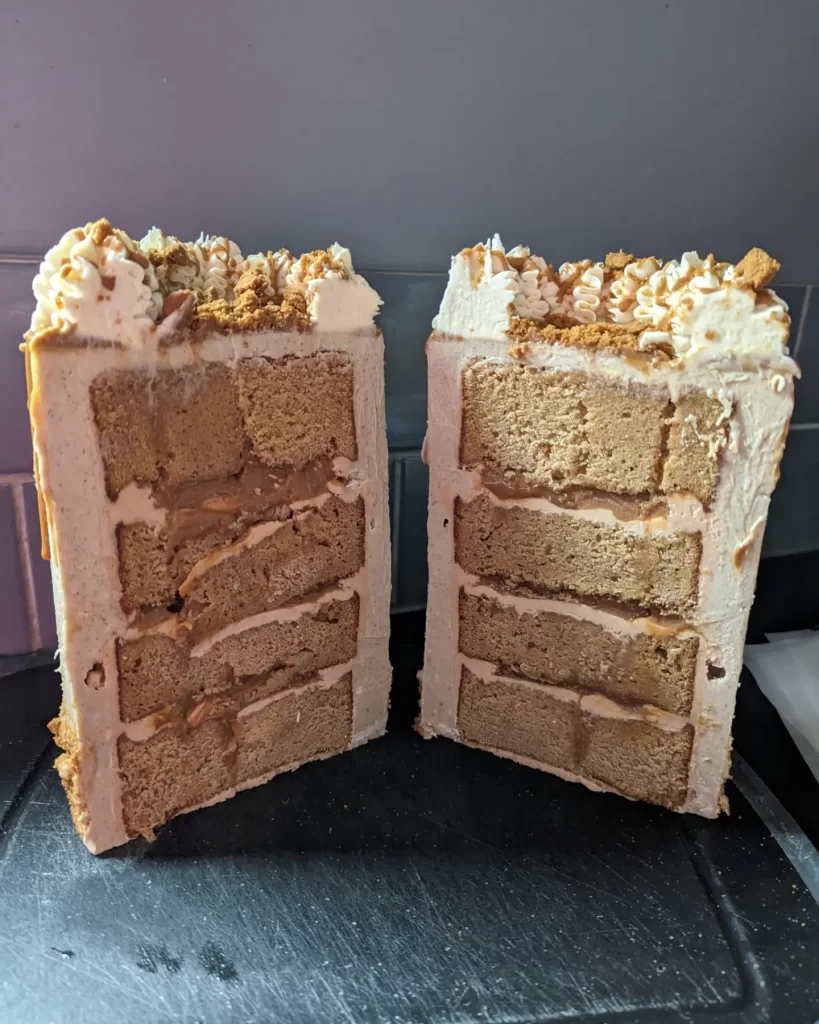
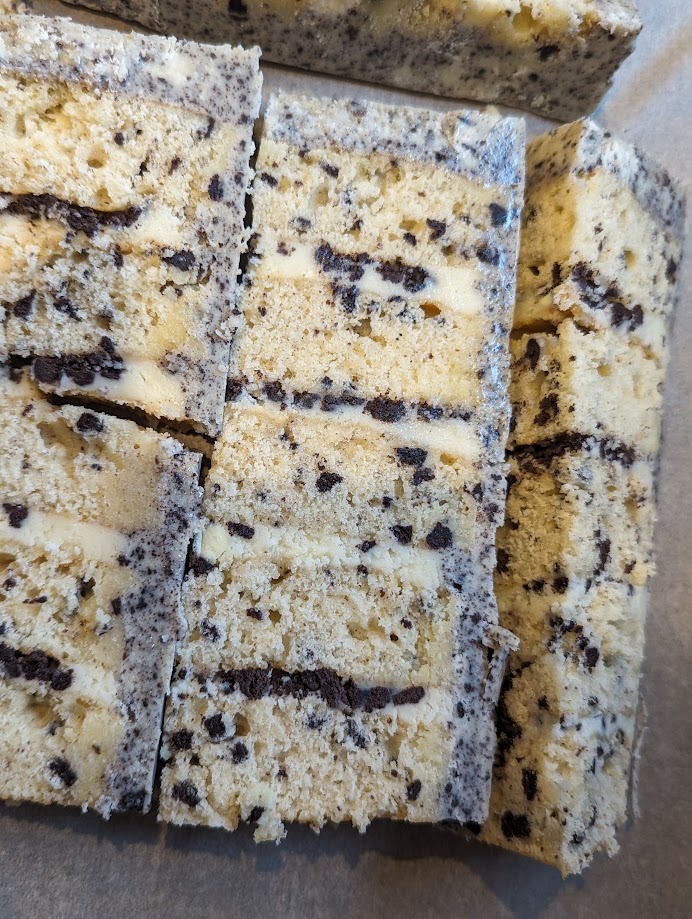
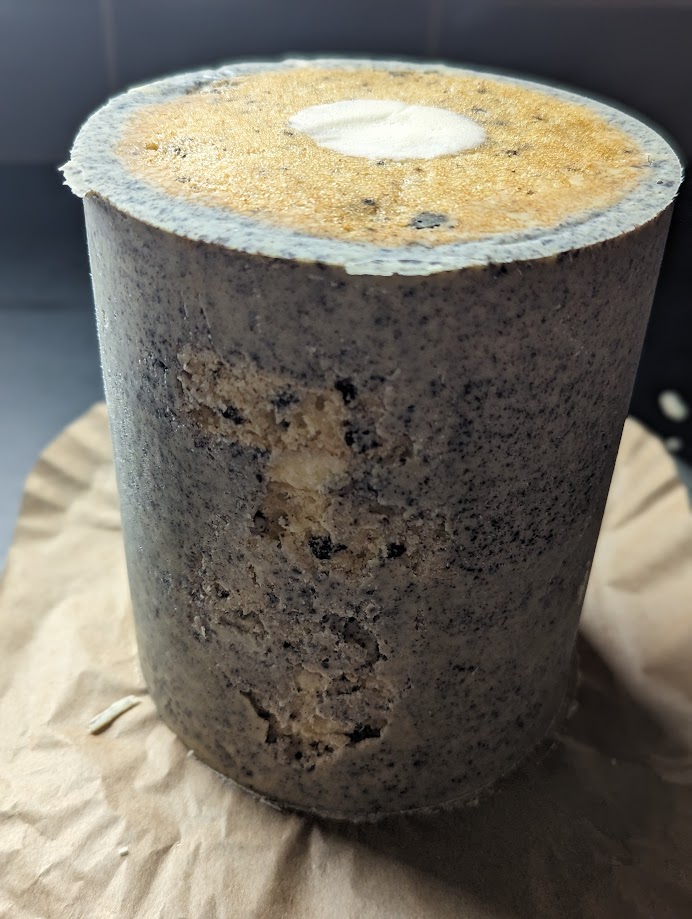
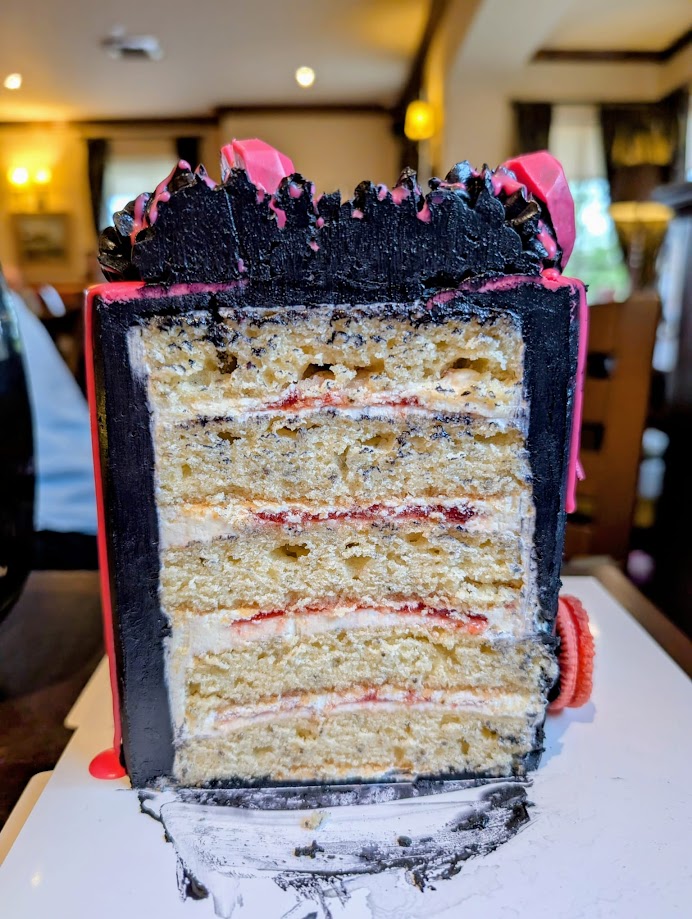
The cake layers in this one had definitely moistened and look dense in the picture, but they tasted lovely!
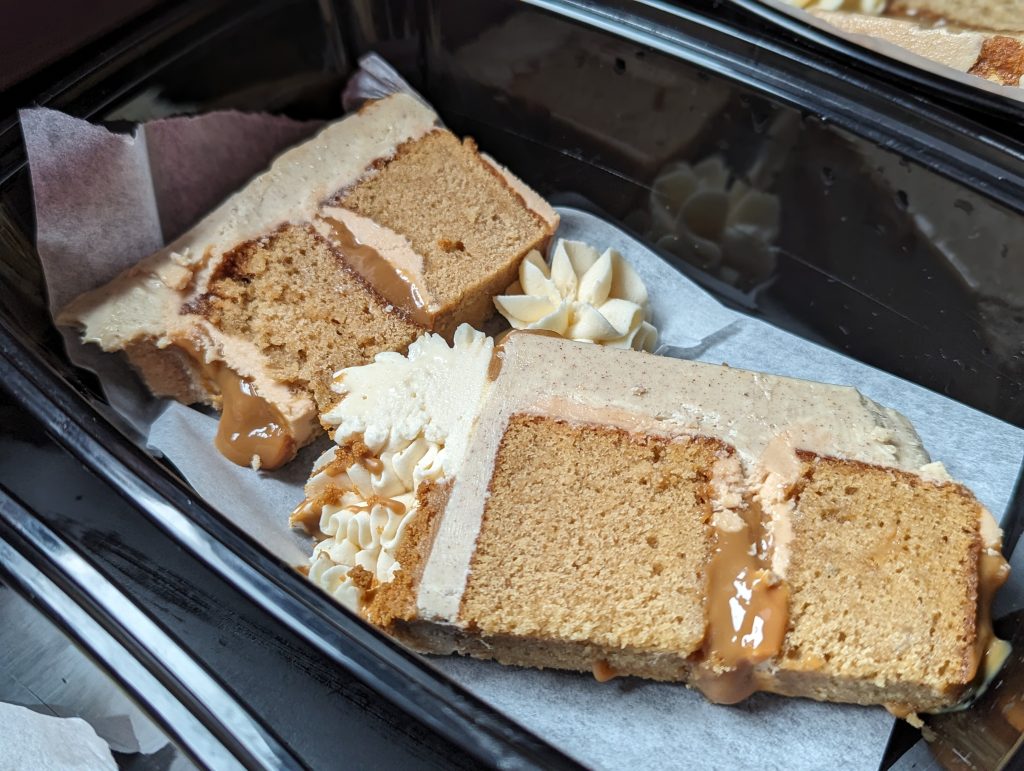
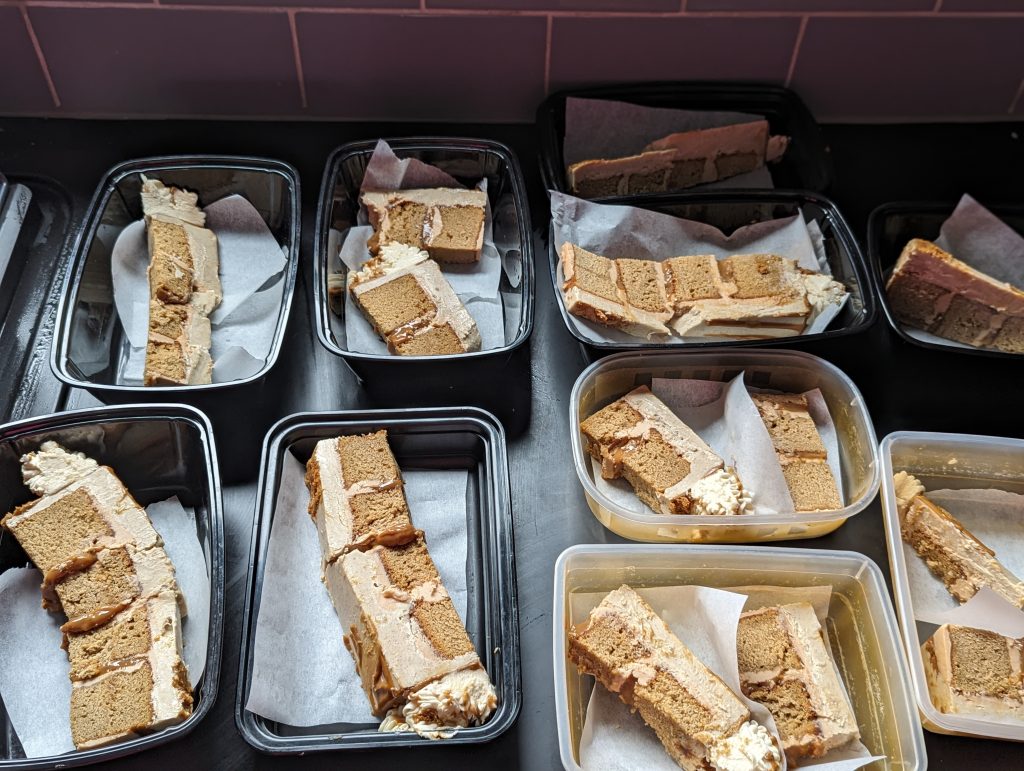
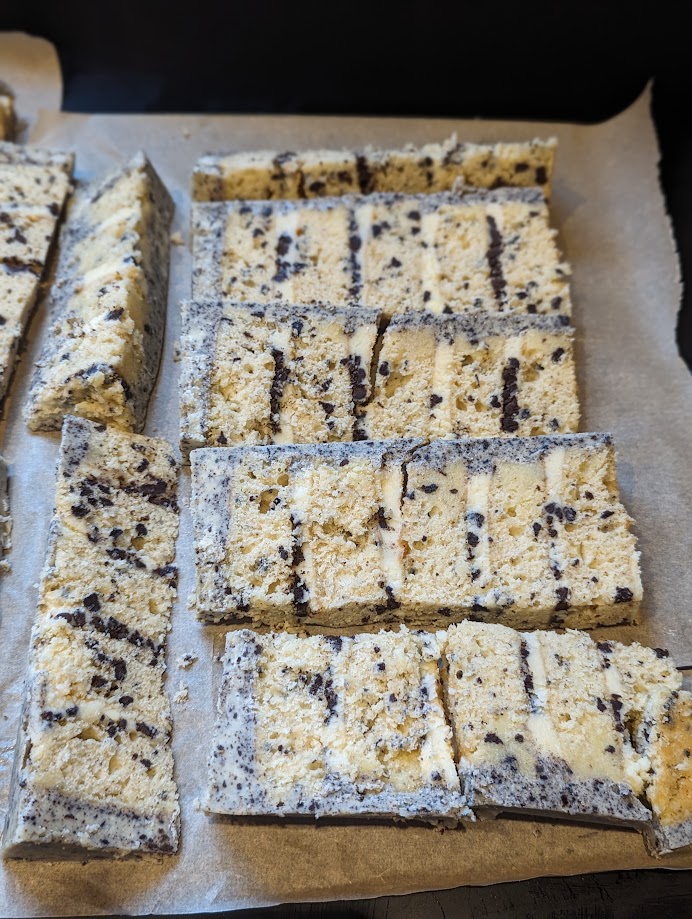
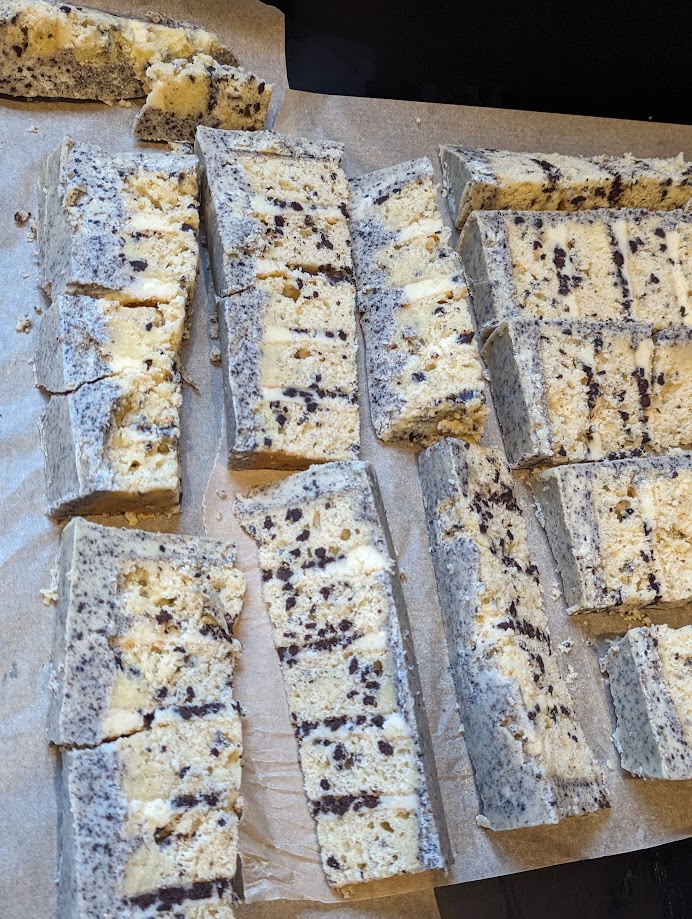
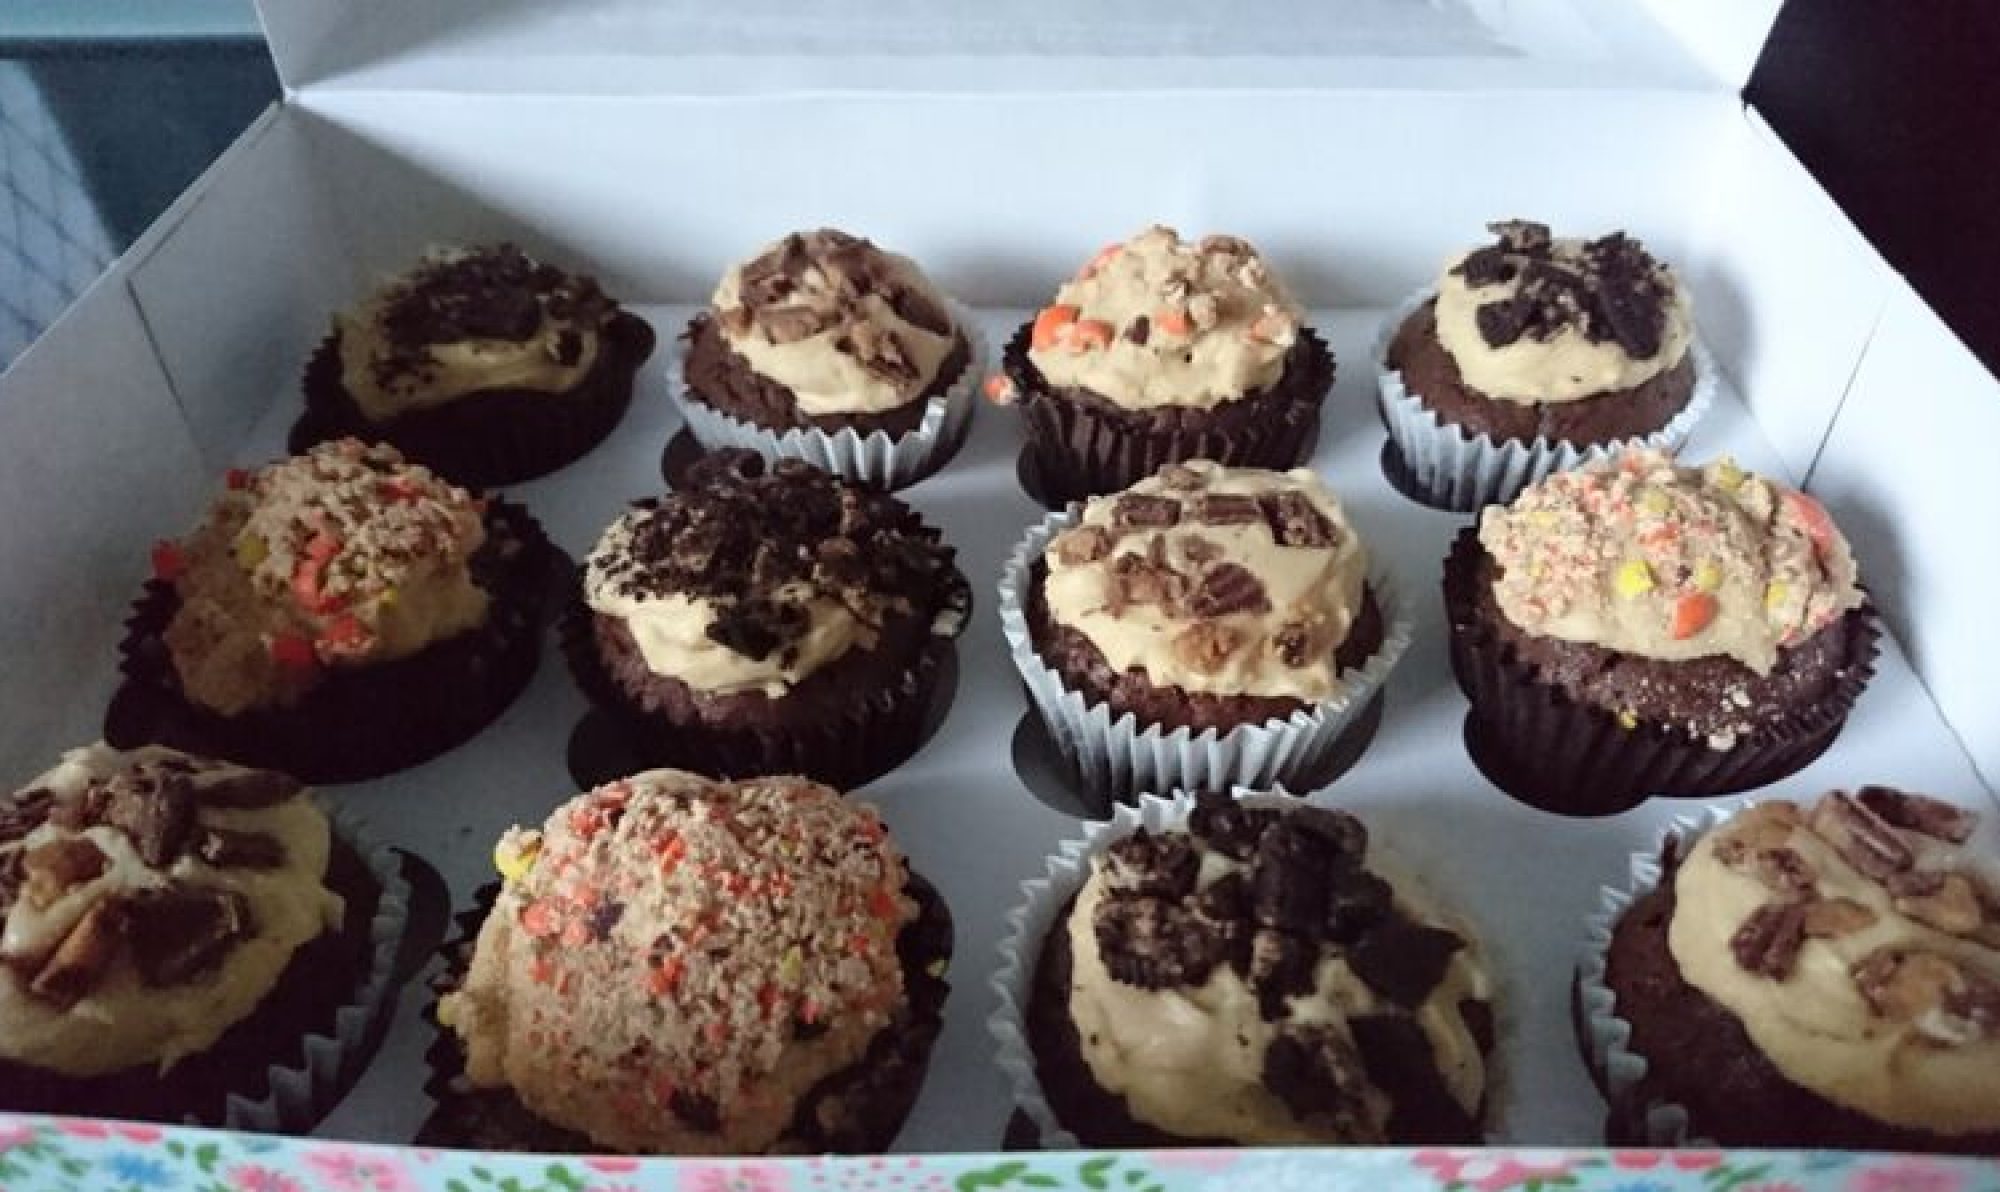
At the end of the weekend and events, I sliced up what was left and took it all to work to pass on to my workmates, as there’s only so much cake I can allow myself to eat at home!