Cake and Treat Boxes

Baking and sweet making for two events – My Mum’s Birthday next week, and my friend’s 40th.

I am heading to York at the weekend to stay over at my friend’s house and take her for a spa day as an early birthday celebration. It is also my mum’s birthday at the start of next week, so I used both occasions as a reason to try some recipes and put together some treat boxes.

I used some recipes that are my own, and then others that I got from other bakers for inspiration (linked when I used someone else’s recipe)

Lemon Cakesicles

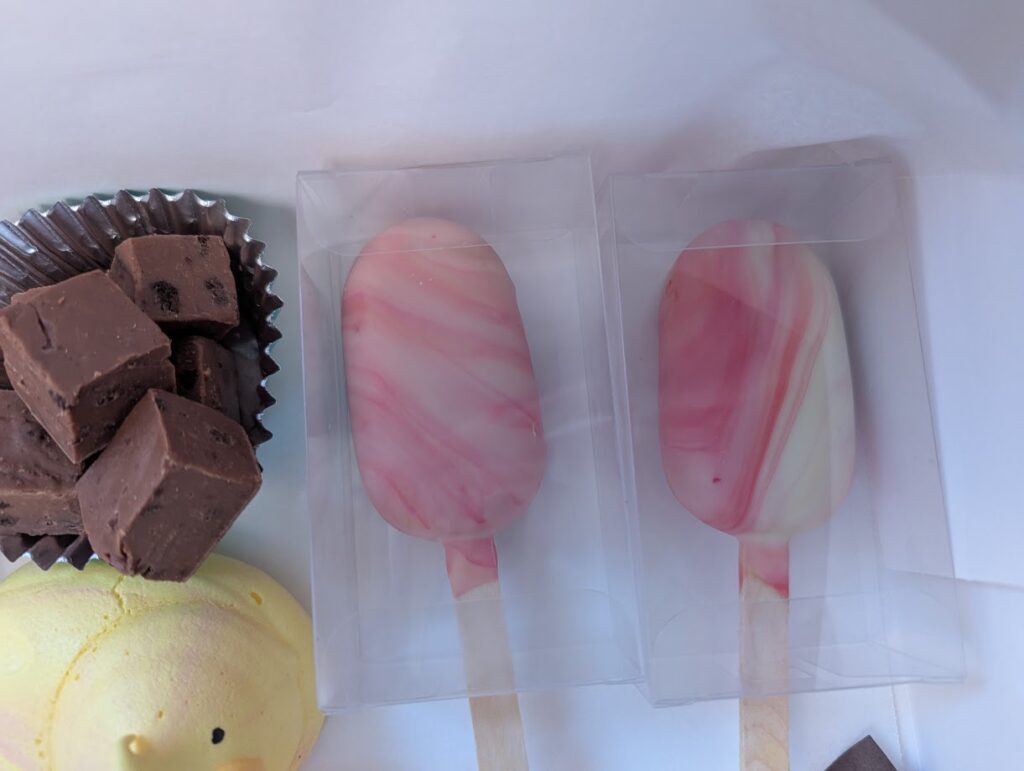
These were made using offcuts of a cake I made earlier this month. I crumbled the cake into crumbs and then mixed it with lemon buttercream and lemon curd. I use a silicon mold to shape the cake into the popsicle shape, and let them freeze. Once ready, they were coated in white chocolate that was coloured with some pink and yellow oil-based colouring to get the marble effect.

I have cakesicle boxes which I popped them into as they look a tad nicer:

Carrot Cake Truffles

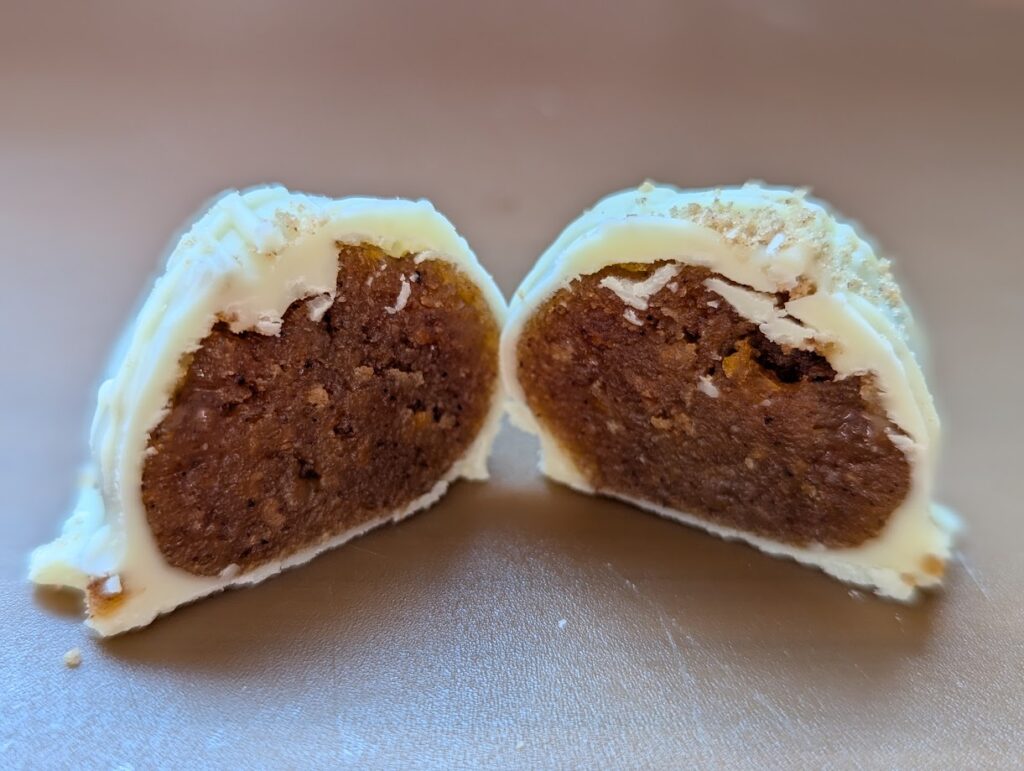
I made a small carrot cake using 1/3 of this loaf recipe from Jane’s Patisseie. The cake was then just crumbled up and mixed with some ginger conserve and cream cheese to form the truffle filling. I rolled into balls, then put in the freezer to solidify. Once ready, I melted whote chocolate to coat them and finished with biscuit crumbs.

Vanilla Sugar Cookie Flowers

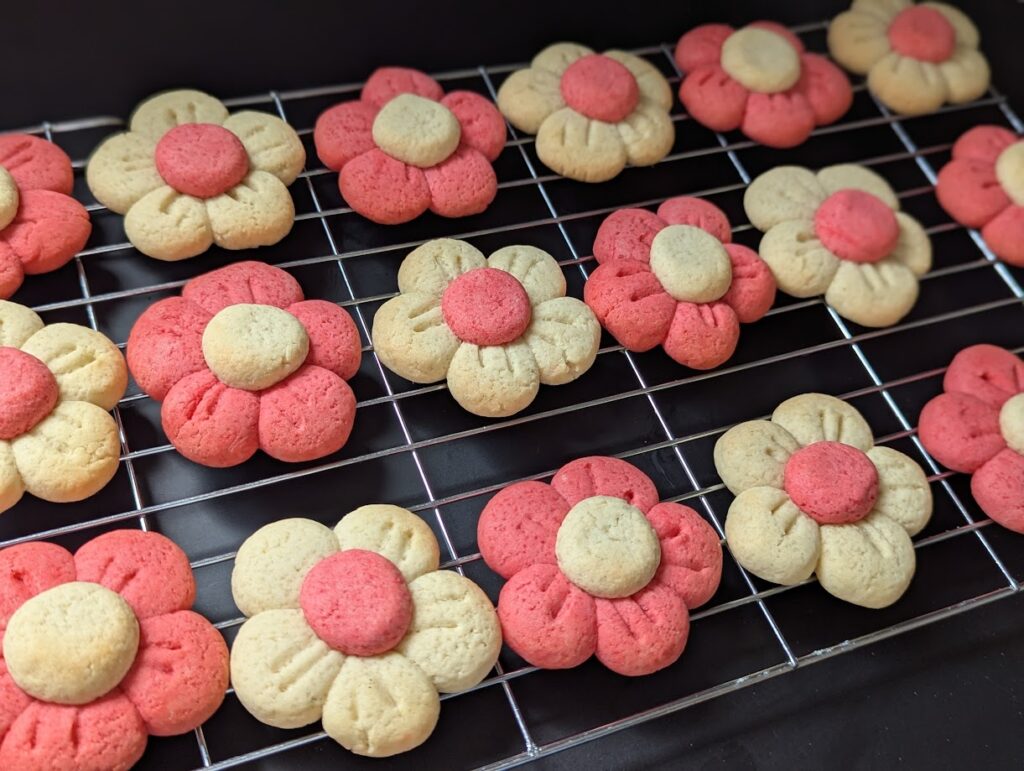
This recipe came directly from Chelsweets and worked amazingly well.

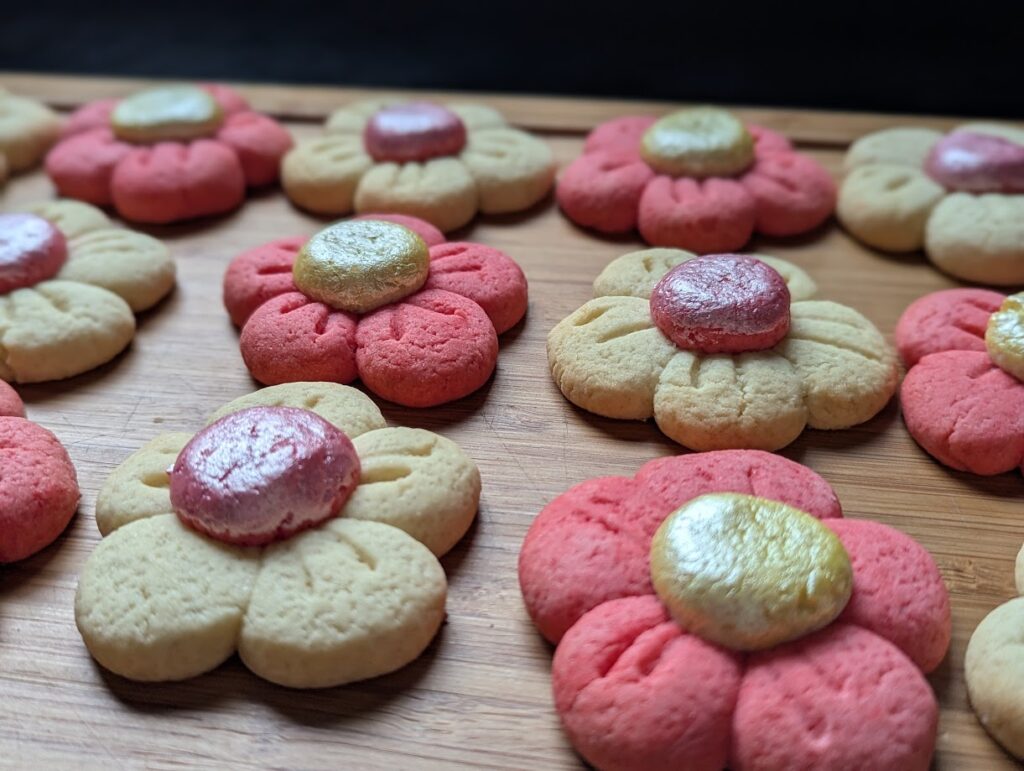
It’s quite a “simple” recipe, that ends up looking so cute. The longest time was rolling the small balls of dough, but it was worth it.

I finished by Cookies by adding some edible “paint” (as above) but they look just as nice without the shiny parts too:
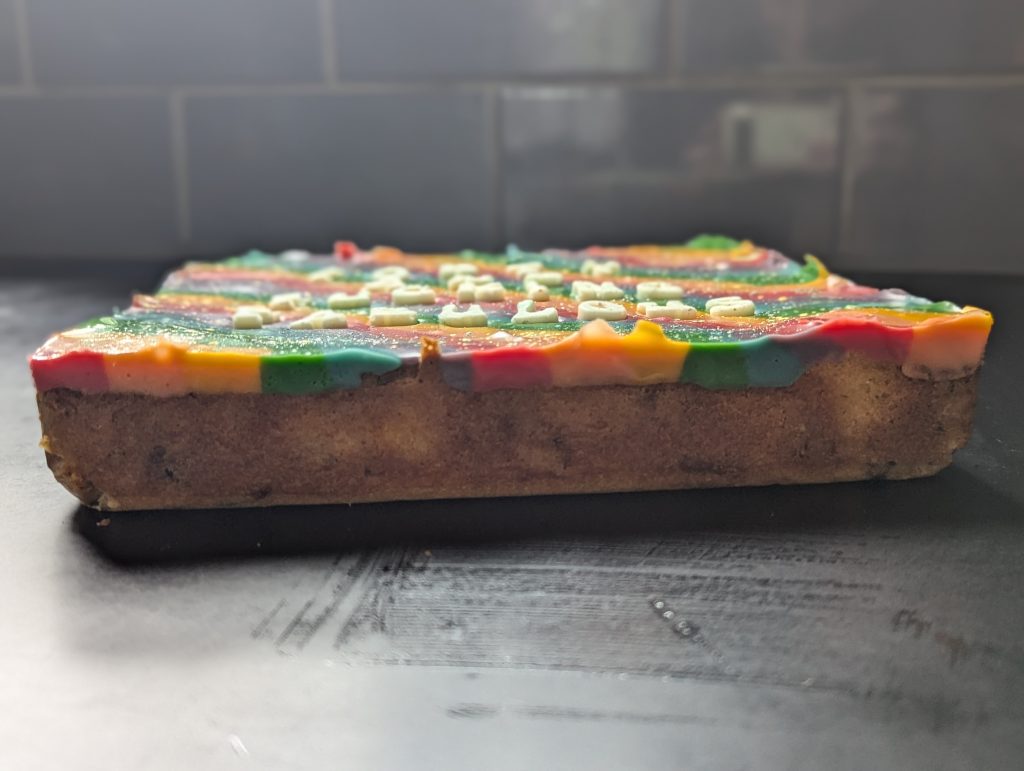
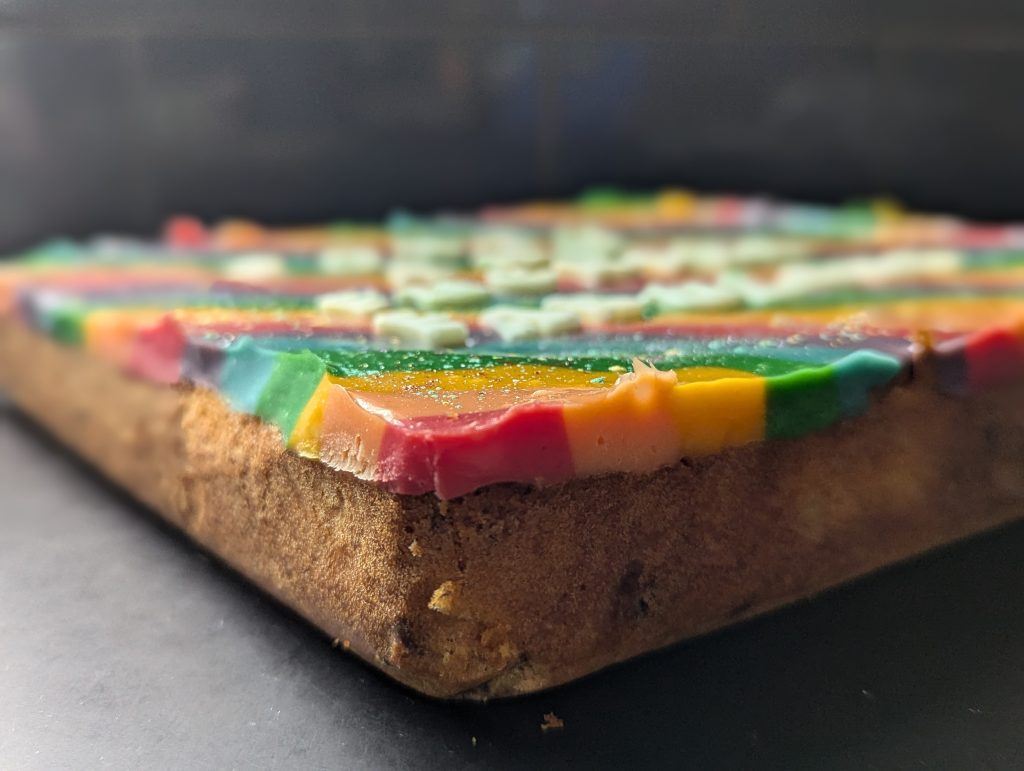
Fudge

When I make treat boxes, I nearly always make easy-fudge recipes. This time I used one can of condensed milk to make 2 different versions.

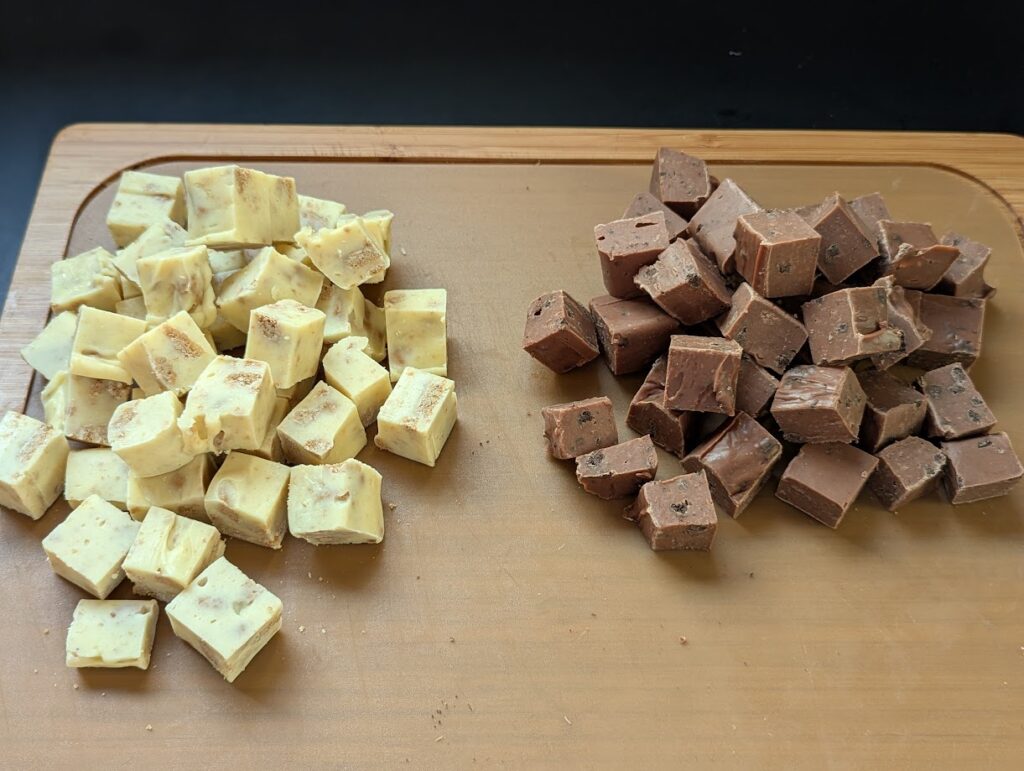
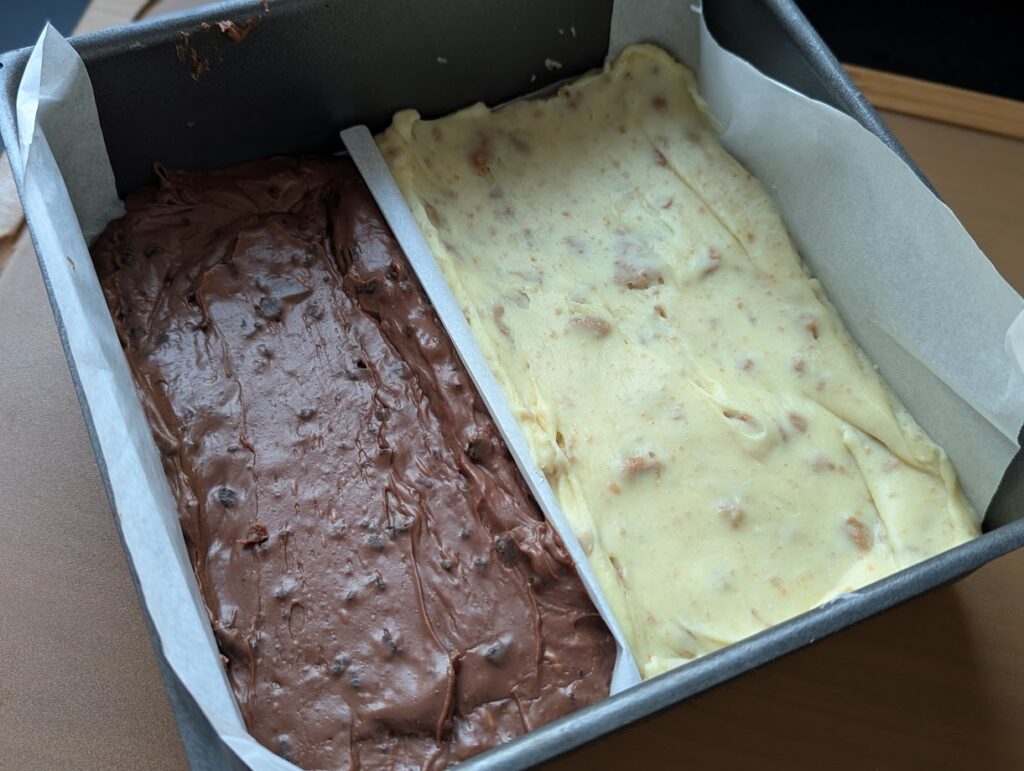
I separated them in a baking tin with some foil and greaseproof paper so I didn’t have to wash as many pans.

White Chocolate Speculoos Fudge:
– 250g White Chocolate
– 199g Condensed Milk
– Crushed speculoos buscuits

Milk Chocolate Orange Fudge with Oreo Pieces
– 225g Milk Chocolate
– 199g Condensed Milk
– Oreo Cookie Crumbles

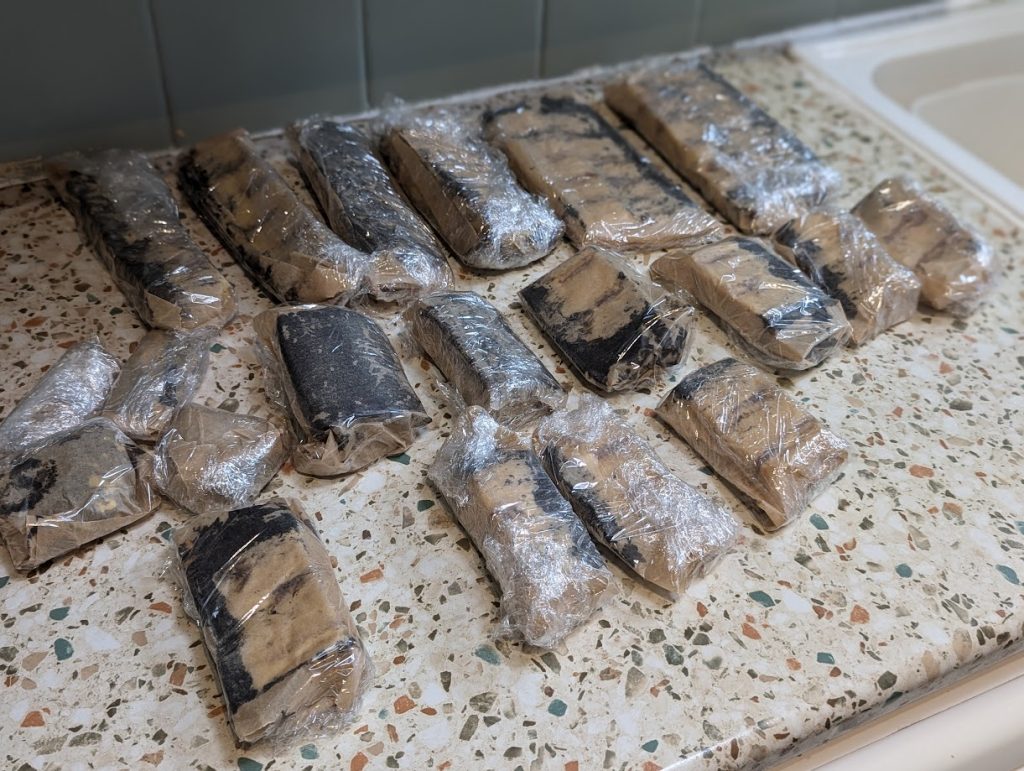
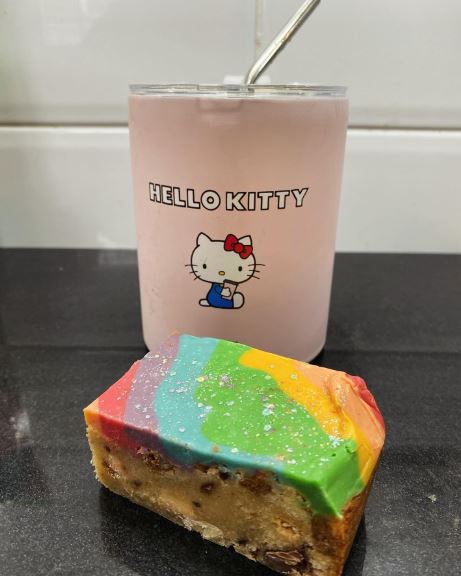
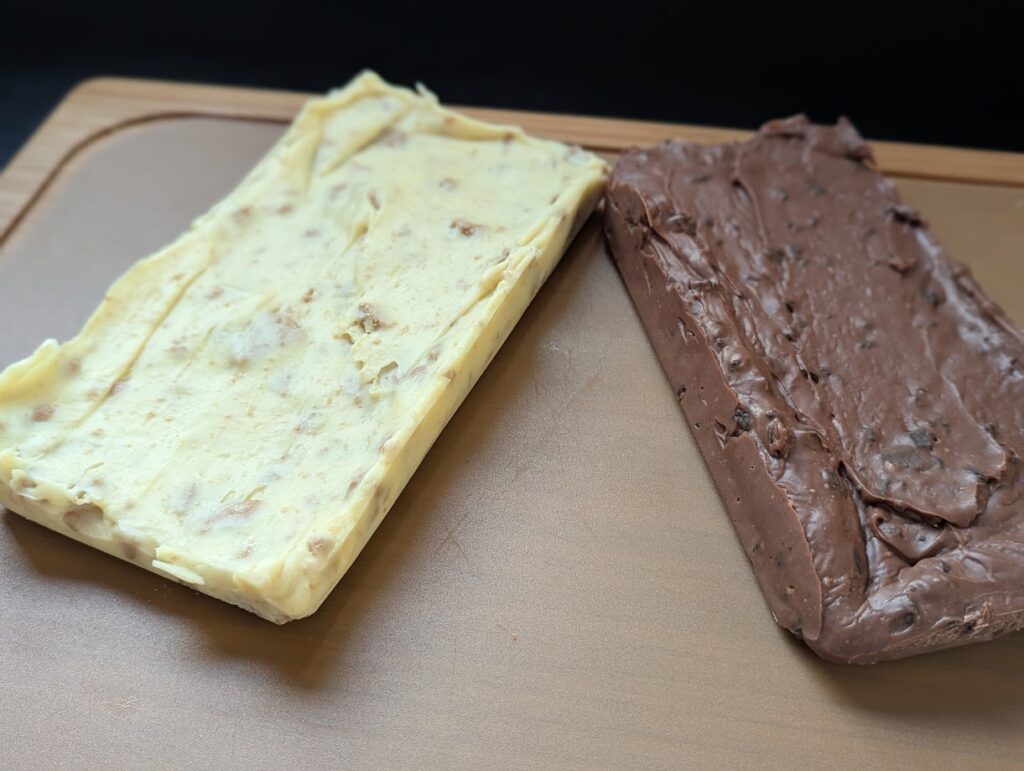
It’s a really easy recipe as all you do is melt the chocolate & add the condensed milk & fillings before chilling for 6 hours+. This was the two blocks taken straight out of the tin before I cut into squares:

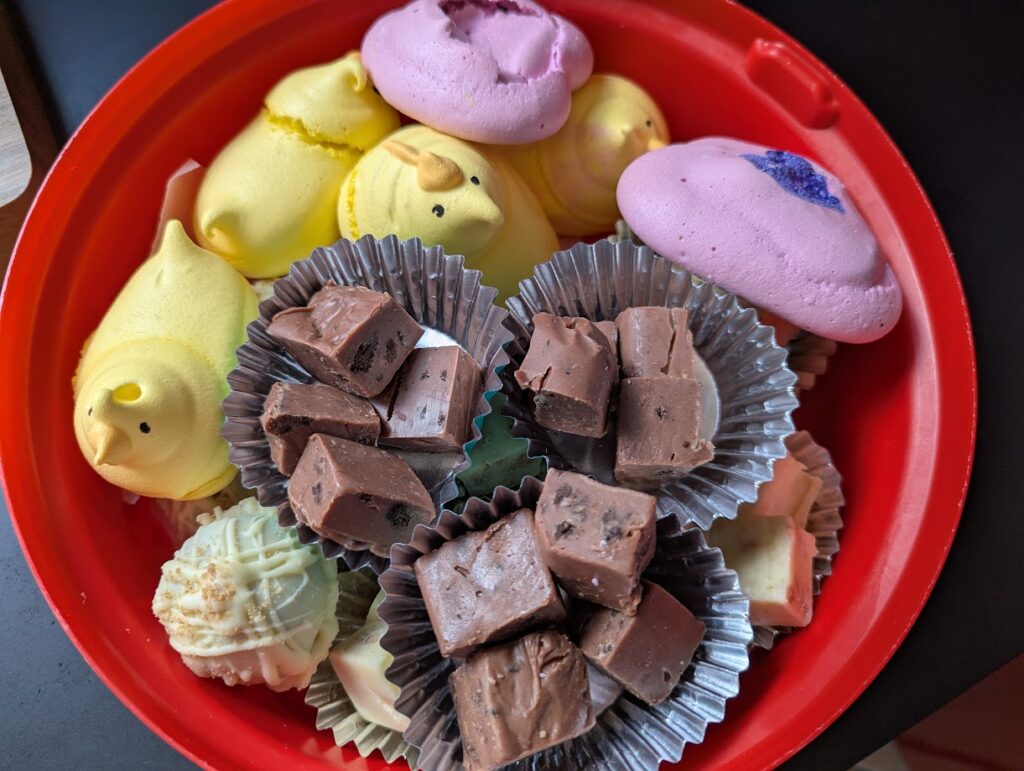
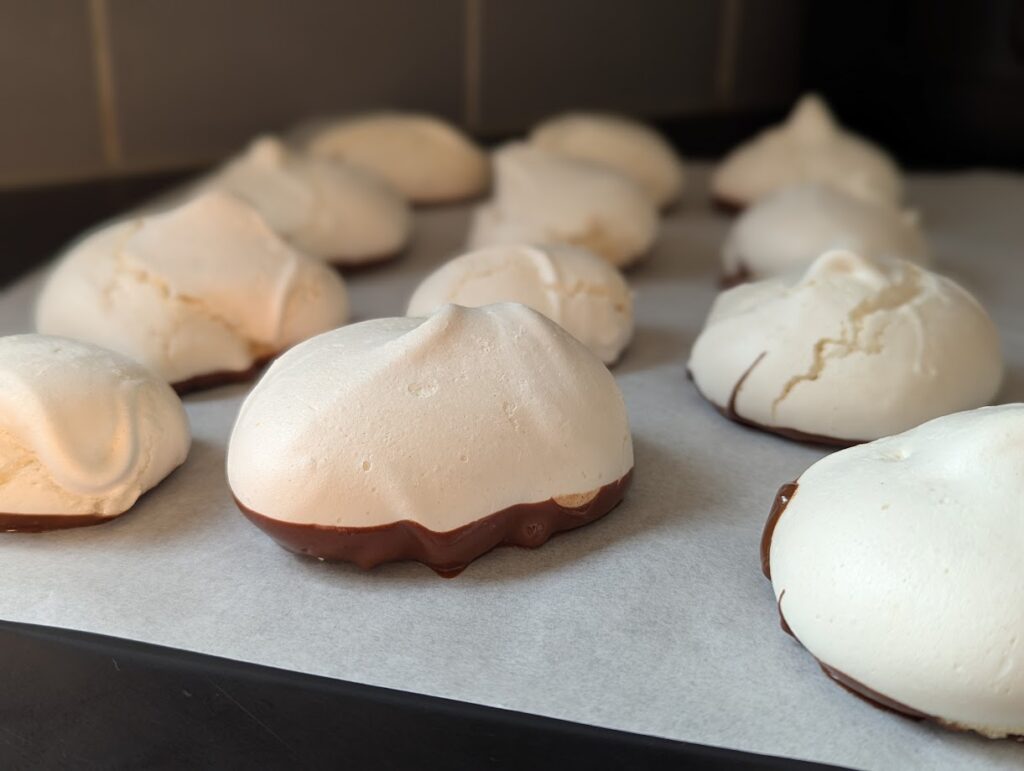
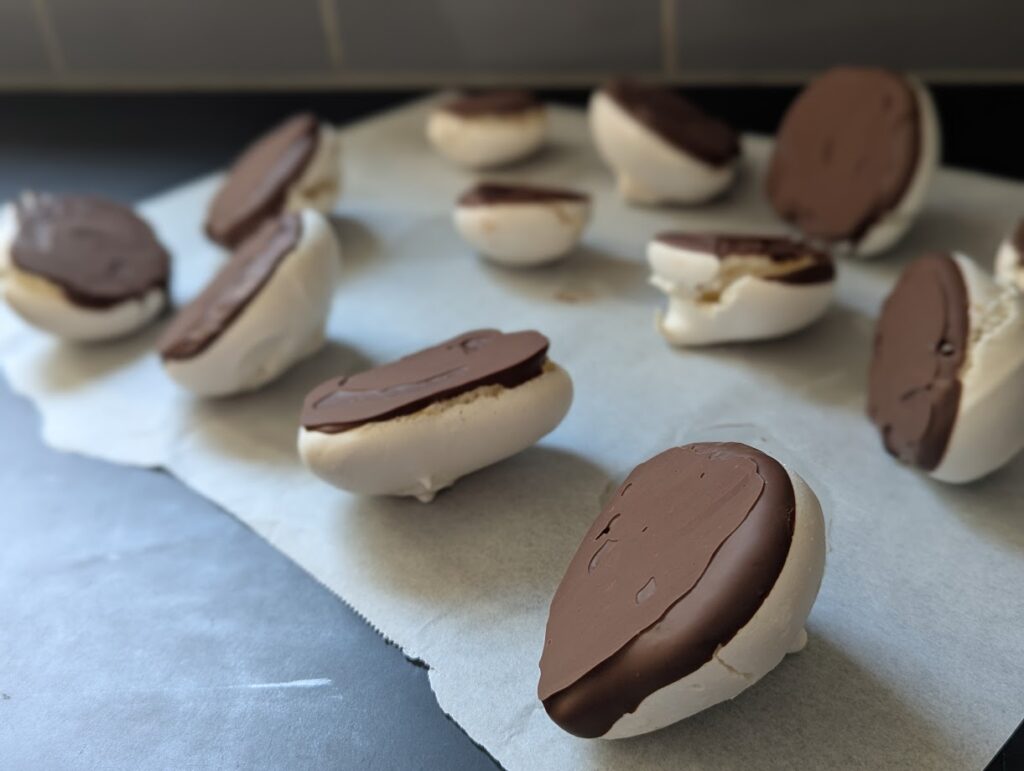
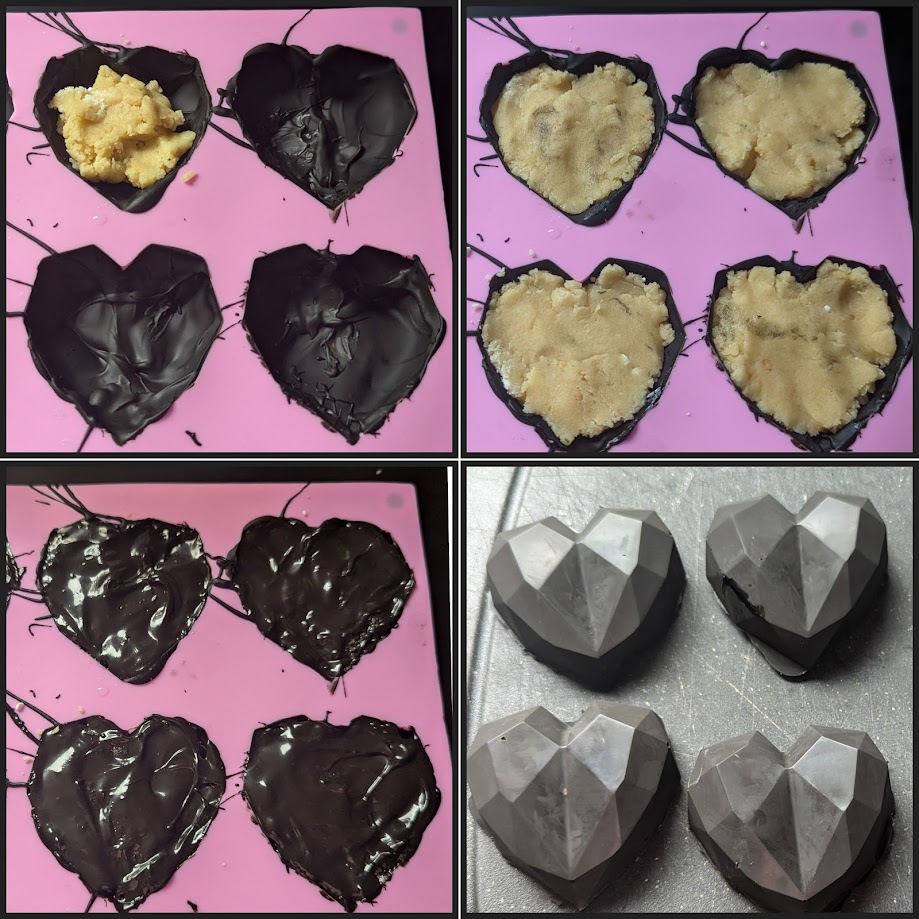
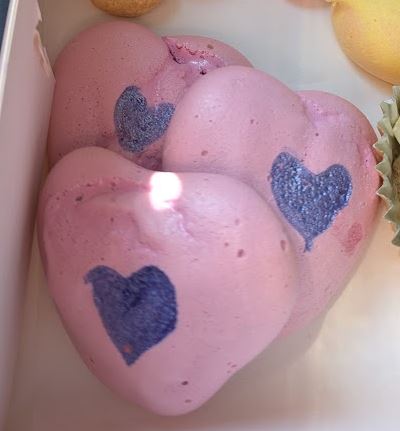
Meringue Hearts & Chicks

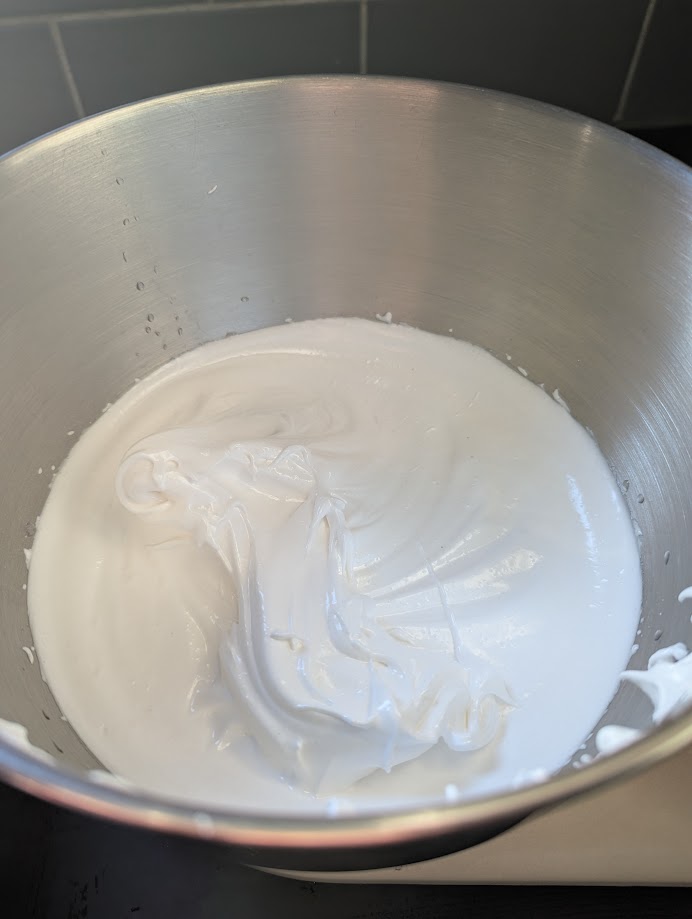
I used the idea from Chelsweets from her Easter cookie boxes, but used a vegan meringue recipe from Loving it Vegan as I had aquafaba to use.

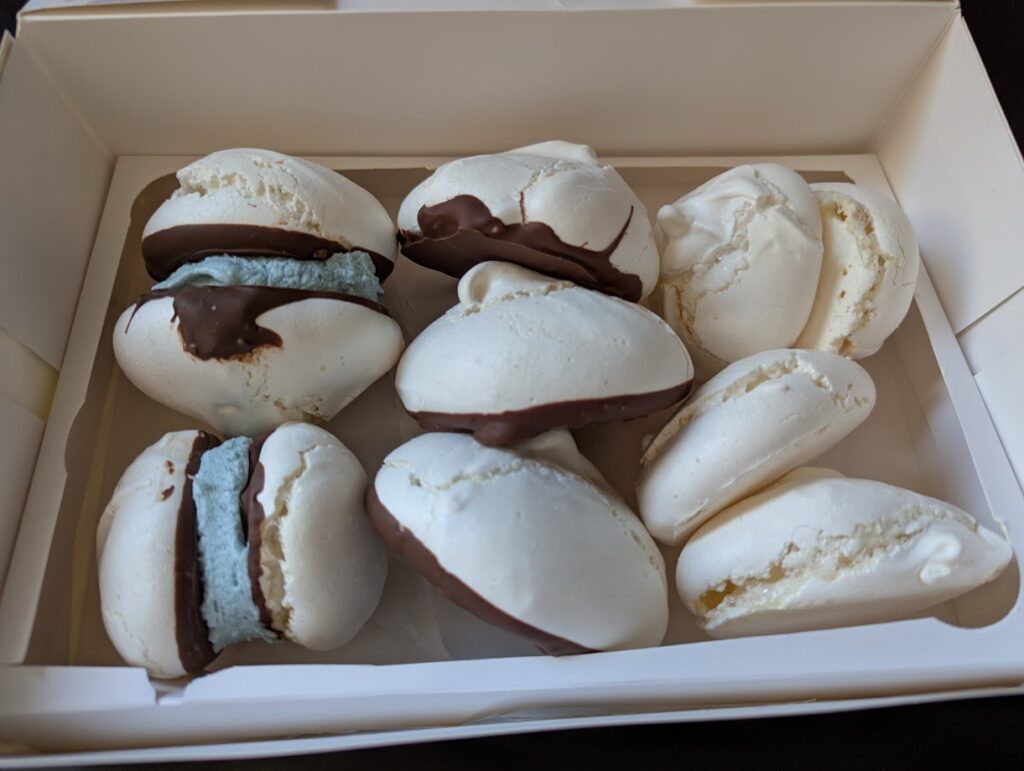
I love these cute little guys!

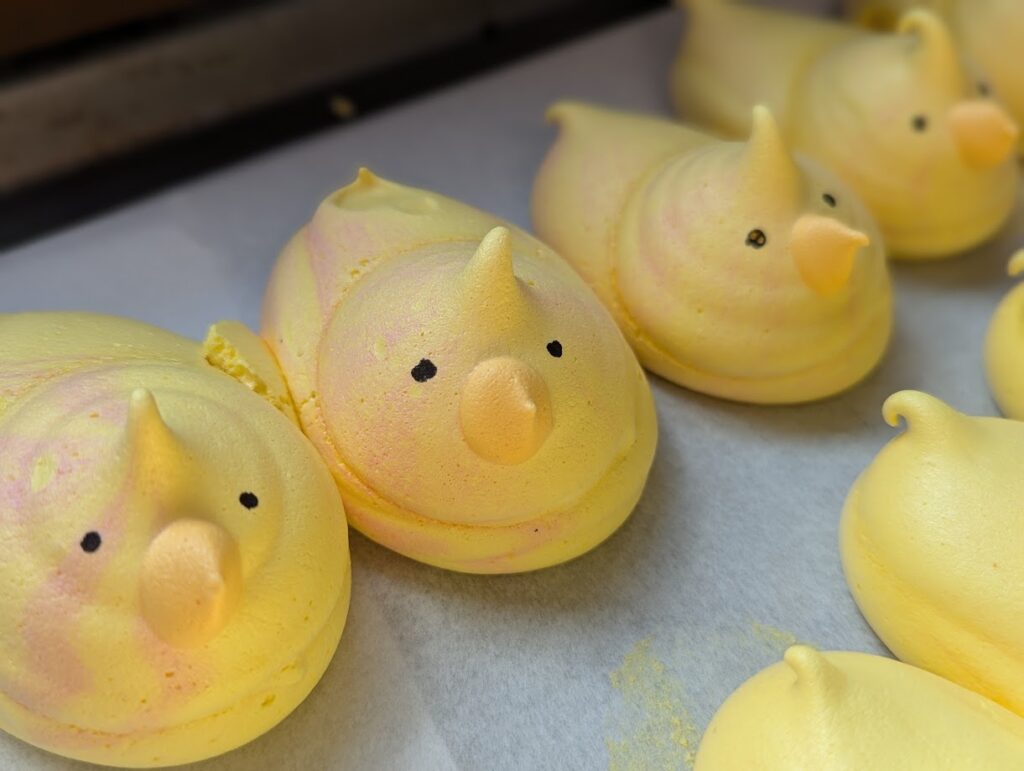
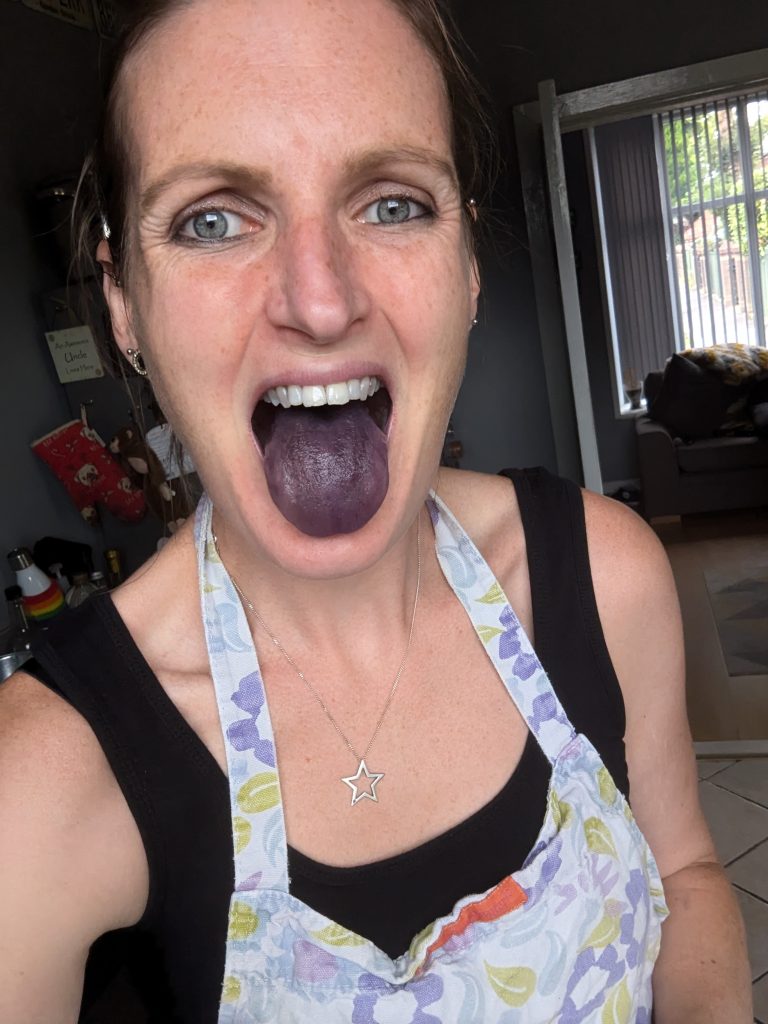
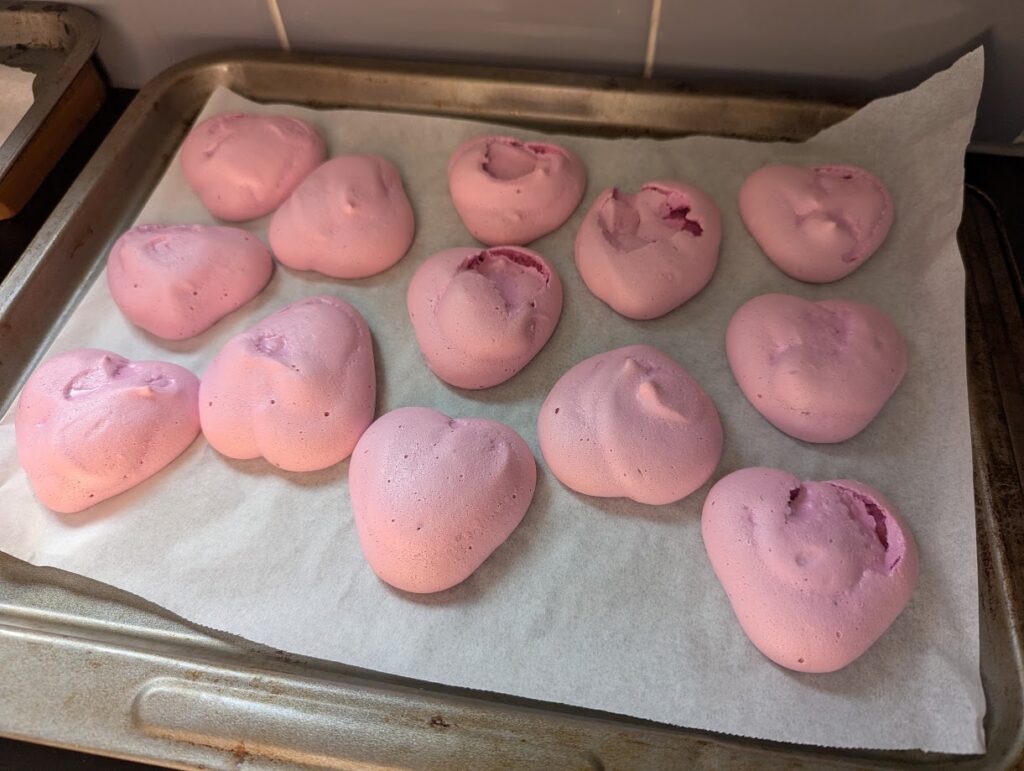
I tried to make some pink hearts (that didn’t quite look as I pictured them in my head) so I painted a purple heart on top too.

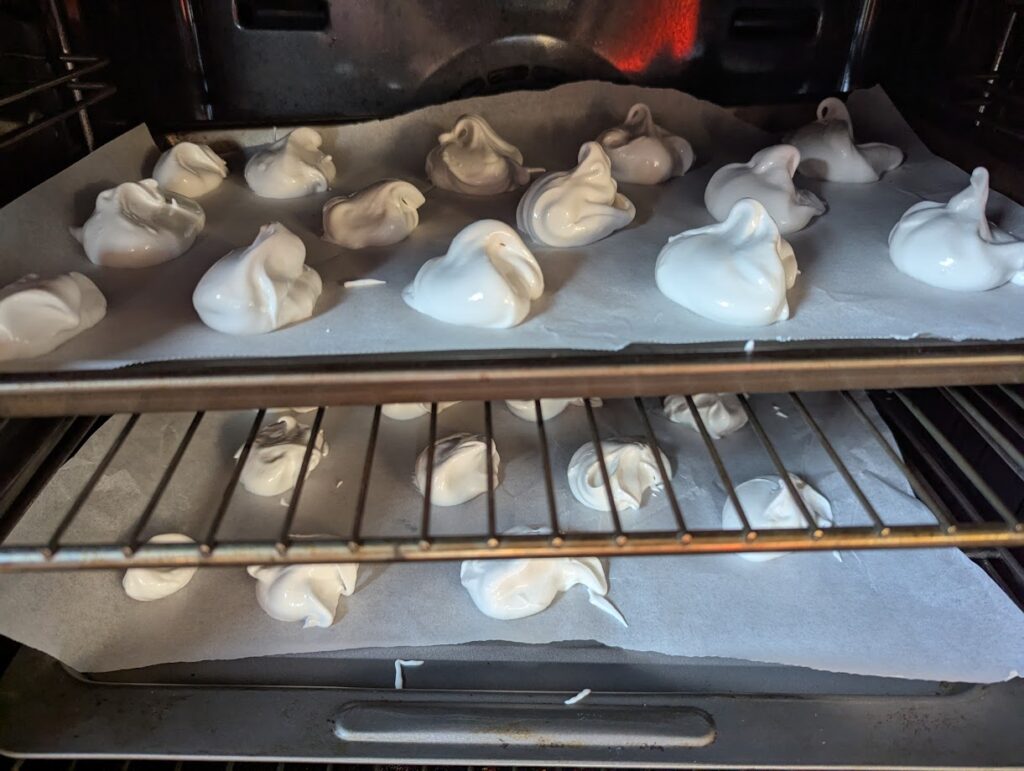
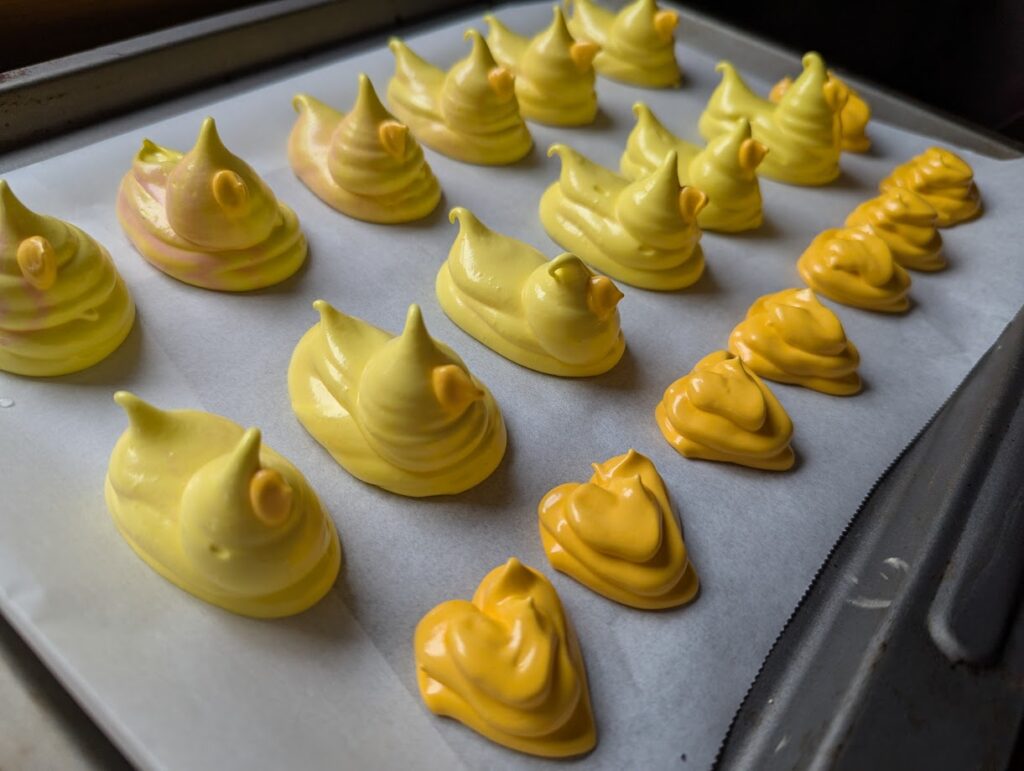
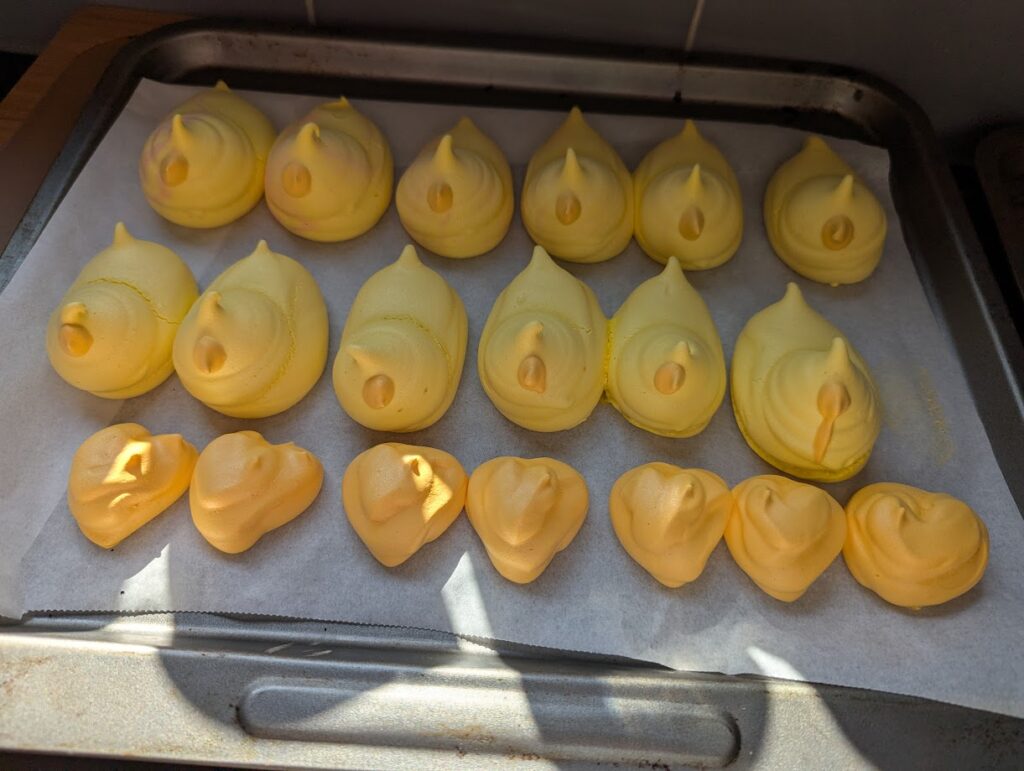
I LOVED how the chicks turned out, even though I did forget to give them wings! Here is everything before going into the oven

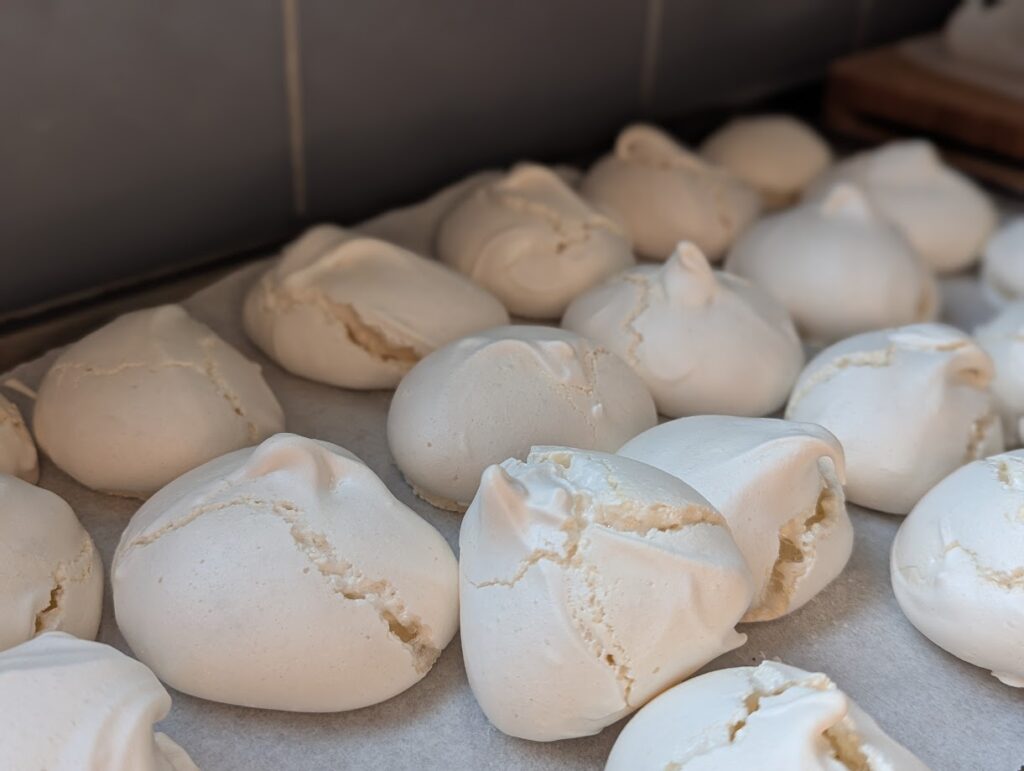
And how things looked when they had baked & cooled:

I’ve put together 2 large treat boxes, 2 small ones, and still had loads spare for eating / sharing which are just in a tub:

Vegan Meringue

I am making some cupcakes that required a meringue shell to use for decoration. I had used some chickpeas earlier this week for a curry, but kept the aquafaba (chickpea water) to use to make meringues. I’d not done this for a while, so looked for a recipe online and found this one from Loving it Vegan which works perfectly!

As I was only using the meringue to crush up, I just plopped the mixture into blobs on my baking trays

And they baked AMAZINGLY

I had loads spare, so decided I’d take some to family this weekend. I dipped some in dark chocolate:

and then I sandwiched a few of those with leftover “buttercream” from the Severance cake I did this week too:

That’s the random mix all boxed up to give away tomorrow.
– “Plain” (vanilla) meringue shells
– Chocolate meringue shells
– Sandwiched chocolate meringue shells

Postman Retirement Cake & Cupcakes

One of my work colleagues reached out to me to ask if I could make a retirement cake for her husband who had retired from Royal Mail after working there for 47 years! I agreed to give it a go.

I started by originally coming up with the below, very poor, mock-up of a cake based on various other cakes I’d found online.

We agreed with the “usual” cake – vanilla sponge, strawberry jam, and vanilla buttercream. The toppers could be whatever I fancied so I went with cartoony postman (one from when he started and one from retiring) and decorations made from fondant.

To go with the main cake, there was also 48 cupcakes. Again, I was told to go with whatever flavours I fancied so we did:

12 x Chocolate
12 x Vanilla
12 x Cookies & Cream
12 x Lemon

The cupcakes were all made with a vegan recipe too so that most people could enjoy cake:

The cakes were topped with flavoured buttercream (made with plant butter) and both edible and non-edible decorations.

I got the post-themed ones from e-bay as they were printed on edible icing paper.

To avoid the toppers from wilting, I made fondant discs to sit between the toppers and the buttercream, and added the toppers just before delivery to keep them as fresh as possible.

Here’s some shots of the fondant decorations “drying out” before being added to the cake.

Elsa (Frozen) Birthday Cake

I got asked to make a Frozen themed cake for a third birthday. I actually made one of these a few years back for my volunteer baking, so I used the same design this time around for the birthday request.

I tried to be crafty and cut the top half of Else out of a gift bag and attached to some kebab skewers with glue dots. I then coloured some fondant to match the dress and added that as the skirt. Added glitter and sprinkles as the finishing touches.

For comparison, here is the side by side of the one from a few years back with the one I made this week:

Bulldog Cupcakes

I look after a Bulldog called Betty from time to time after a few years back when she came to stay with us for a few months. Her owner is 50 this week, and went to Liverpool to celebrate at the weekend so Betty came to stay with us.

I wanted to treat her owner, so I got a few bits & pieces and then decided to make some cupcakes with Bulldogs on! This is Betty who I used for the inspiration…

Betty was actually sat on the sofa next to me whilst I used a tray and fondant to make the toppers. I basically used various colours of fondant to make these bulldog faces:

I made 3 but only used 2 in the box of cakes that I gave to the recipient. The spare one has topped a cupcake that is back in the freezer to pass on to my parents too!

The actual cupcakes are made with a Caramelised Biscuit liquer (like Biscoff) which was also used in the buttercream topping. I added some cocoa powder ass well to give a chocolatey swirl, and finished with some sprinkles.

One more Betty…

Forty for Forty

well… 42 if you’re actually counting

My sister in law is 40 this week, and my husband asked me to make 40 cupcakes for her. I bake in multiples of 6 and only had boxes that hold 6 or 12, so she’s getting 42 instead. It is the answer to life, the universe and everything, so I’m sure that the 42 is OK.

Anyway… The cakes

Mint chocolate:

Chocolate cake with a peppermint fondant filling. Topped with chocolate and mint swirled buttercream and a piece of mint chocolate bar.

Vanilla:

Vanilla sponge topped with vanilla buttercream and sprinkles. A classic.

Mega chocolate:

Chocolate cake, topped with chocolate buttercream (made with additional melted dark chocolate mixed in). Finished with Oreo Crumbles and a Cadbury Twirl mini.

Lemon:

Another simple, yet effective flavour. Lemon sponge, topped with lemon buttercream and sprinkles.

Chocolate Orange:

Chocolate sponge that was flavoured with Orange essence. Topped with orance chocolate buttercream, and a Terry’s Chocolate Orange segment.

White Chocolate Cherry:

Sponge cake flavoured with cherry essence and white chocolate chips baked in. Topped with cherry buttercream and a white chocolate chunk.

Salted Caramel:

Salted caramel flavoured sponge topped with salted caramel buttercream and a sprinkle of sea-salt. Fainal touch are Cadbury caramel chocolates / Quality Street caramel barrel.

I did add toppers to each cake to finish them too

Astronaut Space Cake – Amber’s 10th Birthday

It’s Amber’s 10th Birthday!

Amber is my eldest niece, and I’ve made her birthday cakes every year since she was born. Usually, I make a cake based on her request and over the years this has included:

  • Unicorn Cake
  • School Cake
  • Minecraft Cake
  • Rainbow Ballerina Fairy Caterpillar

Her birthday falls quite soon after Christmas, and often the ideas come my way later on. This year, I asked if I could just run with my own idea and I was told to “have fun with it”. In school last year, Amber learnt about space and has been really interested in it ever since. She was jealous that we went to visit NASA in Houston on our trip last year, so I knew that I wanted to make her a “space” themed cake.

I made a fondant cake topper astronaut with its helmet off, so that I could try model a character of Amber to sit on the cake. The glasses were the hardest part for me – I couldn’t make them out of icing (too fiddly) so I ended up stripping a pipe-cleaner instead.

The planet on the top of the cake was made using a round silicon mold that a workmate gave me in December as they weren’t going to use them… never has something come to me so perfectly timed.

I was scared that they’d snap when trying to remove them from the mold, but they came out intact – hooray!

I tried to make the letters for “AMBER” in the same planet design, but the chocolate didn’t quite fill the molds. I still used them though – never waste food!

The cake was a “standard” birthday cake: Vanilla cake, strawberry jam & vanilla buttercream. I iced the cake by hand (didn’t use my cake coating kits for ths one) and used a scraper to achieve the colouring on the outside of the cake. I used a base of light-pink coloured buttercream and them added purple, magenta and silver for the pink “galaxy” effect.

I used a paint brush to apply the silver star splatter, and used some fancy sprinkles that my friend got me for Christmas to add stars to the outside.

After adding the planet and the astronaut topper, I used some cake balls to add some additional planet design to the outside of the cake.

We presented the cake today, then cut some slices for people to enjoy – I was really happy with how this one turned out.

Homemade Yule Logs

I remembered this weekend how much I enjoy baking when I do it just for fun and not because I HAD to bake for someone.

I decided to try making a yule log for the first time and had a look online. I found a recipe for a larger pan so I did 3/4 the amount as I had a smaller tray.

I made a whipped white chocolate cream ganache filling using 200g double cream and 200g white chocolate.

The recipe I followed said to roll the Yule log lengthways (longest side) but due to the thickness of my cake and filling it ended up looking like an arctic roll.

I coated the outside of the log with a dark chocolate ganache buttercream & found when I was finished that I had too much coating left. Being me, I decided to make another Yule log to use the excess filling and coating.

I made the second Yule log with less ingredients to make a thinner cake in the hope that it would be easier to roll. This time, I rolled from the thinner end to get more of a swirl

I used the leftover coating to cover the Yule log:

I assume it’s because I left the coating overnight, but the second Yule log looked far darker than the first even though it was the same mixture.

Overall, I was really happy with how these turned out. They look OK, and taste really good! Marry Christmas to me & my family!

80th Birthday Cake

It is my Nandad’s* 80th birthday next month, but due to holidays and organising everyone, we got together and went to visit him to celebrate early.

*When we were children, we had Grandma and Grandad, so our child logic meant that it was Nanna and Nandad.

There was not set ask for this one, except for “can you make the cake”? I fancied giving a black and gold cake a try.

I know that it can be difficult to get buttercream to be black if you’re not using cocoa powder / chocolate it in. I wanted a vanilla flavour, so figured I’d give Cake Cream a try. It is a Swiss Meringue Buttercream that is pre-made so you just add butter and water. I’d never used it before, and have learnt things for next time around.

The cake itself was my standard vanilla cake recipe that I filled with vanilla buttercream and a strawberry and tonka bean jam.

When I had baked the cake layers, I let them cool and then trimmed them. This leaves a load of cake offcuts that I decided to turn into cake truffles. I made some chocolate heart shells and filled them with the cake (mixed with buttercream) to perhaps use for decoration once they cake was completed. I made these in advance and kept them in the freezer until required.

When it was time to make the cake, I decided to use my ganaching kit to try keep the edges sharp. I seem to have more success when building these layer by layer, so this is what I did this time around – added a layer of cake / buttercream / jam and piping the coating around the edges before moving onto the next layer.

I let the cake set in the fridge overnight before removing the wrap.

I had to patch a couple of bits which was my own fault as I didn’t realise I should warm the Swiss Meringue Buttercream a little to loosen it before piping it in! It wasn’t too many though.

Another lesson for next time – I need to wear gloves as this black cake definitely stained my hands.

To decorate the cake, I used some cake stamp letters to spell out Eighty, and for the rest of the cake it was a combination of gold dust and gold leaf.

We presented the cake to Nandad after a lunch out with the family! I was then responsible for cutting the cake into portions for eating / freezing for later.

For anyone wondering how badly the cake dyes your mouth;

Birthday Blondies

Another 40th birthday, and this time I opted to make some blondies with a loving message on the top.

I made the letters for the top and kept them in the freezer until ready. They were literally just made by melting white chocolate and using a silicon letter mold.

The blondie recipe is from Jane’s Patisserie, but I mixed the chocolate chunks instead of just white chocolate. Mine have milk, dark and blonde chocolate chunks as well as some Biscoff biscuits.

You can see the mix-ins in this picture:

I topped the blondies with a ganache made from Blonde chocolate and double cream (3:1 ratio). I made around 420g of ganache so weighed out into 70g portions and coloured them with oil-based colours.

I piped rough stripes diagonally across the blondies whilst still in the pan and allowed to set slightly before adding the lettering.

I liked how the lines ended up – very trippy!

I finished the blondies with edible glittery.

The recipient took this picture of the sliced blondie this morning – and it looks great if I do say so myself!