Brownie Yule Logs

As you may have noticed from my last post, I’m not the quickest to jump on a trend bandwagon. I saw brownie yule logs all over Instagram last year (or maybe it was 2022?) but I finally wanted to give it a try this year.

I purchased the Finch Bakery Yule Log instructions / recipe (well worth the £3) and gave it a go a few weekends back.

The first attempt I went with was the chocolate brownie Yule Log, that I filled with biscoff and milk chocolate. I followed the Finch Bakery recipe and instructions, and was amazed that things went well & the roll turned out brilliantly. Genuinely expected it to go far worse for my first attempt!

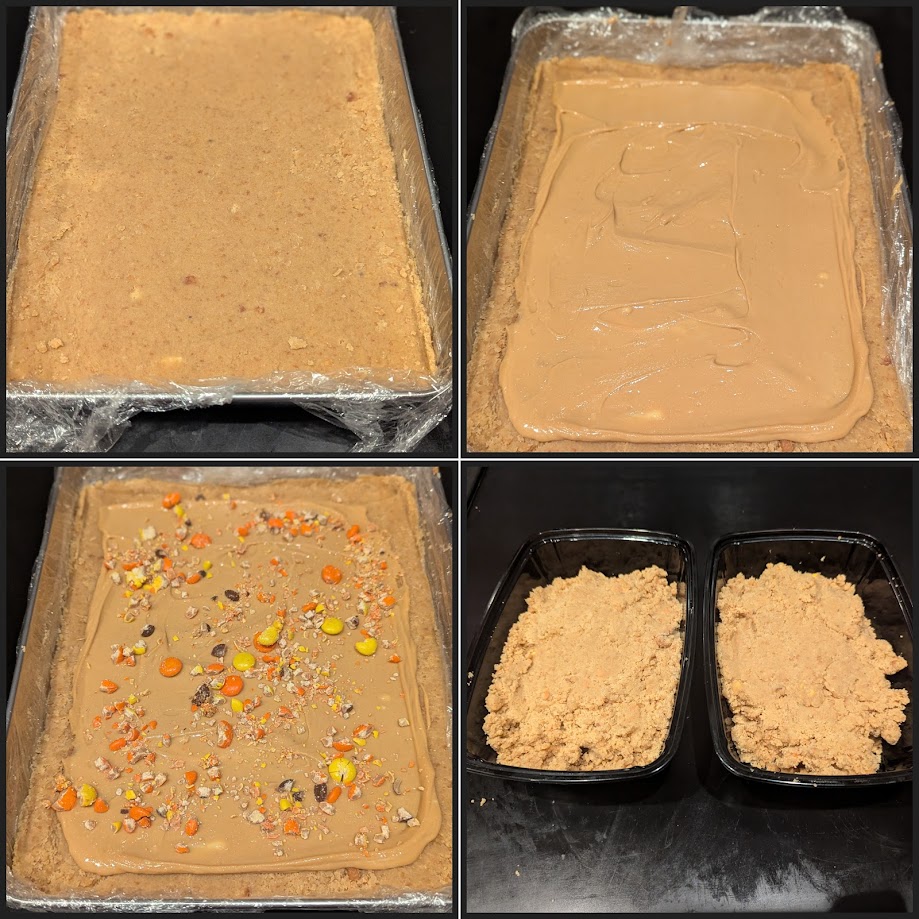
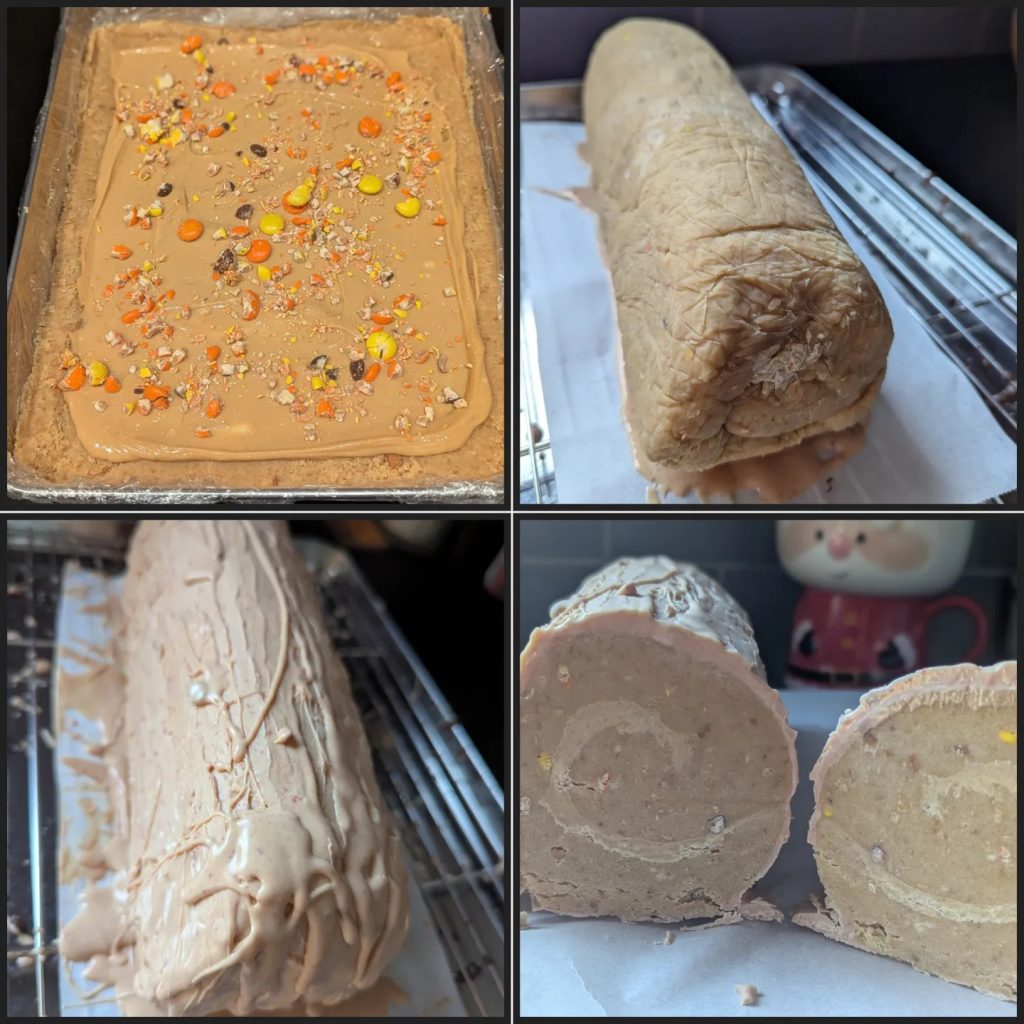
The above image shows some of the steps involved.
– Baked the brownie and allowed it to cool fully, before mixing it in my stand mixer.
– Lined my sheet tin with cling film, and pressed the brownie into it
– Allowed that to set again, then added the filling – in this case a mixture of Biscoff and oreo crumbs.
– I then rolled the log, using the clingfilm to help hold it in place.

I wrapped the log and allowed it to fully chill before coating with melted chocolate. I used milk chocolate for the outside of this one, and added some fondant toppers.

Feeling confident after attempt 1, I decided to try a Blondie Roll with PB filling. I used a different recipe to the one on the Finch Bakery sheet, which is a blondie I had successfully made before.

Things seemed OK at first, until it came time to roll the log, and the blondie just crumbled into a sand!

At first I thought about giving up on this one and using the crumbs for some truffles, but I saved it by adding more “wet” ingredients to the mixture to get it to a rollable consistency (basically oil & peanut butter!)

This time around, it went a lot better but was VERY THICK thanks to the extra ingredients. No-one would complain to that though!

I coated this log in blonde chocolate mixed with raspberry powder to give it more of a PB&J vibe.

Undetered from the issues with the PB roll, I decided to try a peppermint bark one. The brownie layer was fine, but my white chocolate ganache filling was too wet and I had to scrapre it off and re-do it before rolling. You couldn’t tell though – and this one was my favourite (taste wise):
At the end of all this, I decided to try one more roll… this time feeling inspired by the cornflake rolls I have seen posted by Georges Bakery. My friend got me his “Rebel Bakes” book earlier this year for my birthday, so I decided to try making the caramel cornflake recipe to use in a roll.

Take 1: Making the caramel from scratch & I managed to burn the sugar. I binned it and tried again.

Take 2: This time, my sugar wouldn’t melt & I ended up having to bin that batch too.

Take 3: I decided to deviate from the Rebel Bakes book and instead try making a “wet” recipe. This went to pot too – the sugar was not browning and the mixture just looked like a wet fudge. Rather than waste even more ingredients, I ended up combining that with chocolate and marshmallows to form a decadent cornflake cake.

To add to my annoyance, I couldn’t get the cornflake mix to “roll” without breaking so I ended up just squeezing it into one big log & coating with a mix of white and dark chocolate.

In spite of this one annoying me the most, it was the best tasting cornflake roll – so at least that part went well!

I ended up slicing the logs last week. I boxed some up for friends (alongside the cookie pie slices) and then took the rest to work with me.

Bakewell Cookie Pie

I’m behind trends, but I finally got around to making a Cookie Pie last weekend.

It started by making a cookie dough. I chose to make a white chocolate chunk & funfetti dough. You make the dough, then split into 3 separate portions. The first portion is used as the base of an 8″ pan, and the second portion is used to coat the sides of the pan:

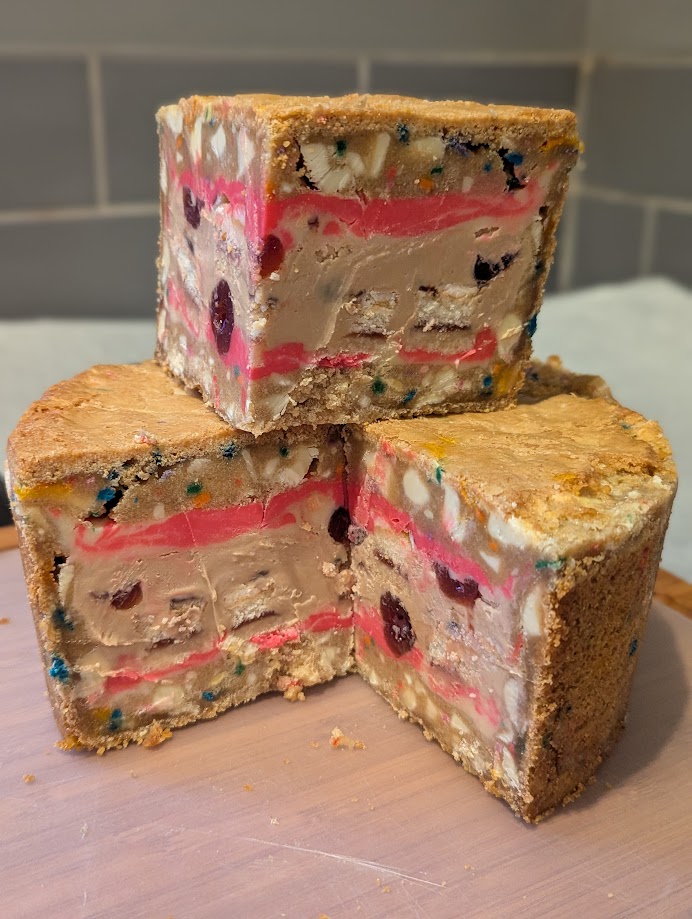
I chose to fill my pie with a variety of things – the first being homemade white chocolate ganache. I coloured some of it pink (with an oil-based colouring) and added some cherry flavour to the pink ganache. I spooned some of this into the bottom of the pie:

Next up was adding some fillings. The picture shows bakewell slices, but I also added cherries, jammy dodger biscuits, and a hazelnut spread:

I added more ganache to finish the pie filling, then chilled it for an hour to allow the contents to set.

After chilling, I added the top of the cookie to the pie:

I froze the pie for another hour, then baked it for 30 minutes. I did have an accident in that the cookie lid overflowed, but I saved it & cut the excess off once it was out of the oven

In hindsight – I should have used a springform pan, as it took quite a bit of effort to release the pie from the loose-bottomed tin!

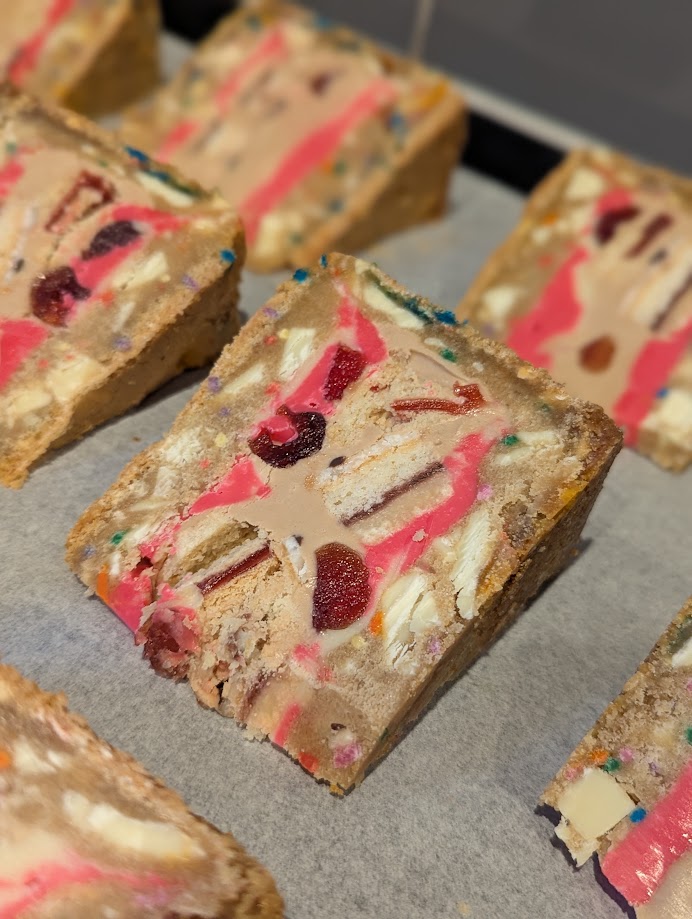
The next step was to cut the pie… and it was a BEAST!

I cut the pie into 12 portions, and gave most away to workmates and friends (I did eat one myself though – it was beautifully wrong!!

King Cake

I didn’t realise how long it had been since I last posted. I’m still baking – honest. This week was my husband’s birthday, and instead of making a normal birthday cake, I tried to make him a “King Cake”

King cake is something we discovered last year in New Orleans that plays a huge part of Mardi Gras celebrations. I’ve been to New Orleans twice – though never at Mardi Gras. We went to the “Mardi Gras World” Museum where they gave up samples of King Cake, and I was hooked. The below was the sample cake we had at Mardi Gras World

The “cake” is actually a bread dough similar to cinnamon buns, but one strand contains cinnamon sugar and the other contains a cream cheese filling.

This was my attempt at the spiralled strands:

Once baked, the cake is topped with an icing made from icing sugar, lemon juice and cream cheese, and then coated with Mardi Gras coloured sugars (gold, purple and green).

My result was rather TOO dense – but tasted a lot better if warmed up for 30 seconds in the microwave. You could just about see the cinnamon layer, but the cream cheese filling vanished in the dough:

Attempting Macarons

Practice, practice, practice.

I have tried making macarons in the past with varying results, but I wanted to try again as it is something that I have far from mastered. Practice is the only way to get better, so I gave it a go.

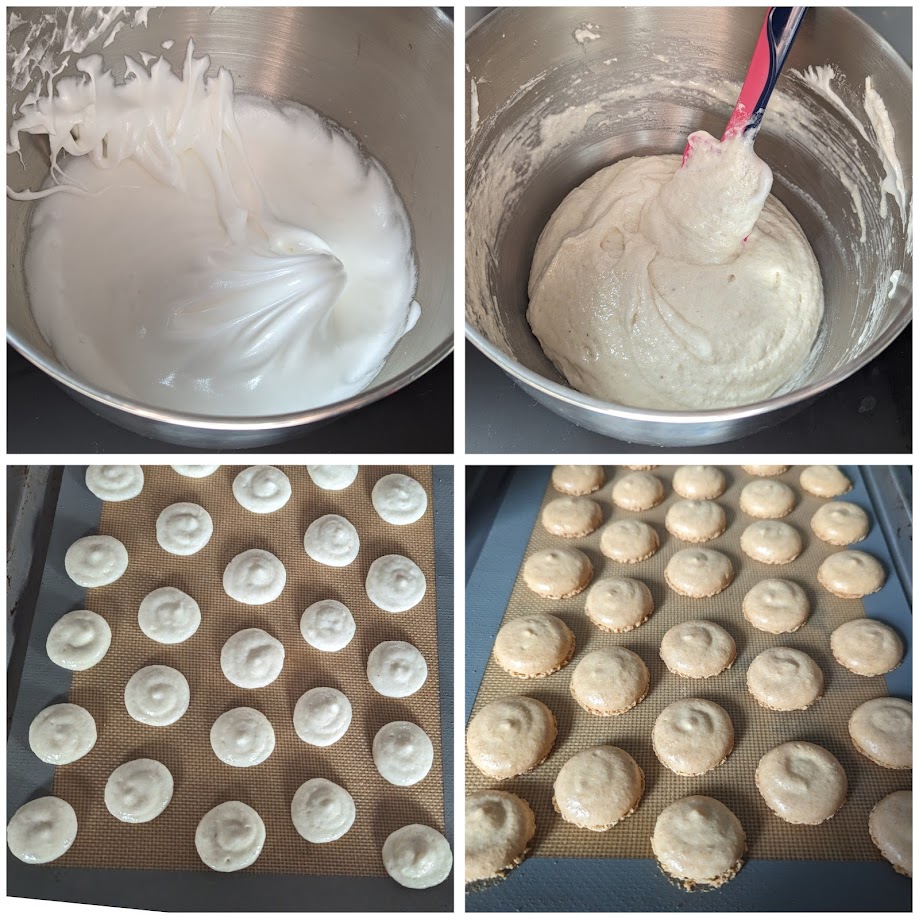
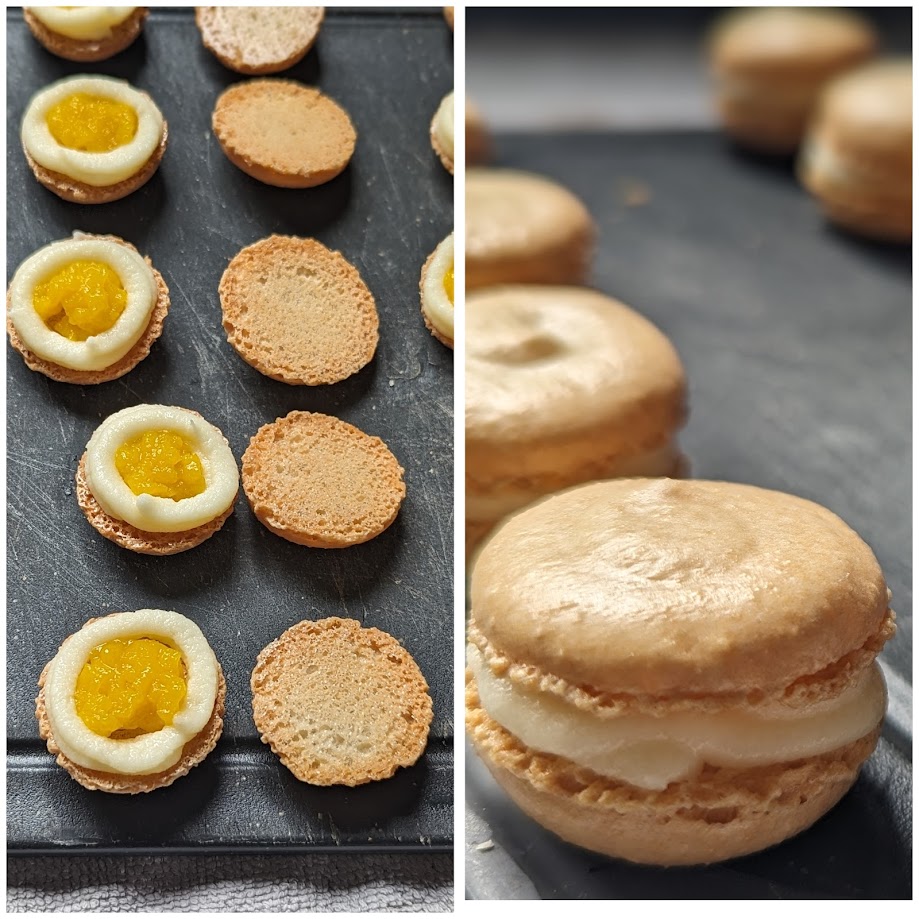
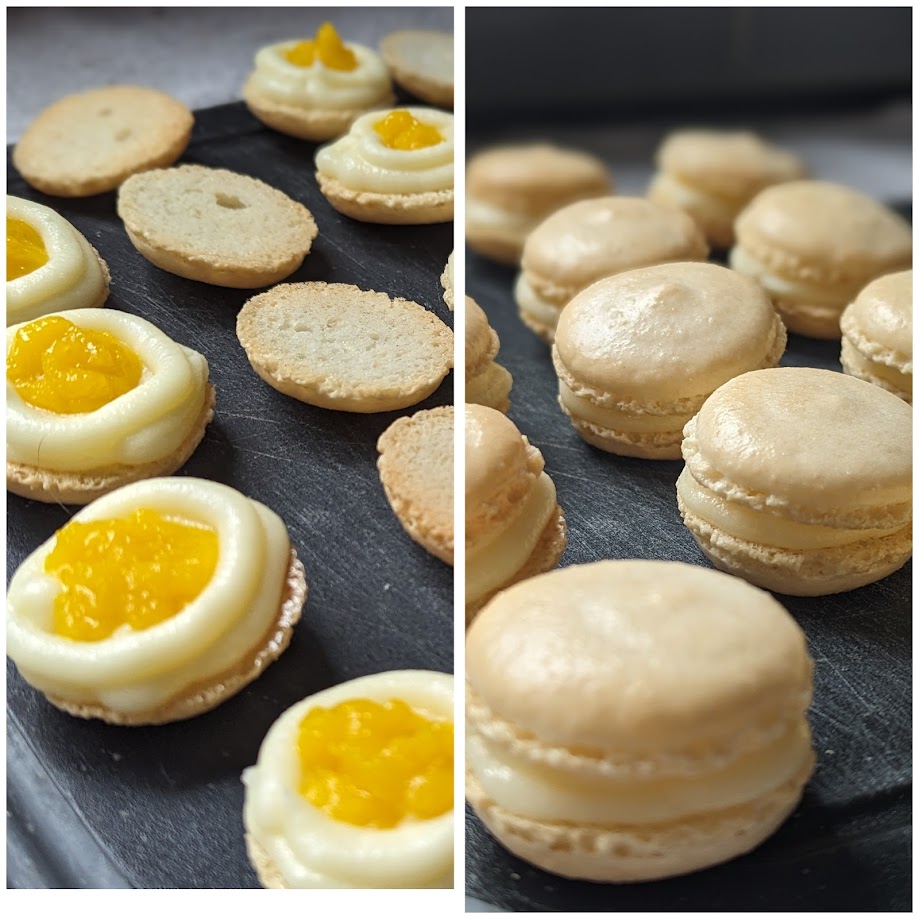
I decided to make some lemon macarons, following this recipe from Chelsweets. In my first attempt, all was going well until I added my sugar and food colouring. The eggs suddenly went too liquidy to use so I gave up and started again.

The second attempt went better. This time I added the sugar a spoonful at a time, and omitted the food colouring to be on the safe side.

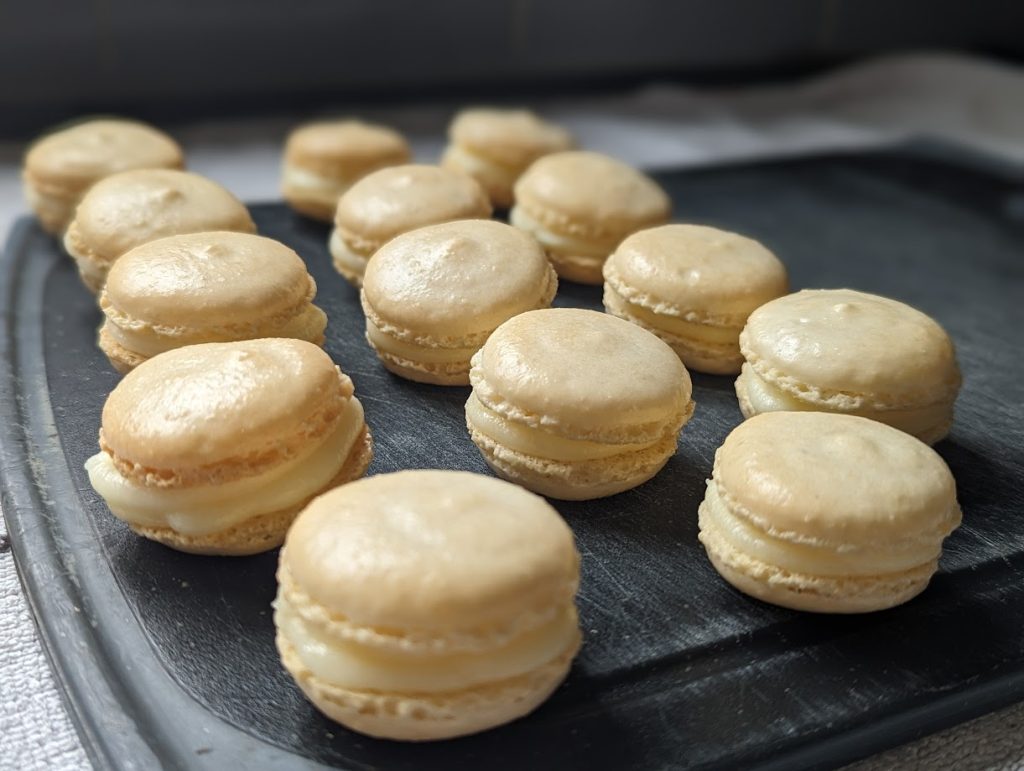
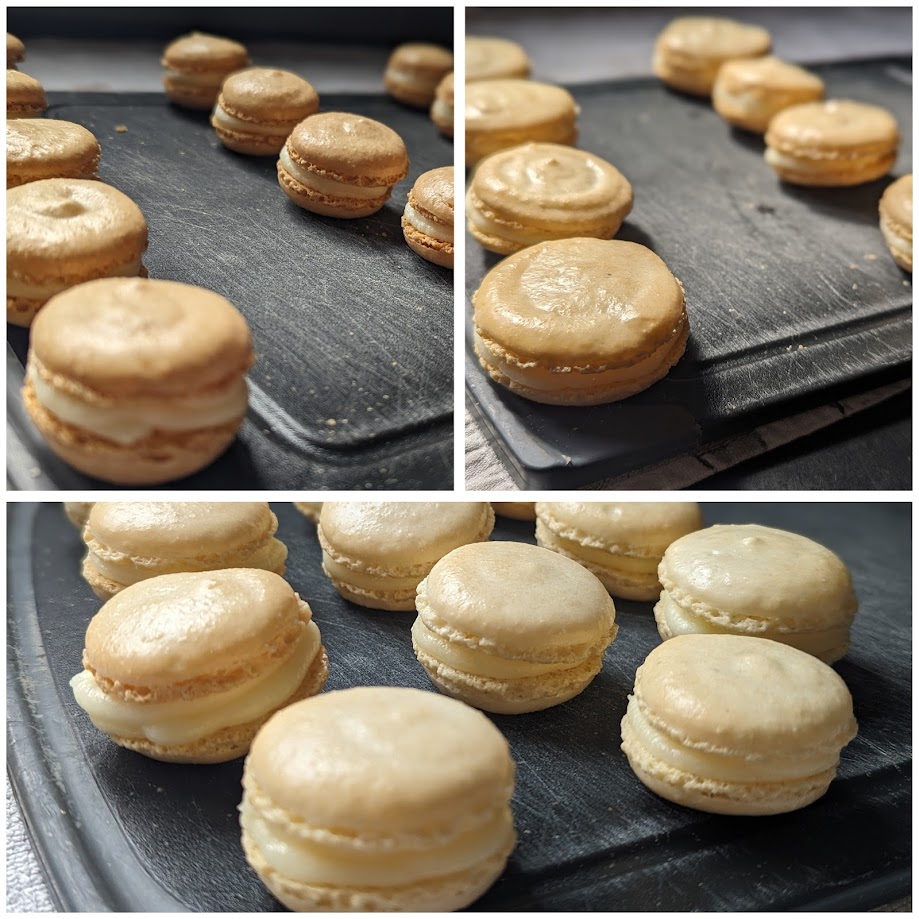
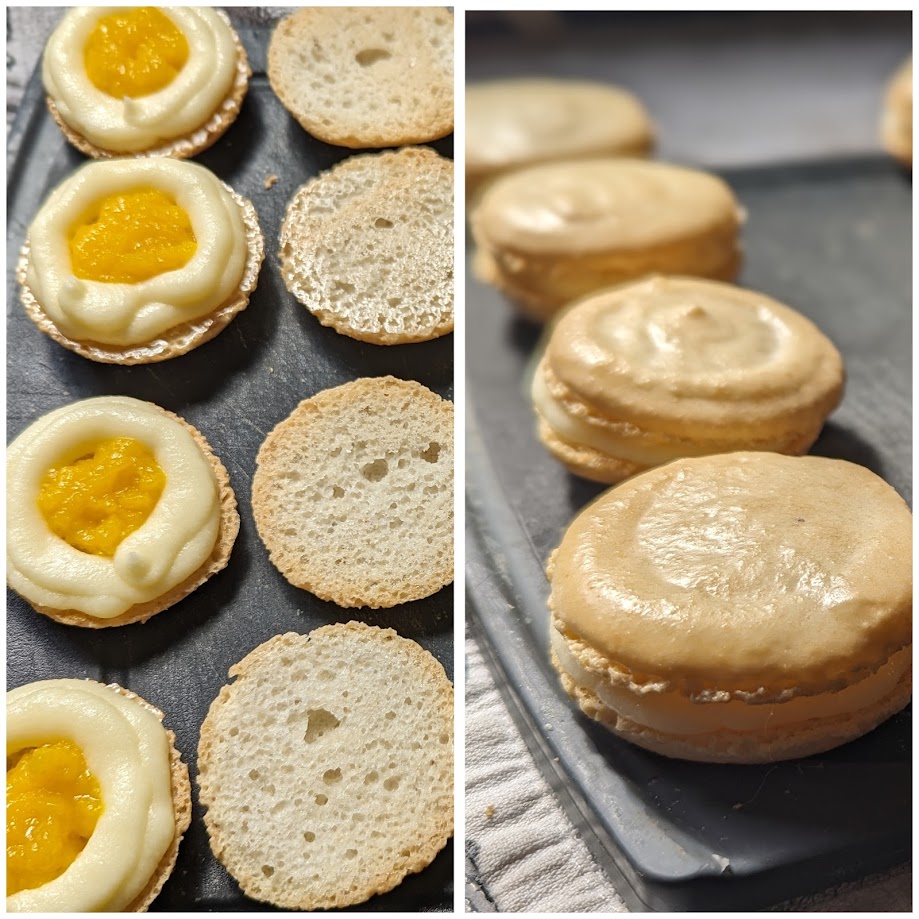
I piped three trays of macarons in various sizes, choosing not to use a template as it was all practice. I baked the first tray at 155c (Chelsweets recipe says to bake at 315f which is 157c) but they browned too much and didn’t have the chewy texture at all – I assume they were over-baked. I still filled them though as I didn’t want to waste more ingredients.

The second tray I attempted were larger shells, and this time I baked at 140c. The shells still browned, but this time around kept the chewy texture you’d associate with macarons. I think I should have piped these thicker though.

My third tray were mini ones again, this time I baked at 130c and took them out before they were too brown. These were the best of the 3 – crisp shell and chewy insides. I’d say this bodes well for future attempts.

No doubt I’ll try again in the coming months, but for now these are going in the freezer until I find people to give them to. Next time I’ll try colouring the mixture again.

UPDATE!!

I’m pleased to report that the “overbaked” shells are actually pretty decent now they’ve been filled and in the freezer a few days. They have softened up so you can’t actually tell they were crisp to start off.

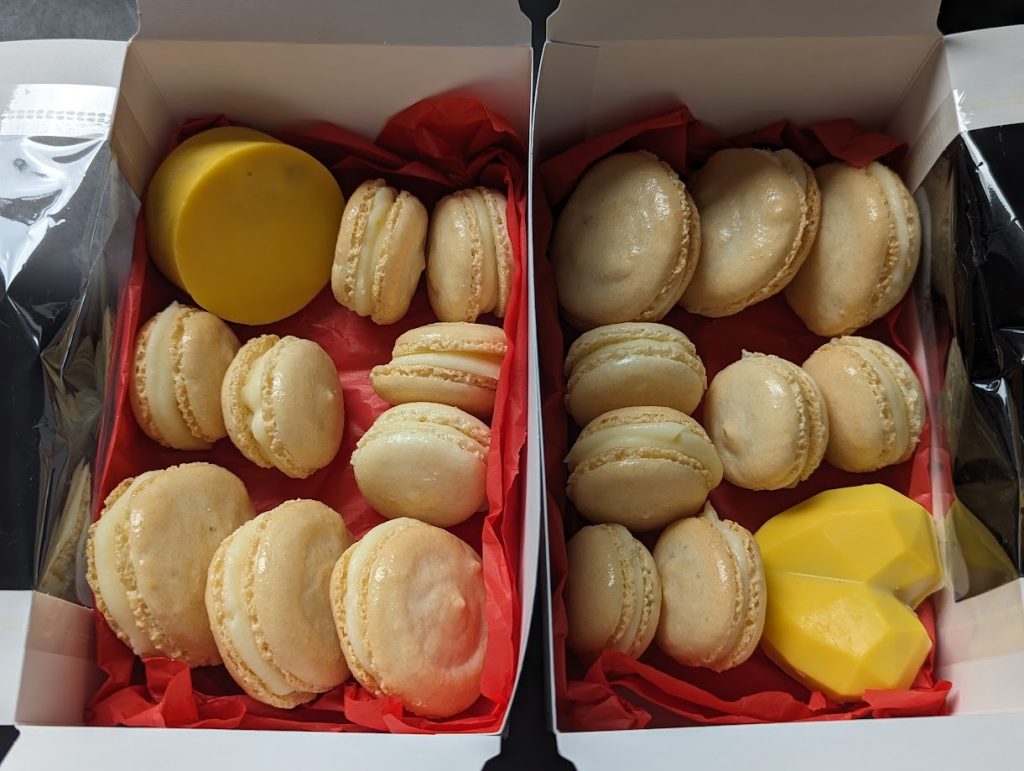
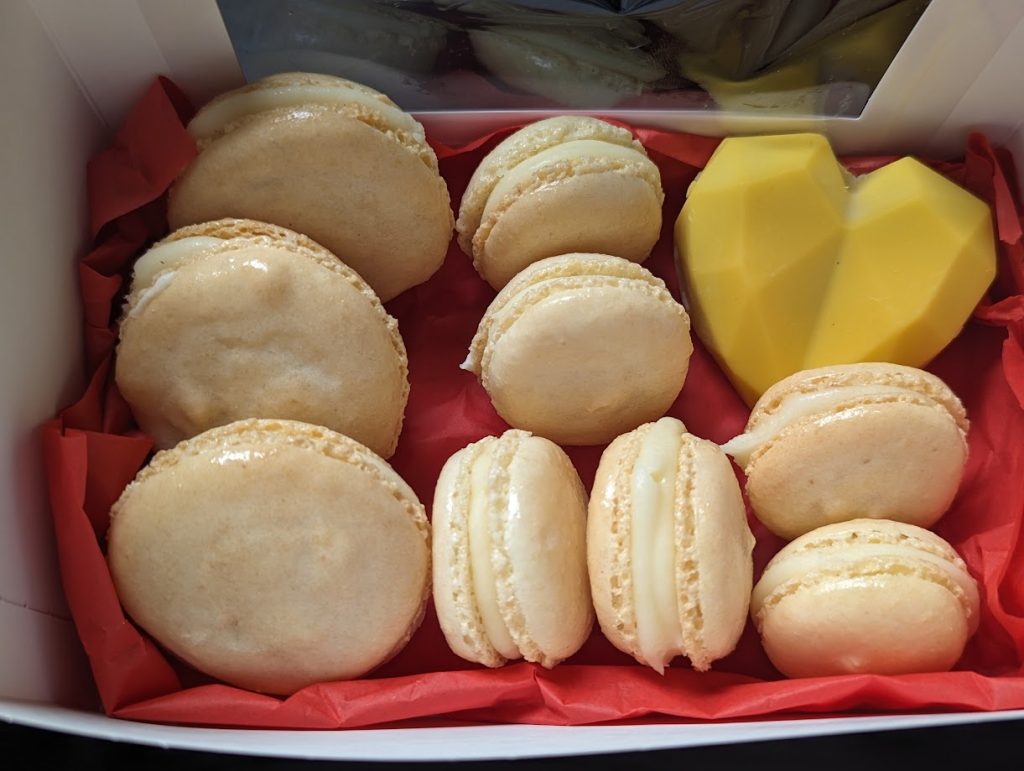
I’ve boxed up some of the better ones with a cake puck and cake heart to give to people this weekend.